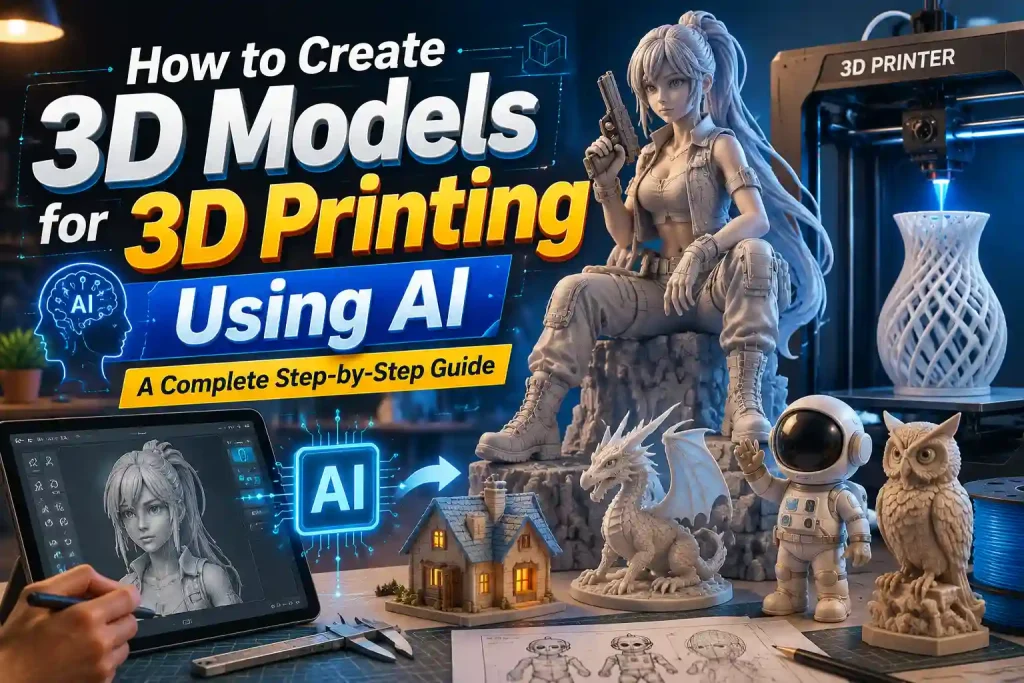
How to Create 3D Models for 3D Printing Using AI: A Complete Step-by-Step Guide
Can AI Really Create 3D Models for 3D Printing?
Traditional Modeling vs Image to 3D AI
Traditional 3D modeling typically involves:
- Learning professional software
- Building geometry manually
- Adjusting topology and proportions
- Spending hours or even days on a single model
AI-powered generation simplifies the process: - Upload an image
- Let AI generate the geometry
- Review and export the model
While AI won’t completely replace professional modeling workflows, it can dramatically reduce the time needed to create a printable model.
What Types of Objects Work Best?

- Figurines and toys
- Product prototypes
- Decorative objects
- Statues and collectibles
- Character concepts
- Simple household objects
Objects with clear silhouettes and visible details typically produce the best results.
What You'll Need Before Getting Started
A High-Quality Reference Image
The quality of your image has a major impact on the final model.
For best results:
- Use a clear image
- Ensure good lighting
- Avoid cluttered backgrounds
- Keep the subject fully visible
- Use high-resolution images whenever possible
A clean product photo will usually generate a better model than a blurry snapshot.
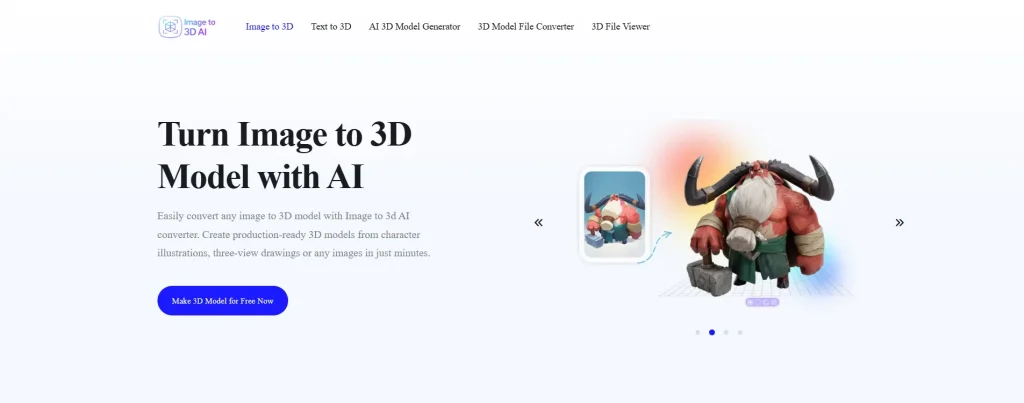
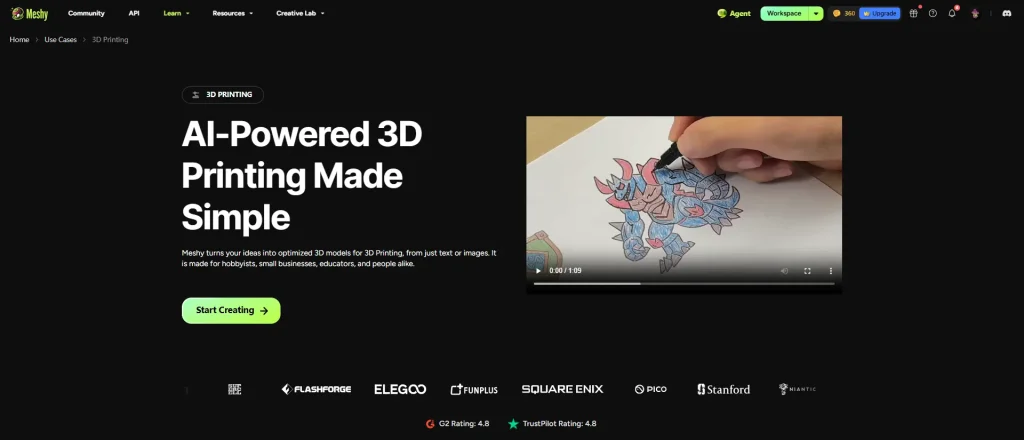
AI image to 3d model Tools

Access to a 3D Printer
You have several options for turning your AI-generated model into a physical object:
- Print the model yourself using a home 3D printer
- Use an online 3D printing service to have it printed and shipped to you
- Visit a local makerspace where printers are available
For most 3D printers, STL is the recommended file format. If your model is in a different format, you can use a 3D model file converter to easily convert it to STL or another compatible format before printing.
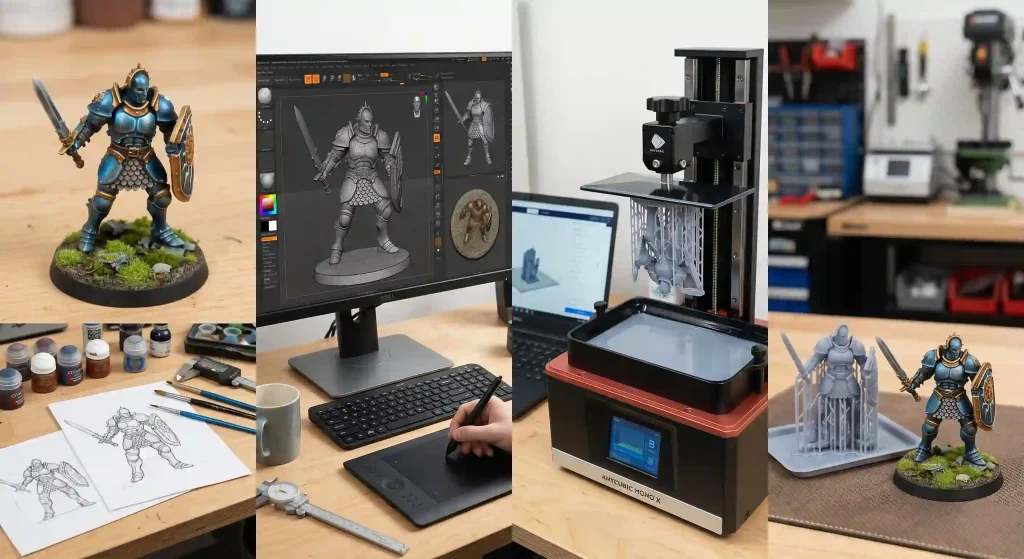
Step-by-Step Guide to Creating 3D Model Using AI
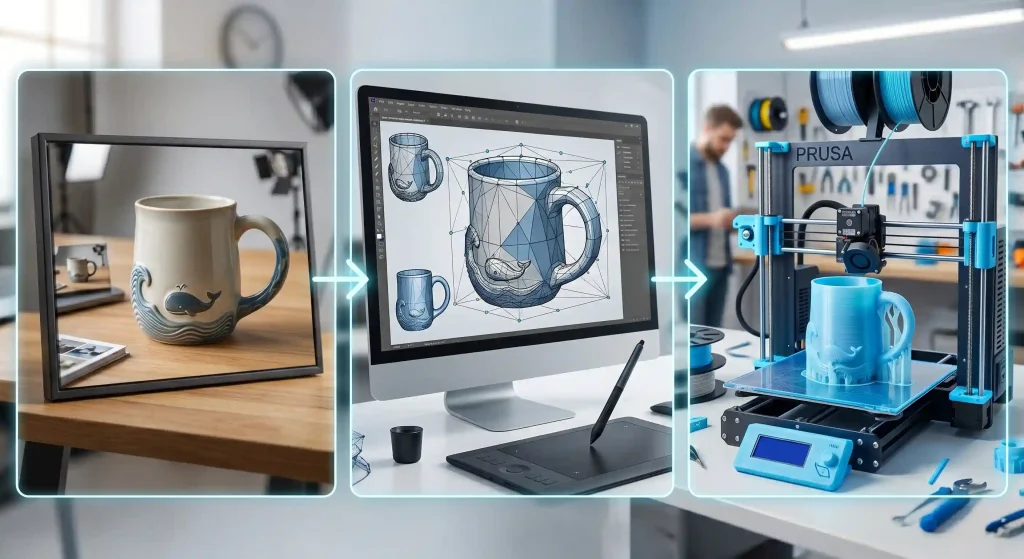
Step 1: Generate a 3D Model from an Image
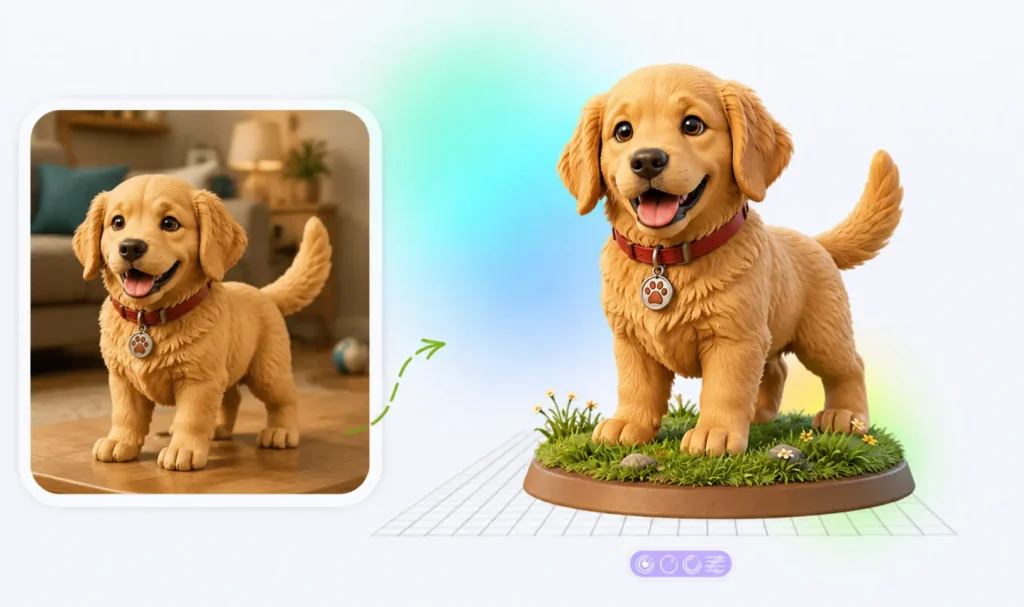
- Upload your image to the AI tool.
- AI reconstructs the object geometry using learned depth and shape patterns.
- Review the generated model for missing parts or distortions.
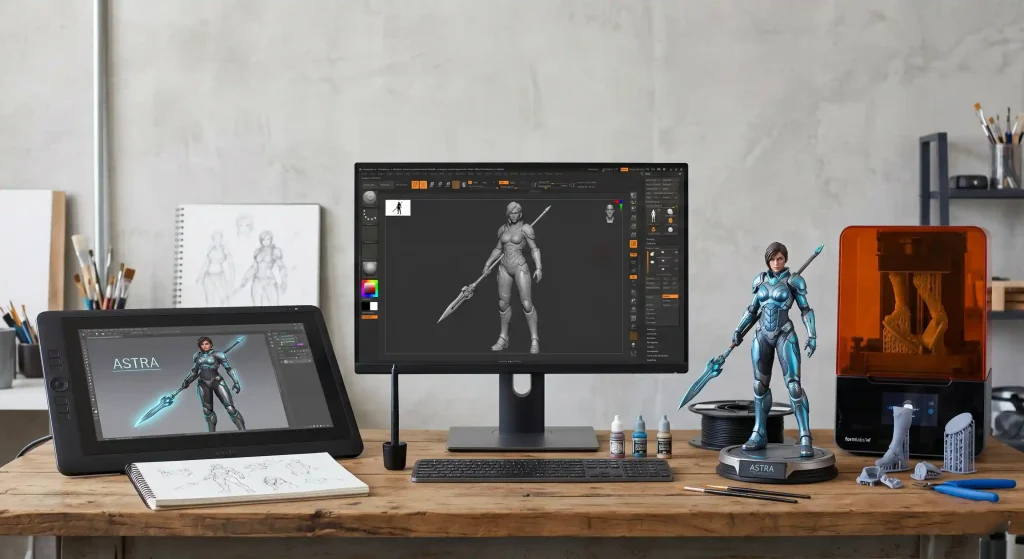
Step 2: Optimize the Model
Before printing, it’s a good idea to check your model for holes, thin parts, or other geometry issues that could affect print quality.
Tools like Blender, Meshmixer, and Tinkercad can help you repair meshes, adjust scale, and strengthen fragile areas before exporting the final file.
Step 3: Export the Correct Format
- STL: the most widely supported and recommended for printing
- 3MF: use if you need color or material info
- For visualization-only formats (GLB, FBX, OBJ), see our format conversion guide.
Step 4: Print
- Import the model into a slicer (Cura, PrusaSlicer, Bambu Studio)
- Add supports if necessary
- Preview the print to check layer height and placement
Common AI-to-3D Printing Mistakes
While AI makes creating 3D models easier, there are a few common pitfalls that can still affect print quality. Being aware of these issues can save time, filament, and frustration.
- Low-Quality Source Images
Blurry, dark, or cluttered images often lead to inaccurate or incomplete 3D models. - Overly Complex Objects
AI struggles with objects that have hidden details, intricate shapes, or multiple disconnected parts, which may result in missing geometry. - Thin Walls or Fragile Parts
Even if the model looks fine on screen, thin areas may break during printing. Always check wall thickness and reinforce weak sections. - Wrong File Format
Exporting in visualization formats like GLB or FBX instead of STL or 3MF can prevent successful slicing and printing.
By keeping these common mistakes in mind, you can ensure your AI-generated 3D models are ready for smooth, reliable printing.
Real Examples of AI-Generated 3D Prints
Turning Character Art into a Collectible Figure
Converting a Product Photo into a Prototype
Creating a Custom Tabletop Miniature
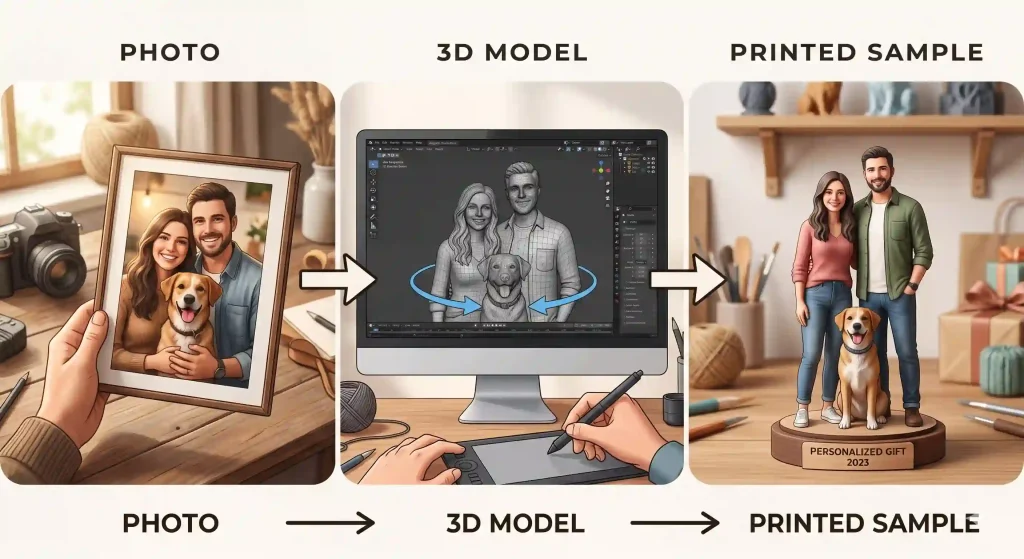
Making Personalized Gifts from Photos
Transforming Sketches into Physical Objects
Why AI 3D Printing Has Advantages
As more creators experiment with AI-generated models, it’s clear that this approach offers benefits traditional workflows struggle to match. From reducing manual effort to enabling rapid iteration, AI opens up new possibilities for anyone working with 3D printing.
- Faster Iteration
AI allows you to quickly generate multiple versions of a model, making it easy to test and refine ideas without spending hours on manual modeling. - Lower Learning Curve
Even beginners can create complex 3D printable models without mastering professional software, thanks to AI handling the geometry and topology automatically. - Cost and Time Efficiency
By automating much of the modeling process, AI reduces the time and resources required for prototyping, allowing designers and hobbyists to focus on creativity instead of technical hurdles. - Greater Creative Freedom
With AI handling technical details, creators can explore new concepts, experiment with forms, and produce unique designs that would have been challenging to make manually.
Conclusion
AI has made creating 3D printable models faster, easier, and more accessible. By using high-quality images, optimizing the model, and exporting the right format, anyone can turn an idea into a physical object without mastering complex software.
Beyond just saving time, AI opens up new creative possibilities. You can experiment with different concepts, quickly iterate on designs, and explore ideas that would have been difficult or time-consuming to produce manually.
Ready to bring your ideas to life? Try Image to 3D AI and start creating your own 3D prints today.