How to Create 3D Game Assets: A Beginner's Guide
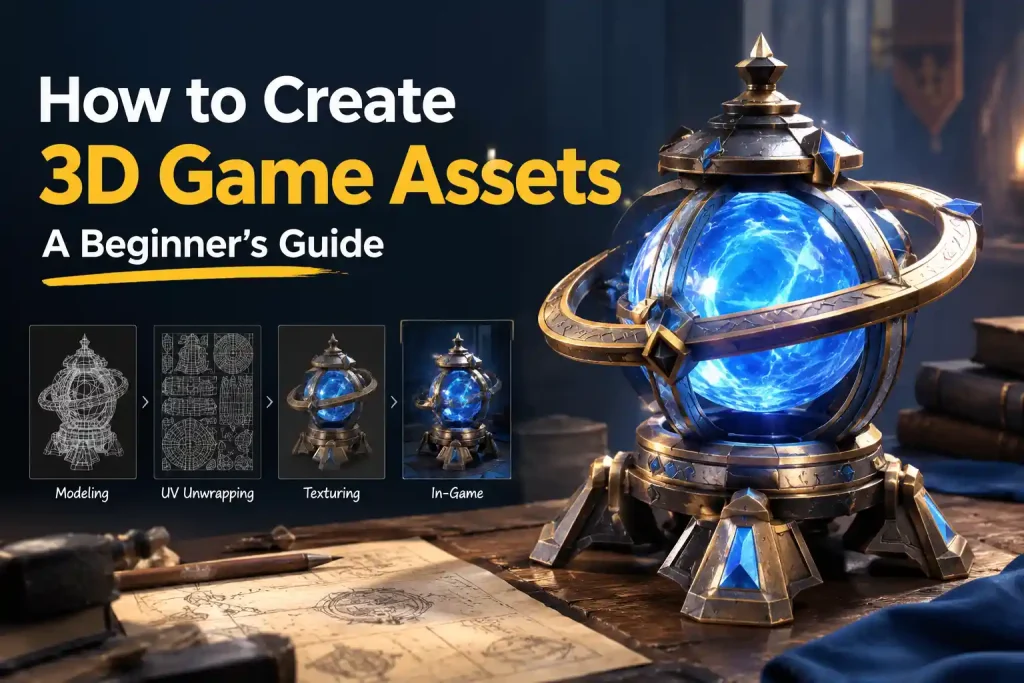
Every game starts the same way. You open a fresh engine project, full of confidence, and then it hits you: your game is currently a grey cube standing in an empty field, and it needs to become a world. Characters, weapons, crates, trees, doors that actually open — hundreds of 3D game assets, and only two hands to make them with.
That’s the real bottleneck for most solo developers and small teams. Not the code, not the marketing, not the Steam page. It’s the asset count. A single detailed character can eat a week of your life; a prop set can eat a month.
This guide covers what 3D game assets actually are, what separates a game-ready model from a pretty sculpture that will set someone’s phone on fire, and how an image to 3D model AI workflow lets you start from a reference picture and skip the most painful hours of the job.
What Are 3D Game Assets?
A 3D game asset is any 3D object that lives inside your game and gets loaded, rendered, collided with, or animated by the engine. If the player can see it, shoot it, walk into it, or pick it up, it’s an asset.
That definition sounds broad because it is. Your game is basically a folder of assets plus some rules about how they behave.
Types of 3D Game Assets
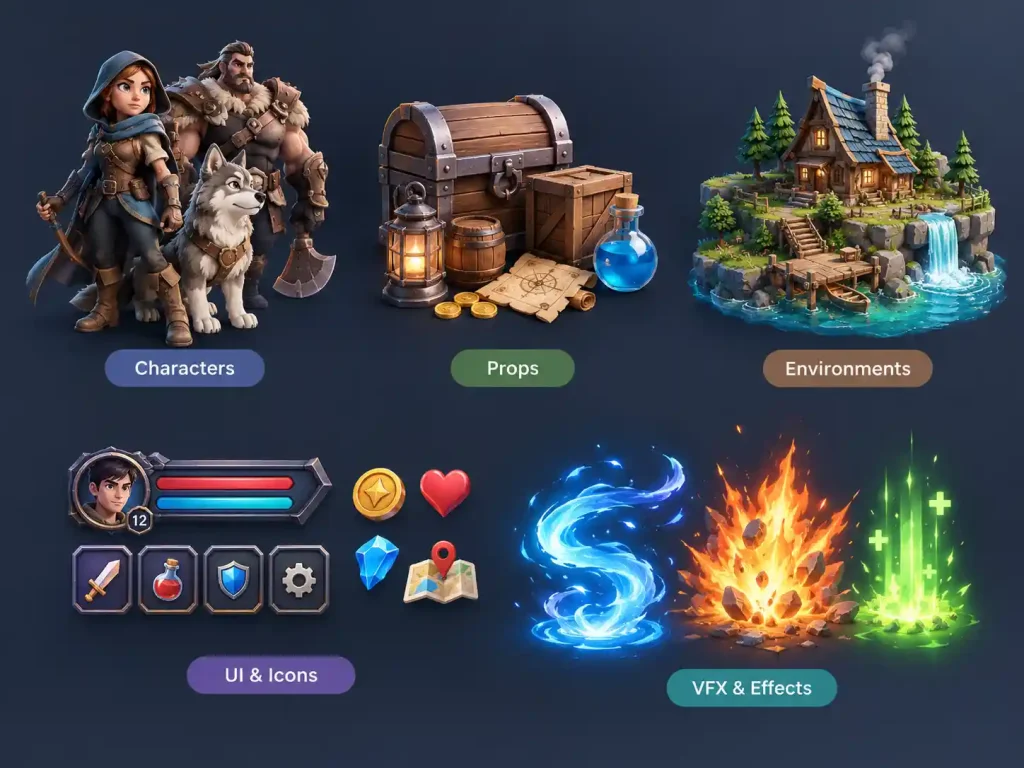
- Characters. The player, NPCs, bosses, creatures. These are the most demanding assets in any project — they need skeletons, skin weights, blend shapes for facial expressions, and a full LOD chain. They’re also the ones players stare at the longest, which means your mistakes are visible at 4K.
- Props. Weapons, crates, potions, tools, coin piles, streetlamps. Individually cheap, collectively endless. Props are where asset count explodes: a single level can easily need two hundred of them.
- Environments. Modular wall kits, floors, stairs, terrain pieces, rocks, foliage, buildings, furniture. Environment work is a volume game — you build a small set of pieces and reuse them until the level looks like a real place.
- UI & Icons. 3D item icons, HUD elements, collectible pickups, rotating item previews in a shop screen.
- VFX & Effects. Meshes used for particle systems: muzzle flashes, explosions, magic circles, smoke cards.
What Makes a 3D Model a Game Asset?
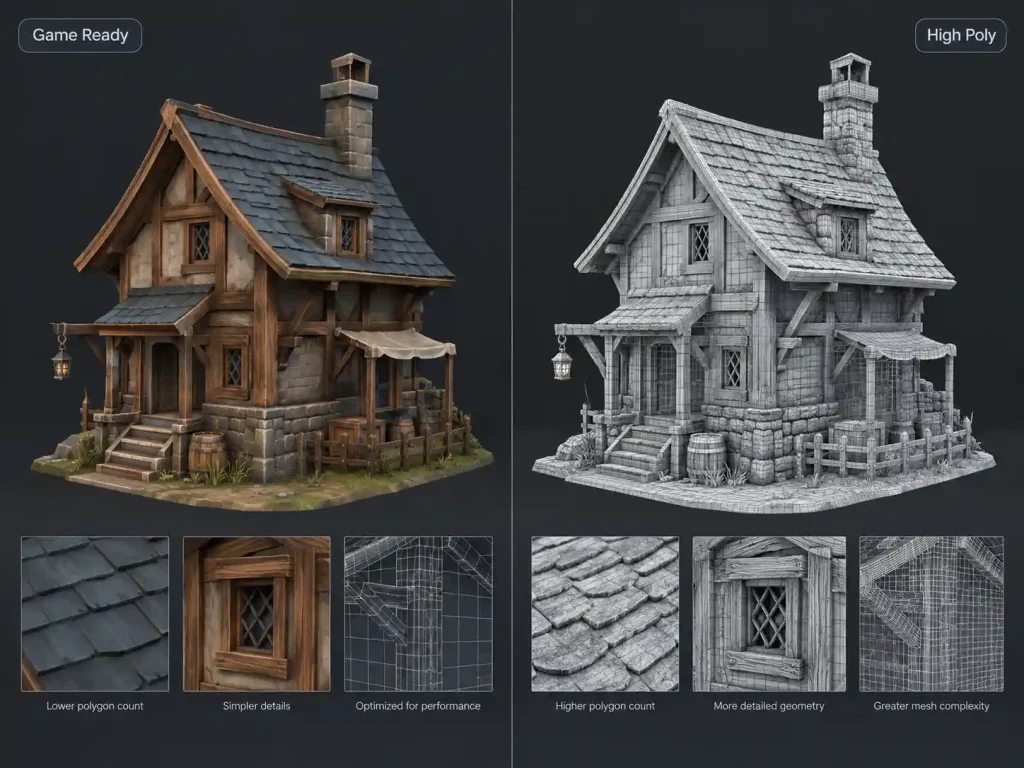
Here’s the part beginners trip over: a completed 3D model is not automatically a game asset. A game asset is a model that has been built to survive inside an engine. The difference is a checklist, and it’s worth memorizing:
- Poly budget. The asset’s triangle count has to fit the platform. A hero character for a mobile game and a hero character for a PC title live in completely different weight classes.
- LOD(Level of Detail) chain. Game-ready assets usually ship as multiple versions — full detail up close, stripped-down versions at distance. One dense mesh is not a pipeline.
- Clean, editable topology. You need geometry that can be retopologized, deformed by a skeleton, and edited without the whole surface collapsing into spaghetti.
- Correct scale and pivot. Unity generally uses 1 unit as 1 meter, while Unreal Engine uses 1 Unreal Unit (UU) as 1 centimeter by default. Get this wrong and your character arrives in the scene the size of a house. The pivot matters too: a sword pivots at the grip, a character at the feet, a door at the hinge.
- UVs, materials, and texture resolution. Textured assets need sensible UV layouts, PBR maps (albedo, normal, roughness, metallic), and ideally shared materials so the engine doesn’t burn draw calls on a single crate.
- Naming and hierarchy conventions. SM_Crate_01, SK_Character_Hero, M_Wood_Base. Trust us, your 2 a.m. self six months from now will thank you.
- Collision readiness. Someone has to decide what happens when the player walks into it.
How to Create 3D Game Assets with AI
The traditional route goes like this: concept art, blockout, high-poly modeling, retopology, UV unwrapping, texturing, optimization, LODs, engine import. Tools like Blender, Maya, ZBrush, and Substance Painter are excellent at each stage — and every stage costs hours. A simple prop is an afternoon. A character is a week or more.
An image to 3D AI workflow changes the starting point. Instead of building a base mesh vertex by vertex, you bring a reference image and get a textured or geometry-only model in minutes. That doesn’t remove the craft from game development. It moves your time from “sculpting a barrel from nothing” to “making this base mesh fit my game,” which is a far better use of a solo developer’s evening.
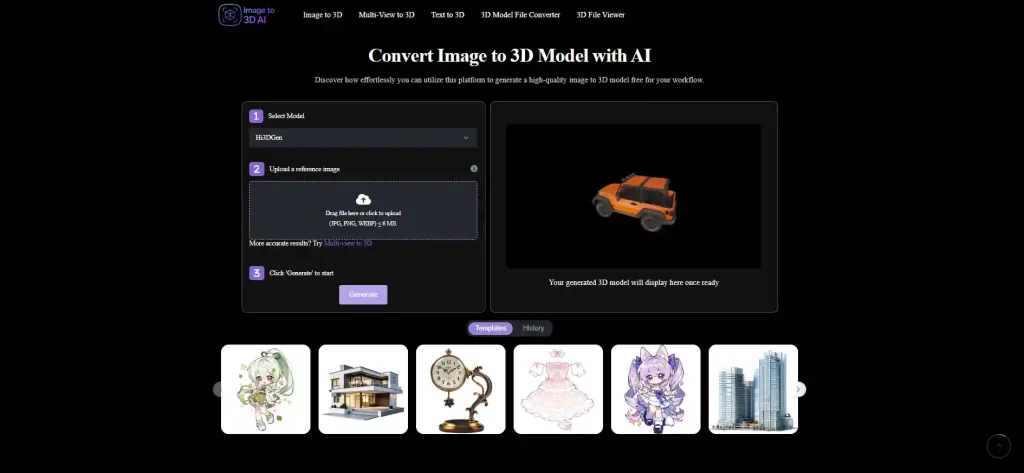
Step 1: Get a Reference Image or Write a Prompt
Garbage in, garbage out is the oldest rule in computing and it has not been repealed. Your reference image decides most of your result quality.
A few rules that matter:
- One clear subject. A single object, fully visible, nothing important cropped off. If the subject’s silhouette is ambiguous to a human, it’s ambiguous to the model.
- Complete silhouette. No hand covering the sword hilt, no convenient shadow swallowing the back leg.
- Even, balanced lighting. Harsh spotlight drama flattens into confusion.
- Clean background. A cluttered desk behind your prop becomes three mystery geometry blobs. Crop it.
Alternatively, skip the image entirely and describe the object in plain text — useful for props that don’t exist yet in any artwork. Either way, be specific about form and material, and don’t ask for a character and a vehicle and a building in one prompt. That’s not a prompt, that’s a wishlist.
Step 2: Choose Textured or Geometry-Only Output
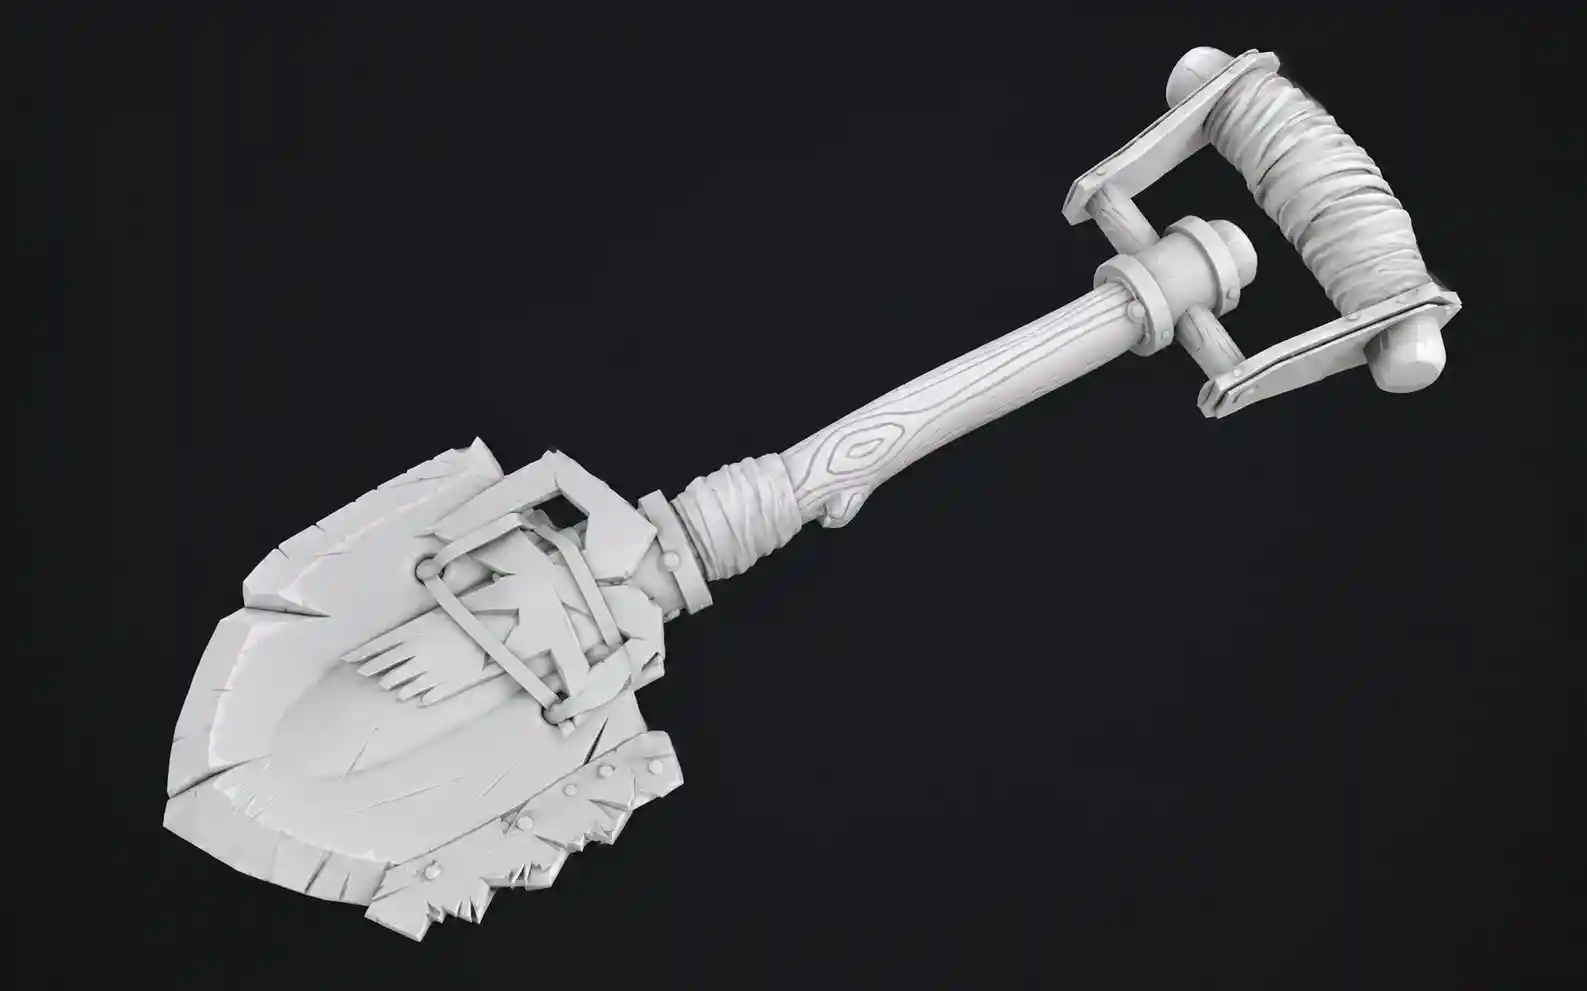
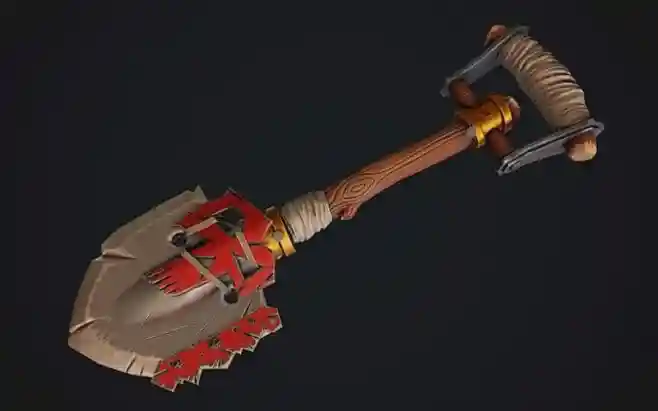
Textured gives you a mesh with UV mapping and baked surface detail in one file. It looks right immediately, which makes it perfect for prototypes, game jams, mobile titles, and blockouts where you just need the level to stop looking like a grey box.
Geometry-Only gives you the 3D shape without baked textures, making it easier to retopologize, UV unwrap, and texture yourself. This is the safer default for a real production pipeline: it’s easier to retopologize, easier to UV yourself, easier to rig and animate, and it won’t fight your art direction because there’s nothing baked in to fight.
Rough rule: if you plan to retexture it, don’t ask for textured. Picking a textured output when you intended to repaint the whole thing is like having your car resprayed before you’ve decided what color you want.
Step 3: Generate, Review, and Refine
Upload, generate, preview in the browser, and orbit the result. Rotating the camera around a model is the fastest quality check that exists — problems you can’t see from the front are usually obvious from the side.
Then run the game-asset checklist:
- Does the silhouette and proportion match the reference?
- Is the triangle count anywhere near your platform budget?
- Is the topology clean enough to retopologize or deform later?
- Are the scale and pivot placement usable?
- Is the asset named something a human can find later?
If a detail didn’t come through, two things help more than re-rolling blindly: feed it a cleaner reference image, or use the multi-view workflow to regenerate from several consistent angles. Consistency across views is what fixes warped backs, melted hands, and the classic “front is a knight, back is a surprise” problem.
Step 4: Export and Import into Your Engine
Export as GLB, the binary glTF format that carries mesh, materials, and textures in one file. Choose the format that fits your engine and workflow. GLB is a convenient option for carrying a mesh, materials, and textures together, while FBX is still common in many game-development pipelines. If your project requires another format, you can convert the model before importing it.
Then get it into the engine:
- Unity. Import GLB through a free glTF importer package, or convert to FBX and drop it in. Confirm the scale is right (one unit = one meter), add LODs, attach colliders, and set the pivot so the object sits on the ground instead of halfway through it.
- Unreal Engine. FBX is the native interchange format, and remember one unit = one centimeter, so check the import scale before you debug anything else. Nanite gives static meshes a lot of headroom on desktop and console, but mobile, VR, and UI assets still need real poly budgets.
One habit worth building early: keep the raw AI output in a _Source folder and never overwrite it. Your optimized, retopologized, textured final asset is a different file. Merging them is how people lose the ability to fix something six weeks later.
What 3D Game Assets Can You Create With AI?
AI is most useful when you need a large number of visual assets or want to turn existing concepts into 3D starting points quickly. The best results usually come from objects with a clear shape and relatively straightforward structure.
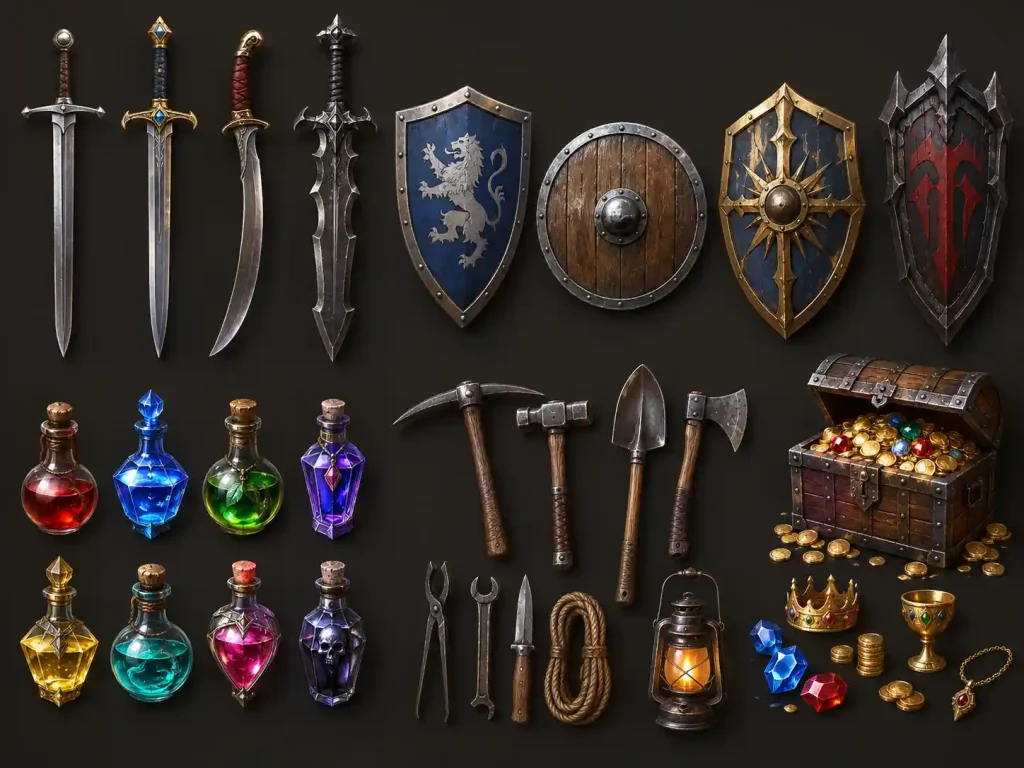
Props and weapons. Props are one of the easiest places to benefit from AI-generated 3D assets. Swords, shields, tools, furniture, crates, potions, and other game objects usually have clear silhouettes and don’t require complex deformation.
This makes them useful for quickly building out an inventory, environment, or loot system without modeling every object from scratch.
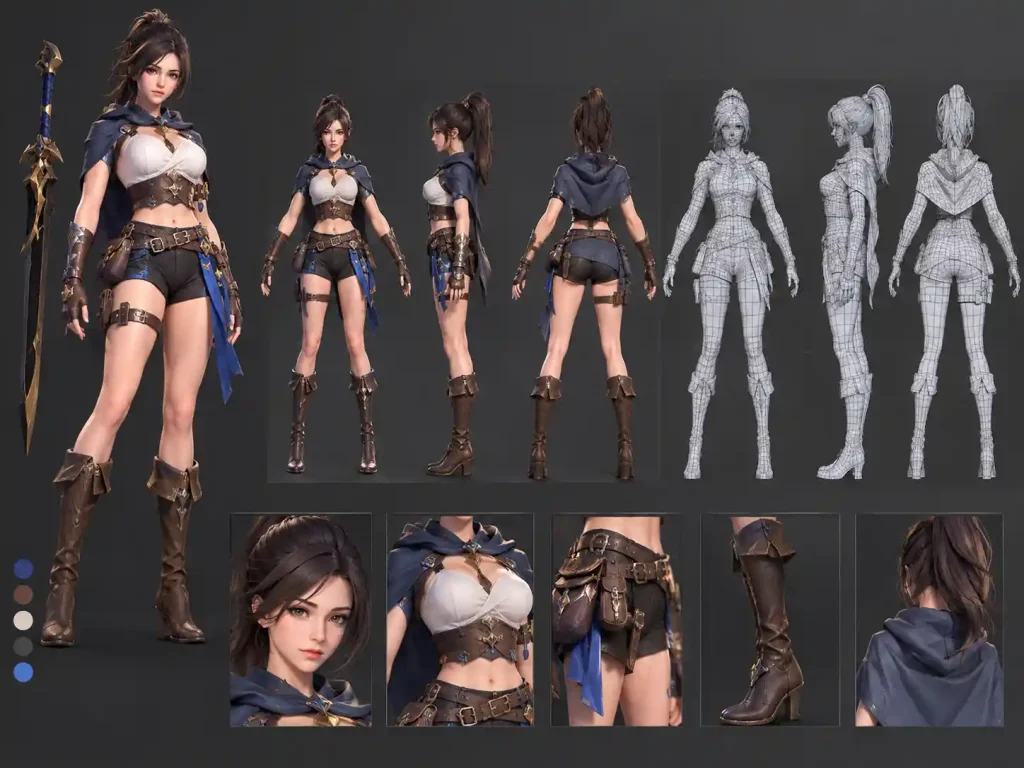
Creatures and stylized characters. AI can provide a starting mesh for stylized characters, creatures, NPCs, and enemies, especially when you already have concept art or character references.
Characters usually need more manual work than props because they may require retopology, rigging, skin weights, facial setup, and animation-ready topology.
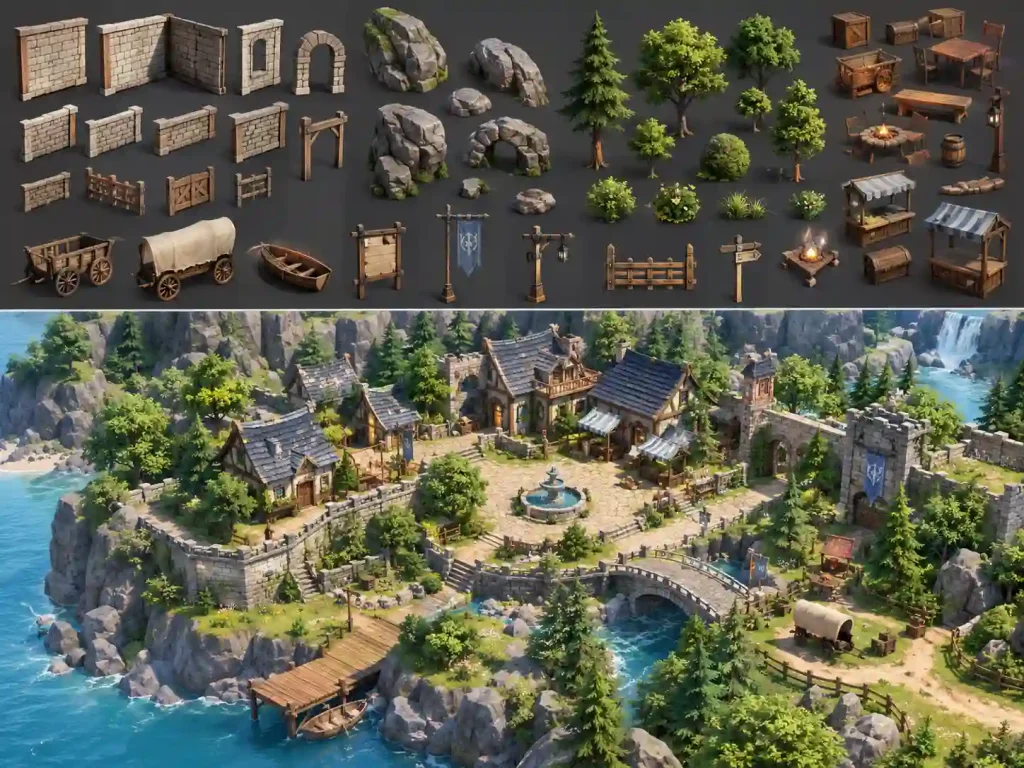
Environment pieces. AI-generated 3D models can also help populate environments with rocks, furniture, signs, decorative objects, vegetation, and other scene elements. These assets are particularly useful when a level needs many variations of similar objects.
For modular environments, however, you may still need to clean up dimensions, pivots, snapping points, and topology manually so that pieces work together consistently.
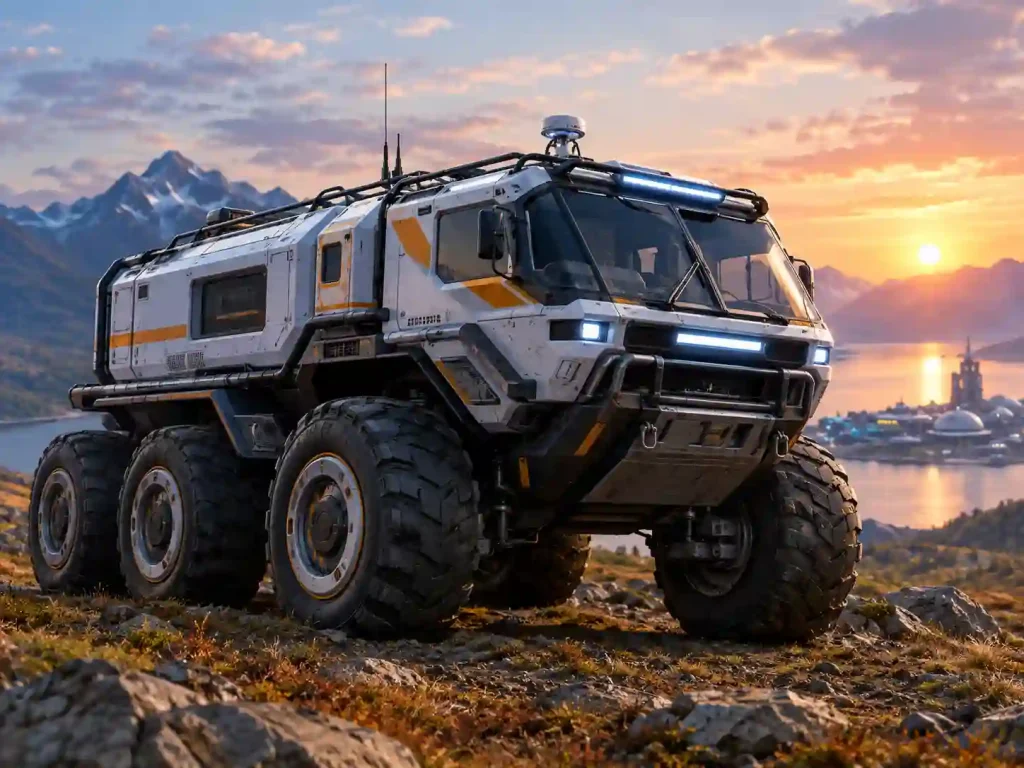
Vehicles and large props. Vehicles, machines, sci-fi equipment, and other large props can also be generated from concept images. These are useful when you need a visual starting point quickly, although production assets may still require topology cleanup and optimization.
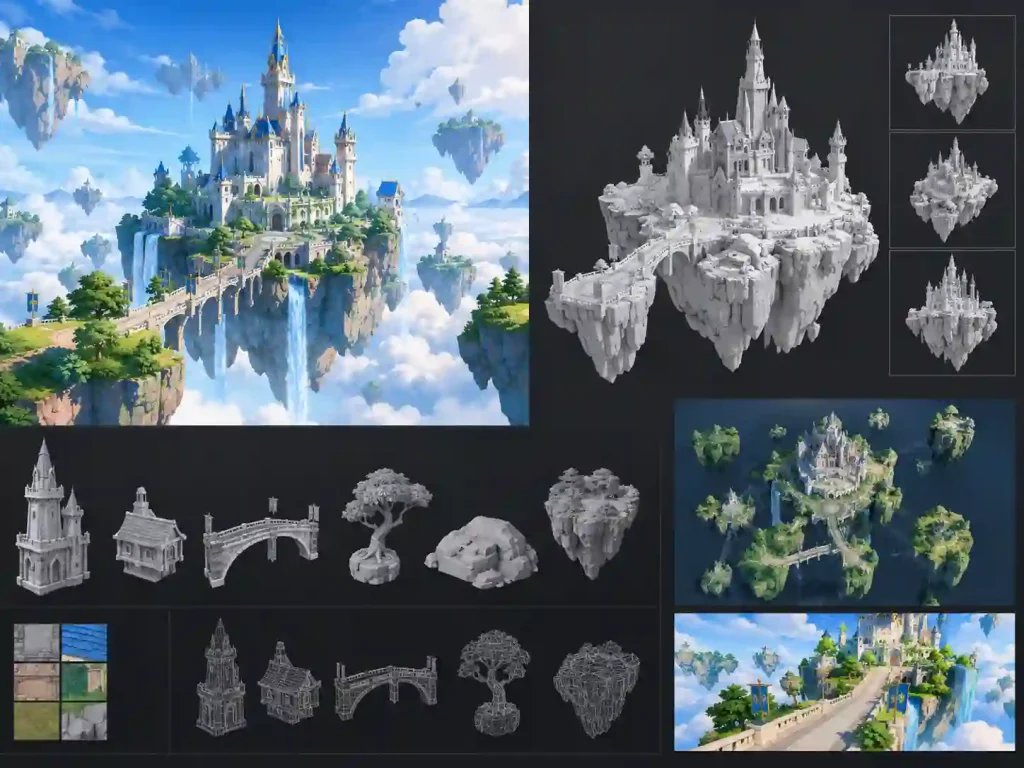
Concept and prototype assets. AI-generated models are also useful when the goal isn’t a final production asset yet. You can turn concept art into rough 3D models to test scale, composition, level design, or gameplay ideas before investing time in detailed modeling.
Where AI stops. Deformable facial rigs, hero characters with a very specific art direction, and anything that needs frame-perfect animation still belongs to a human with a tablet. AI hands you a strong starting point; it doesn’t hand you a shipped hero asset.
The Bottom Line
Learning how to create 3D game assets used to mean months of software study before your first usable crate. That’s no longer the required path. Understand what makes a model game-ready, respect your poly budgets and conventions, and let an image to 3D model tool handle the part of the job that was always just tedious vertex-pushing.
Not every AI-generated asset is production-ready, and we won’t pretend otherwise — some of them need manual modeling work, some need a full retopology pass, and hero characters will keep needing a human. But for the two hundred props standing between you and a playable level, starting from a reference image instead of a blank scene is the difference between shipping this year and describing your game in the future tense forever.
Ready to try it on your own project? Turn your first reference image into a 3D game asset — free, in the browser, no install, no modelling degree required.