How to Choose the Right Reference Images for AI 3D Modeling
Let’s be honest about something nobody says out loud: your reference image is doing 80% of your modeling work before you generate the AI 3D model. Whether you’re modeling by hand or feeding an image into an image to 3D AI tool, the rule is identical — garbage in, garbage out. Feed your workflow a blurry, cluttered, badly lit image and you’ll get a model that looks like it was built from memory by a sleep-deprived intern. Feed it a clean, well-lit reference and the result practically models itself. This guide shows you exactly what makes a good reference image for 3D modeling, what quietly ruins your day, and — because we’re nice — two ways to skip the hunt entirely.
Good vs. Bad Reference Images: 5 Rules, Side by Side
Good reference images aren’t magic — they all check five boxes, and every bad one breaks the same five. Instead of making you scroll between two lists, here’s each rule with the right way and the crime scene right next to it.
1. Complete subject, clear silhouette
✅ Good
❌ Bad
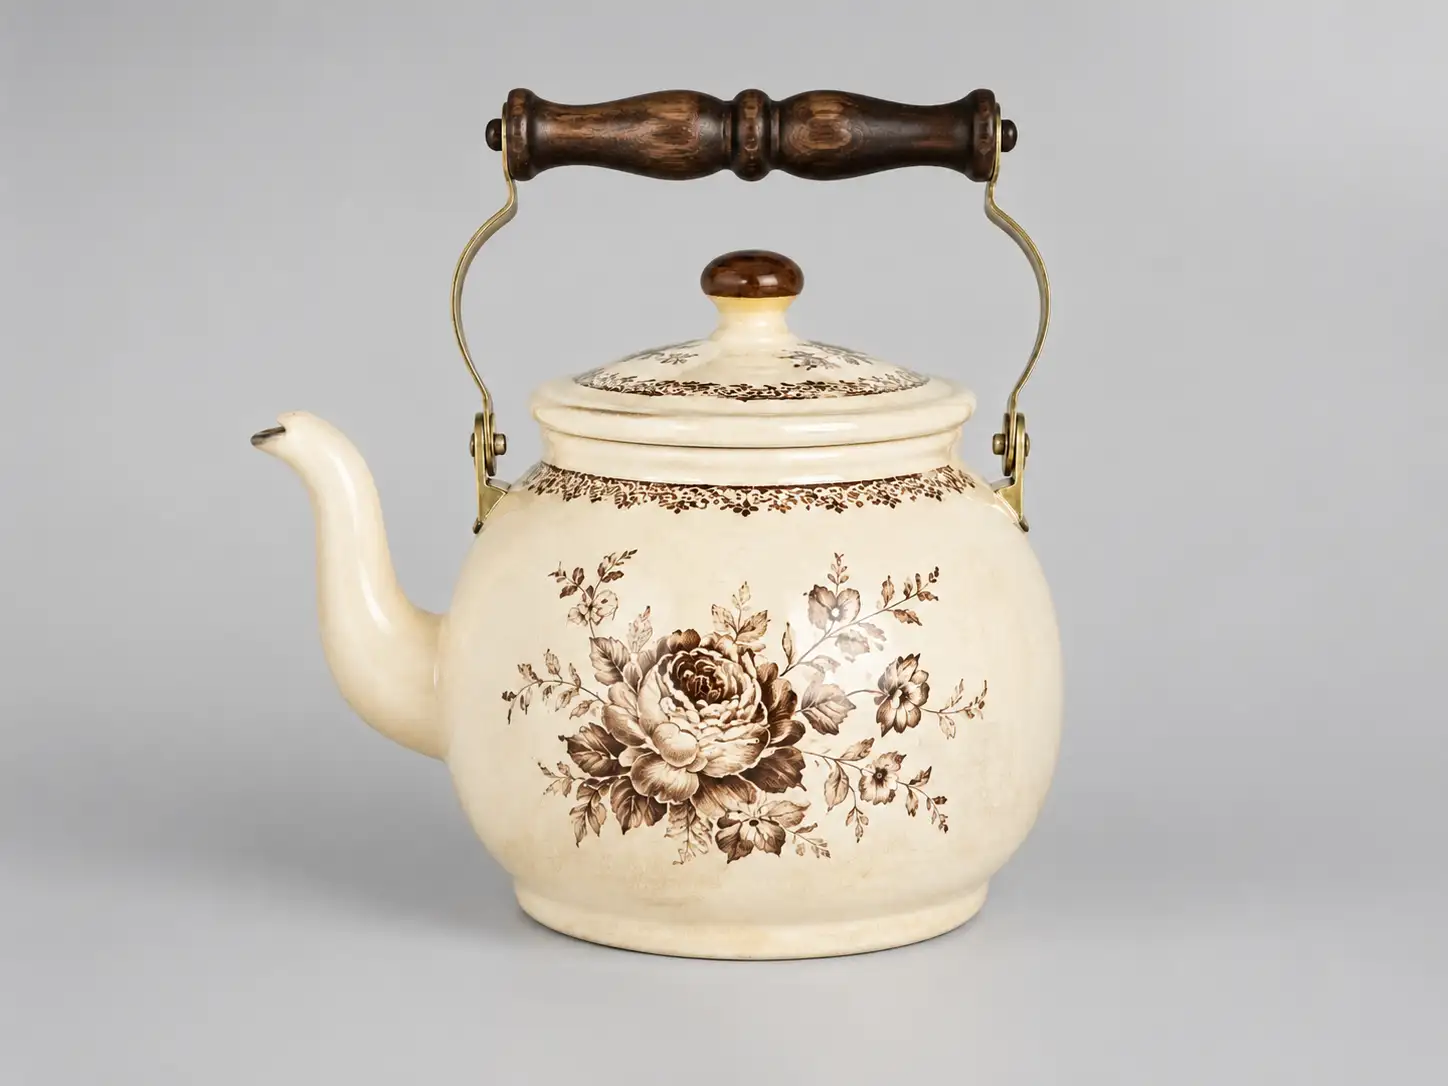
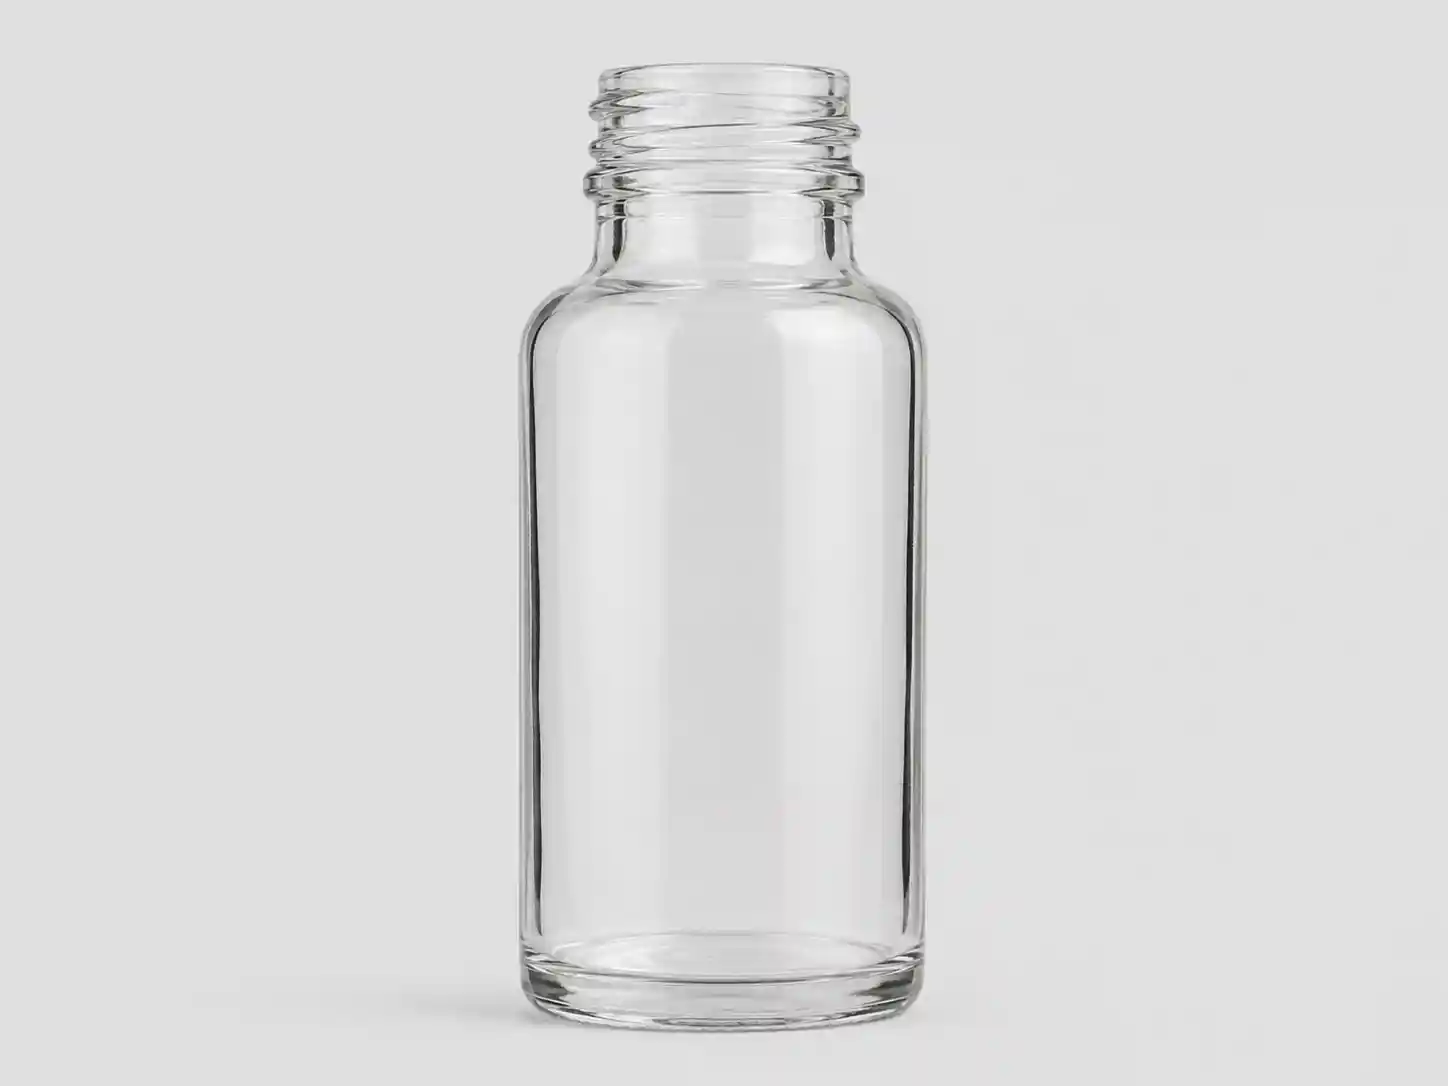
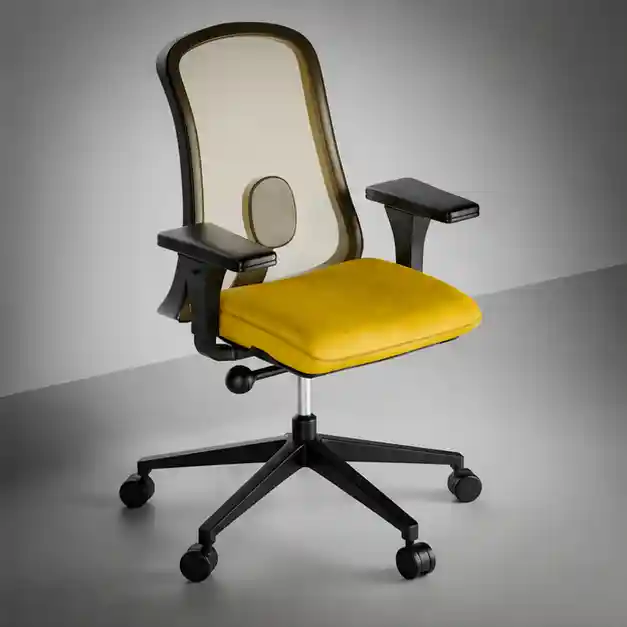
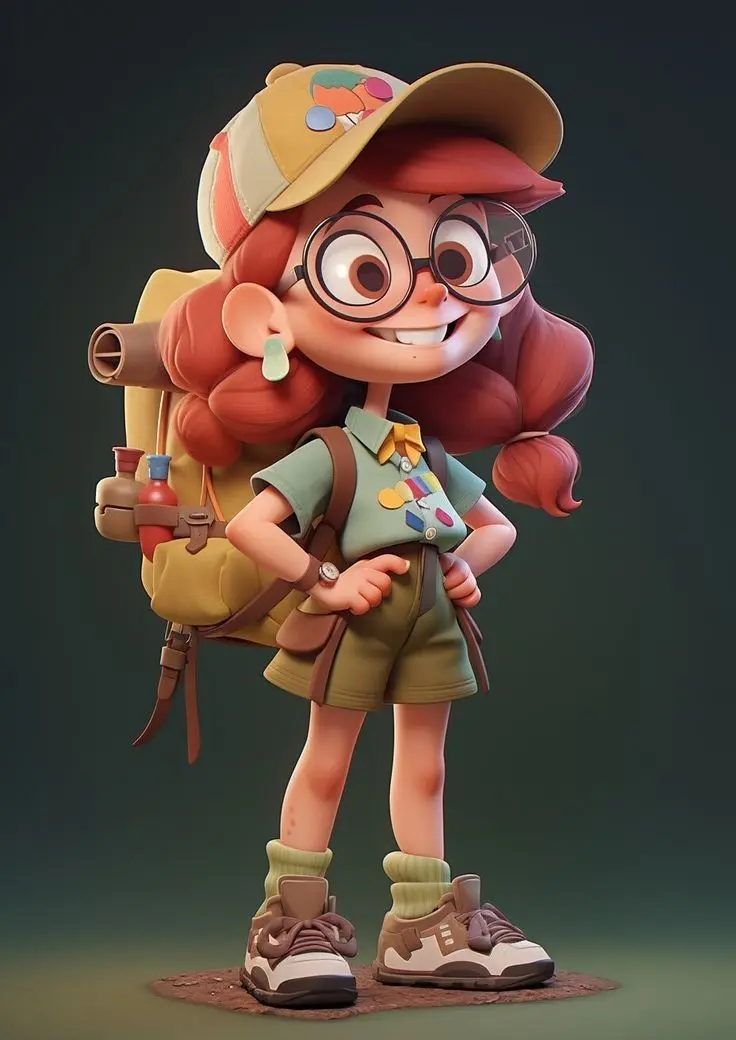
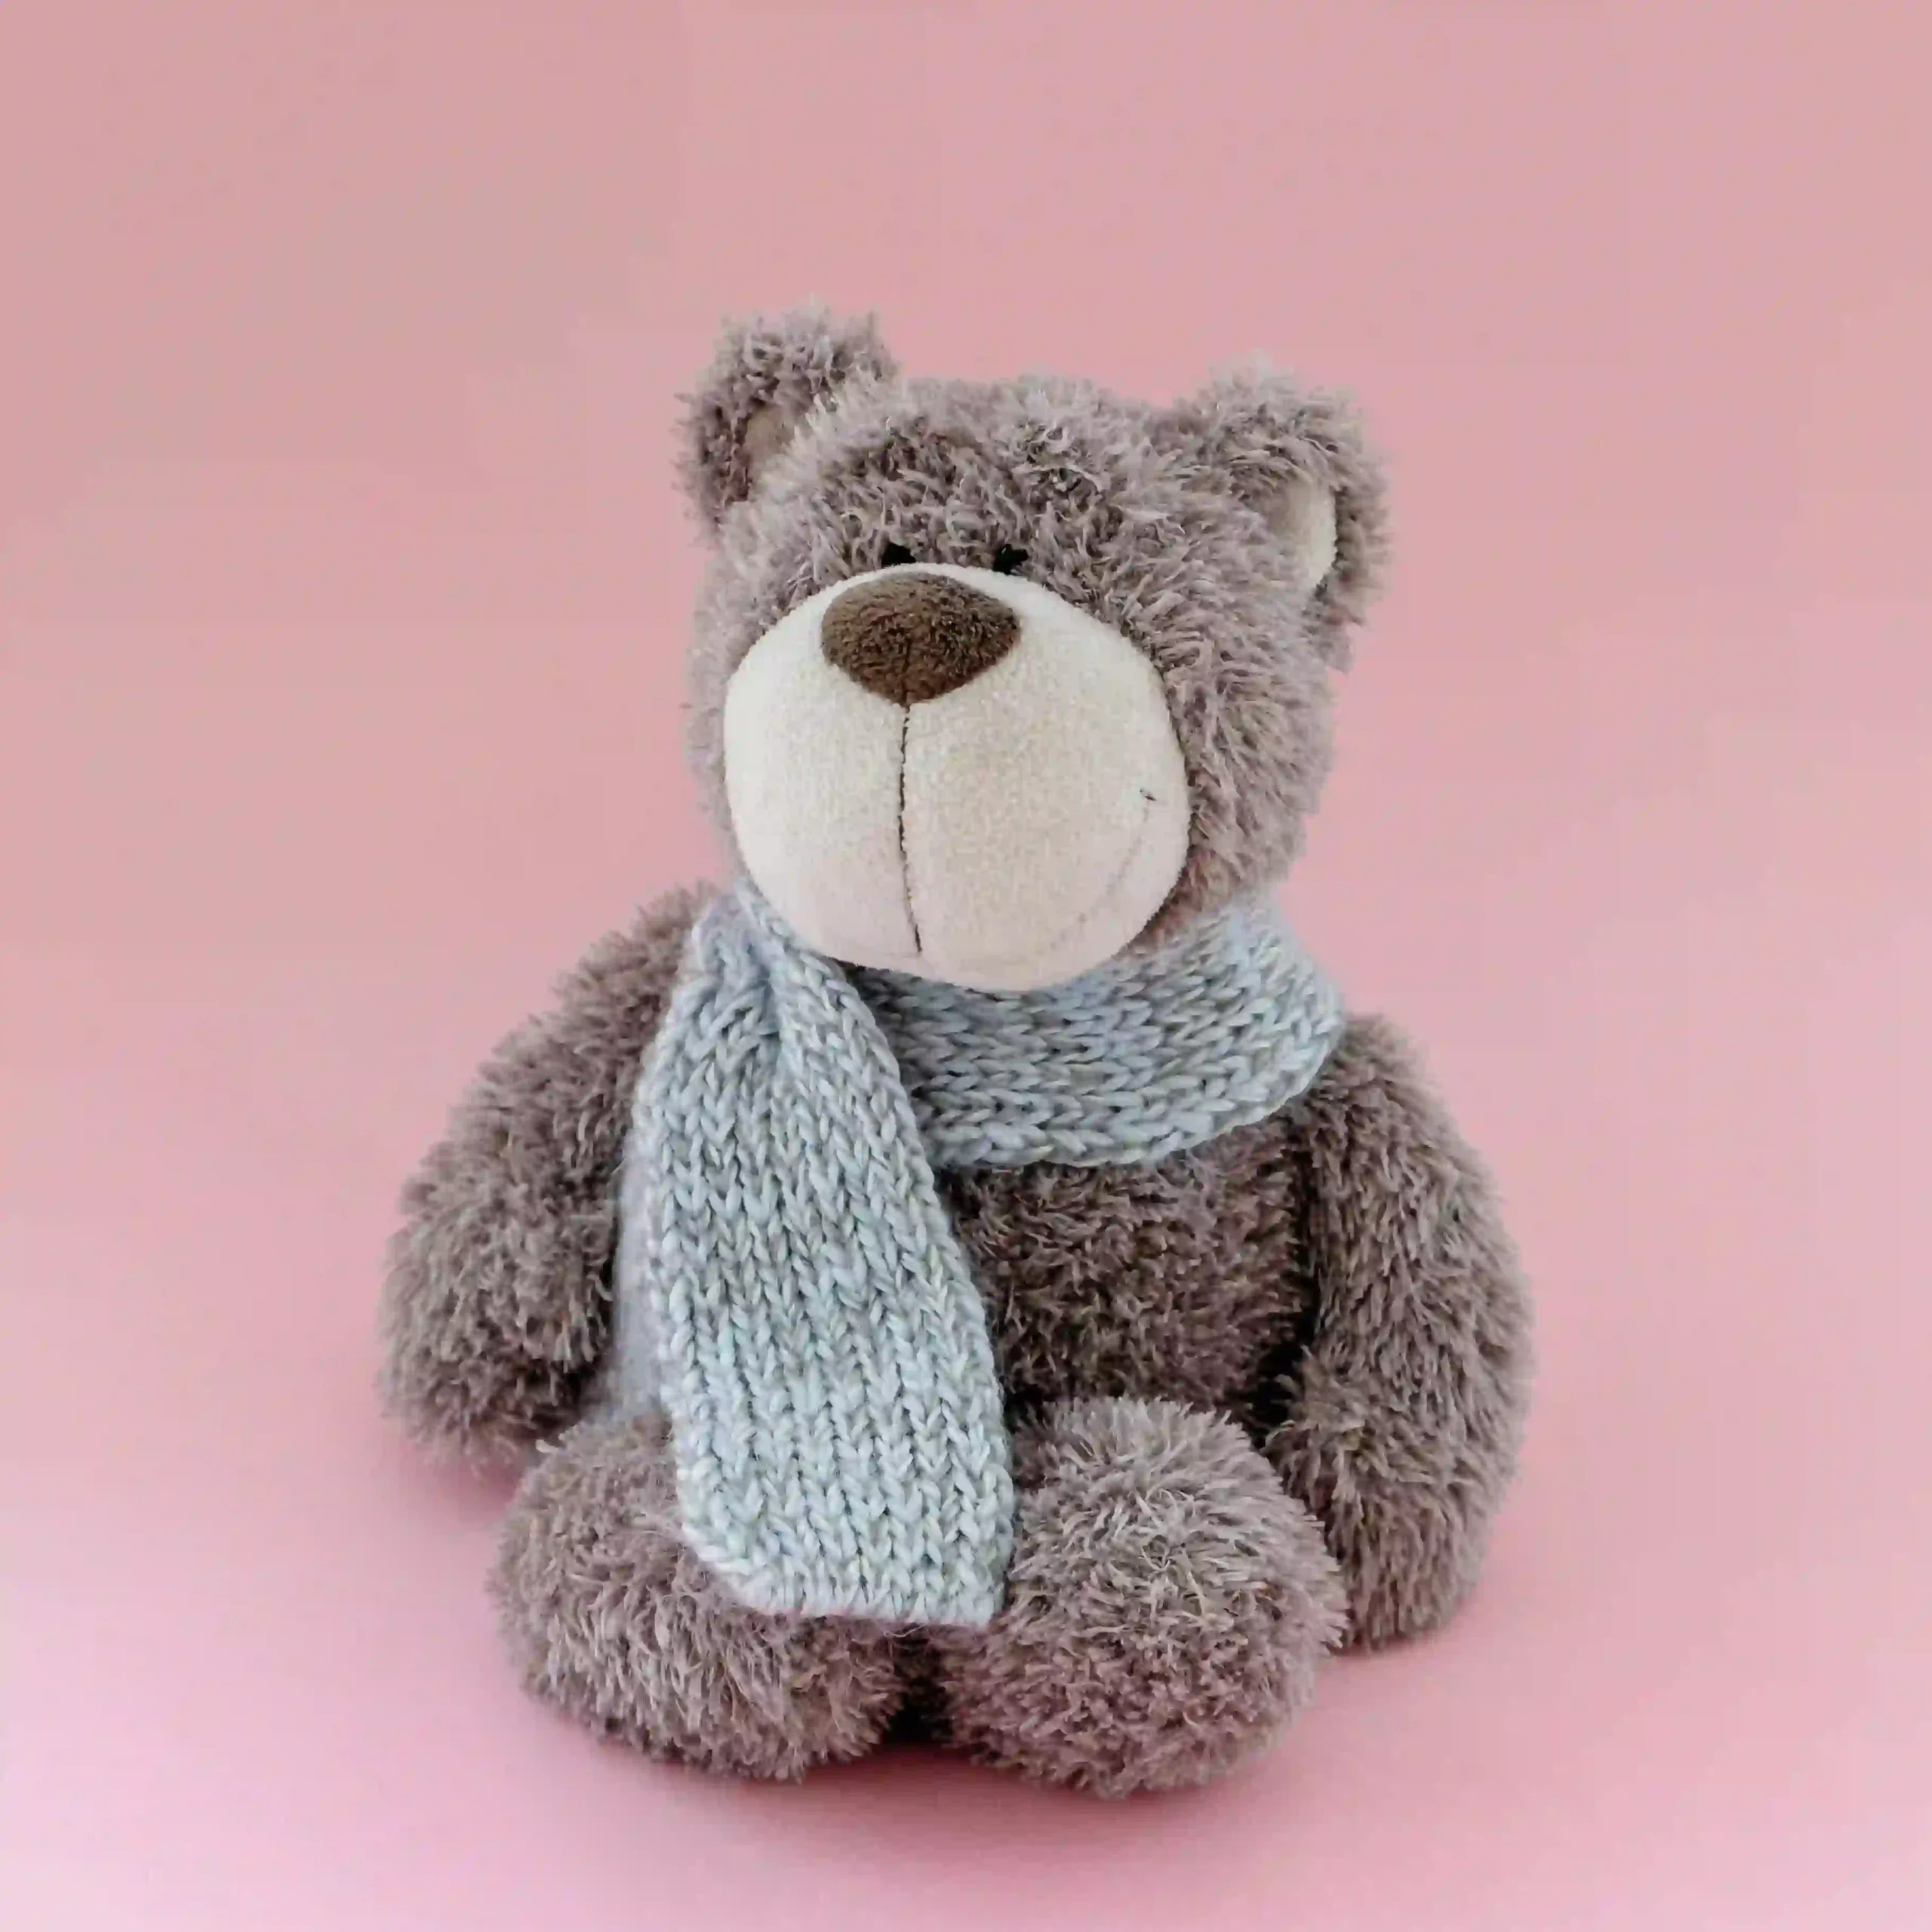
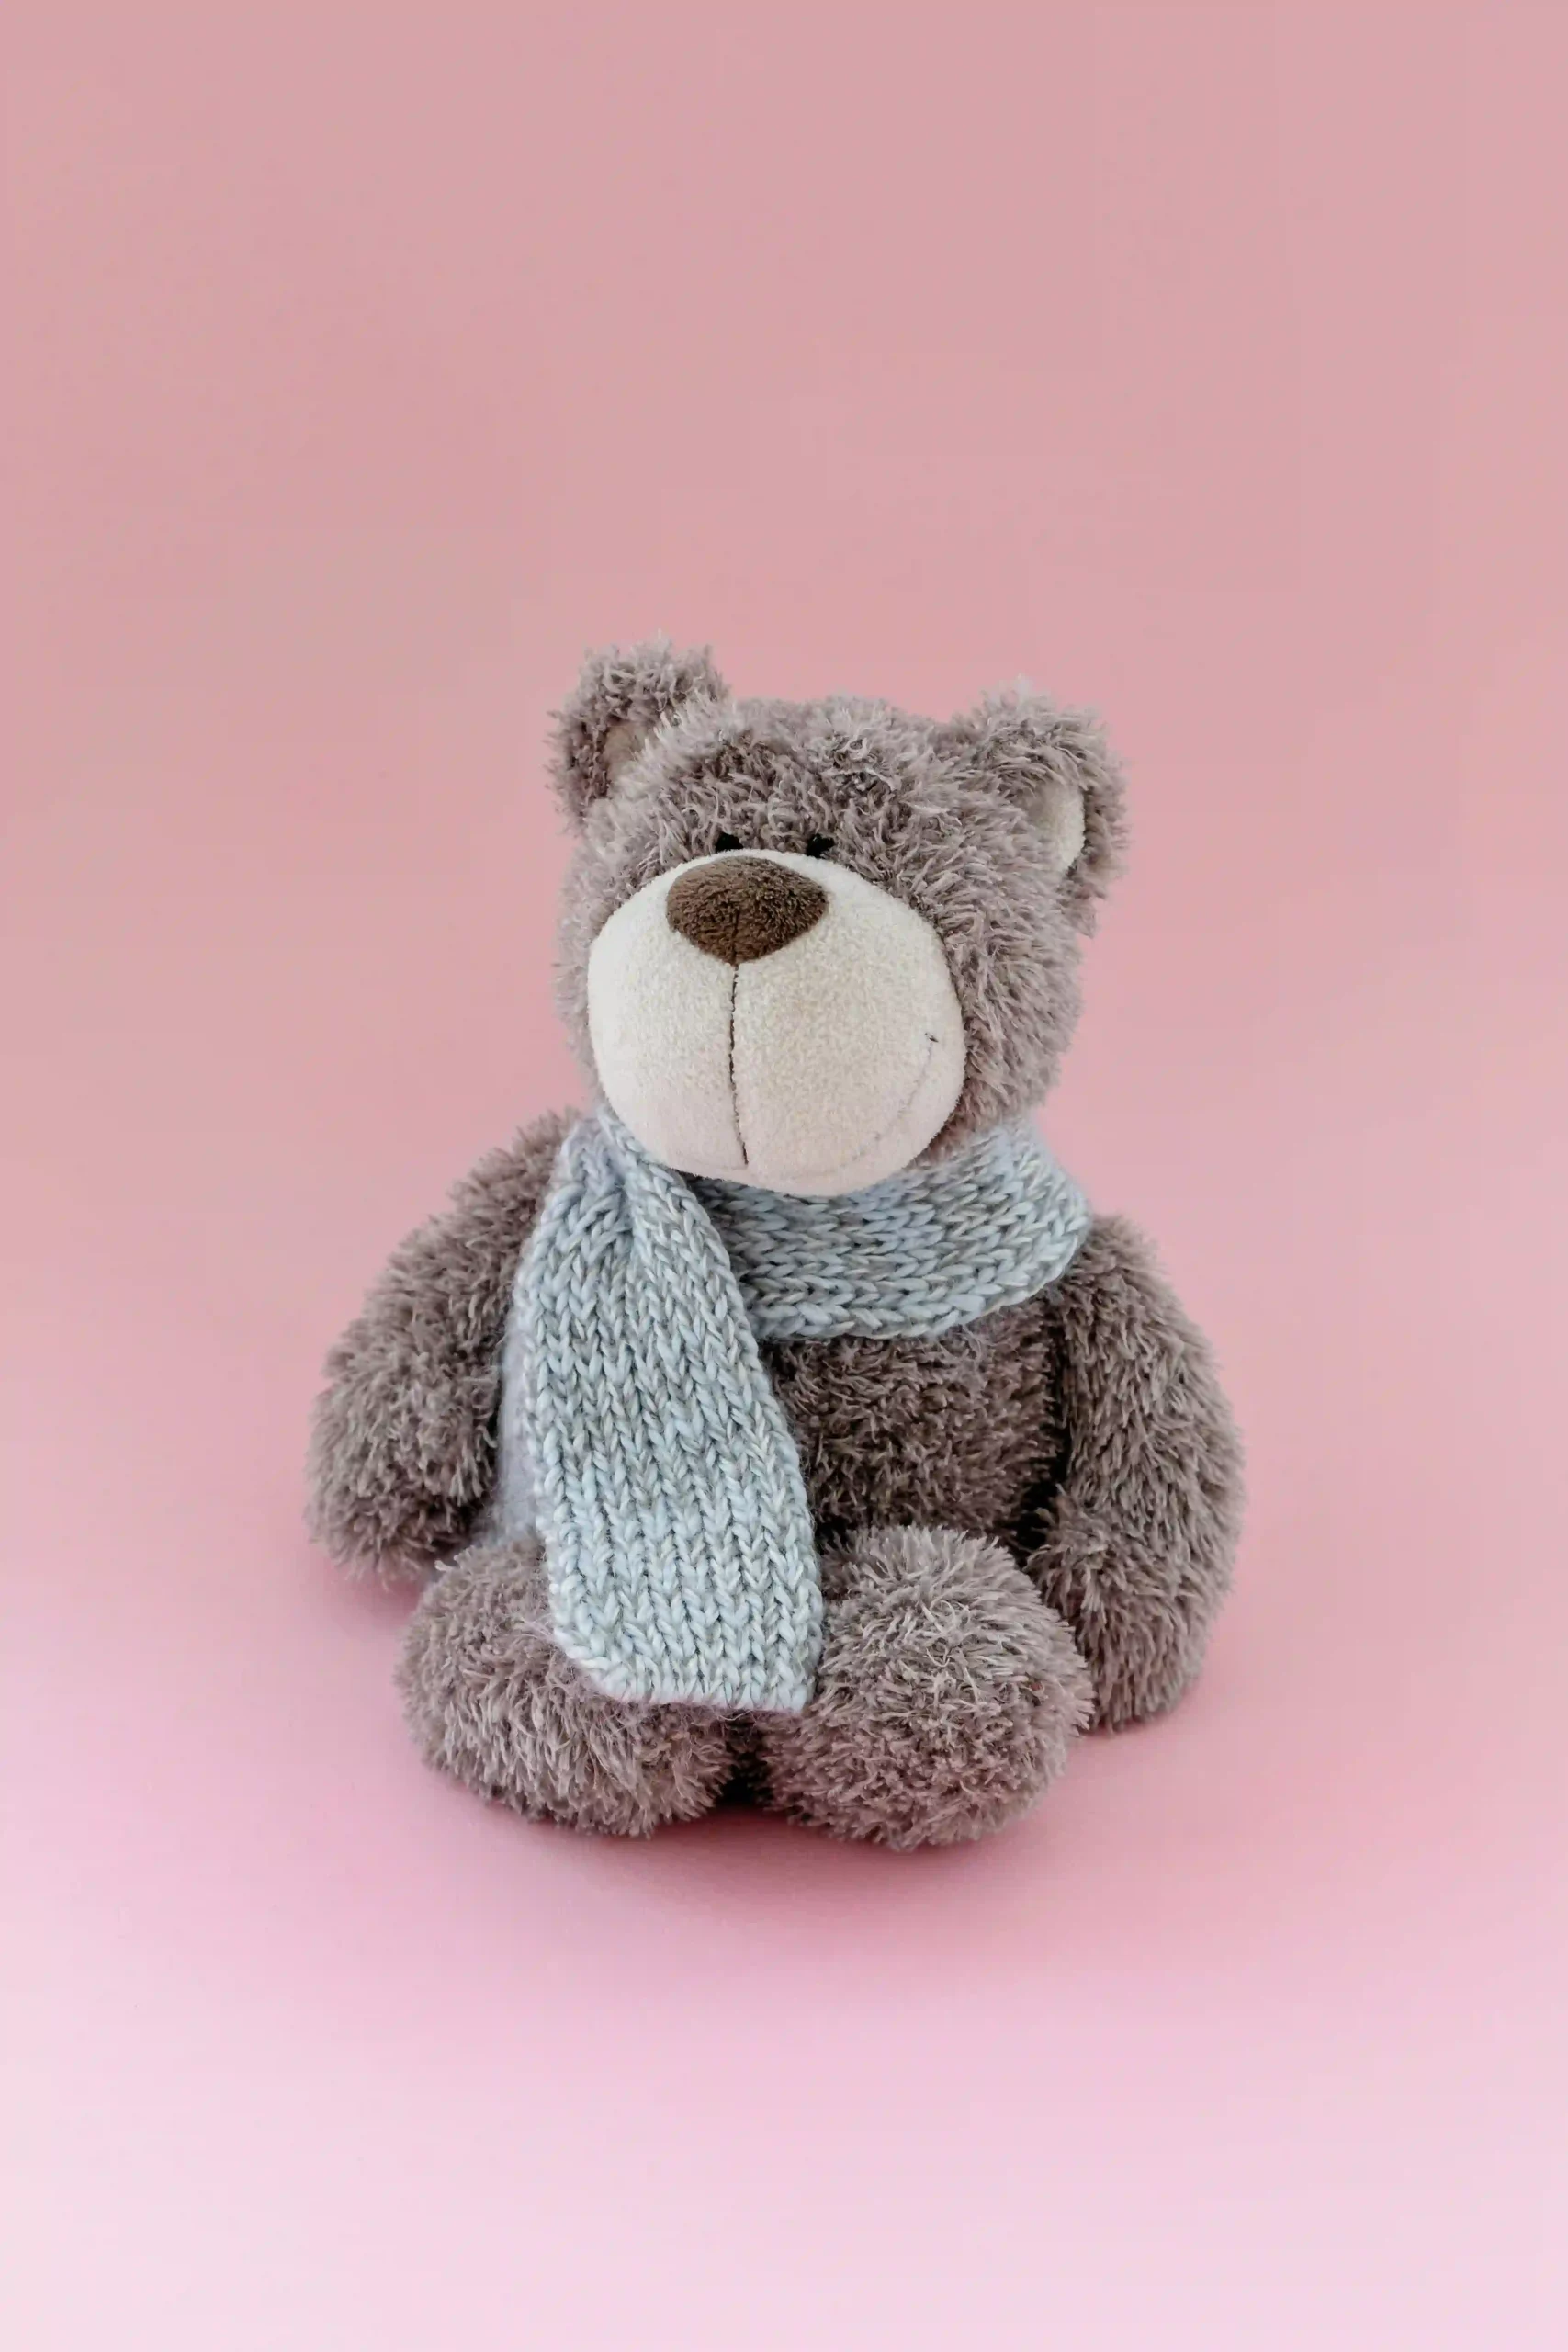
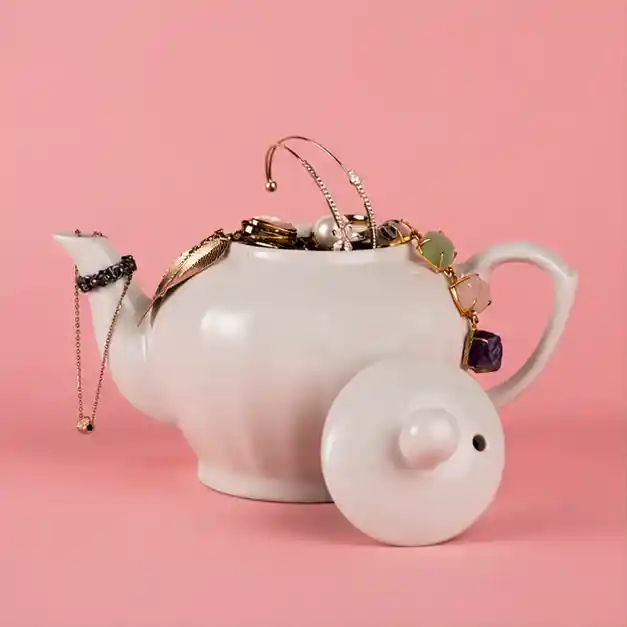
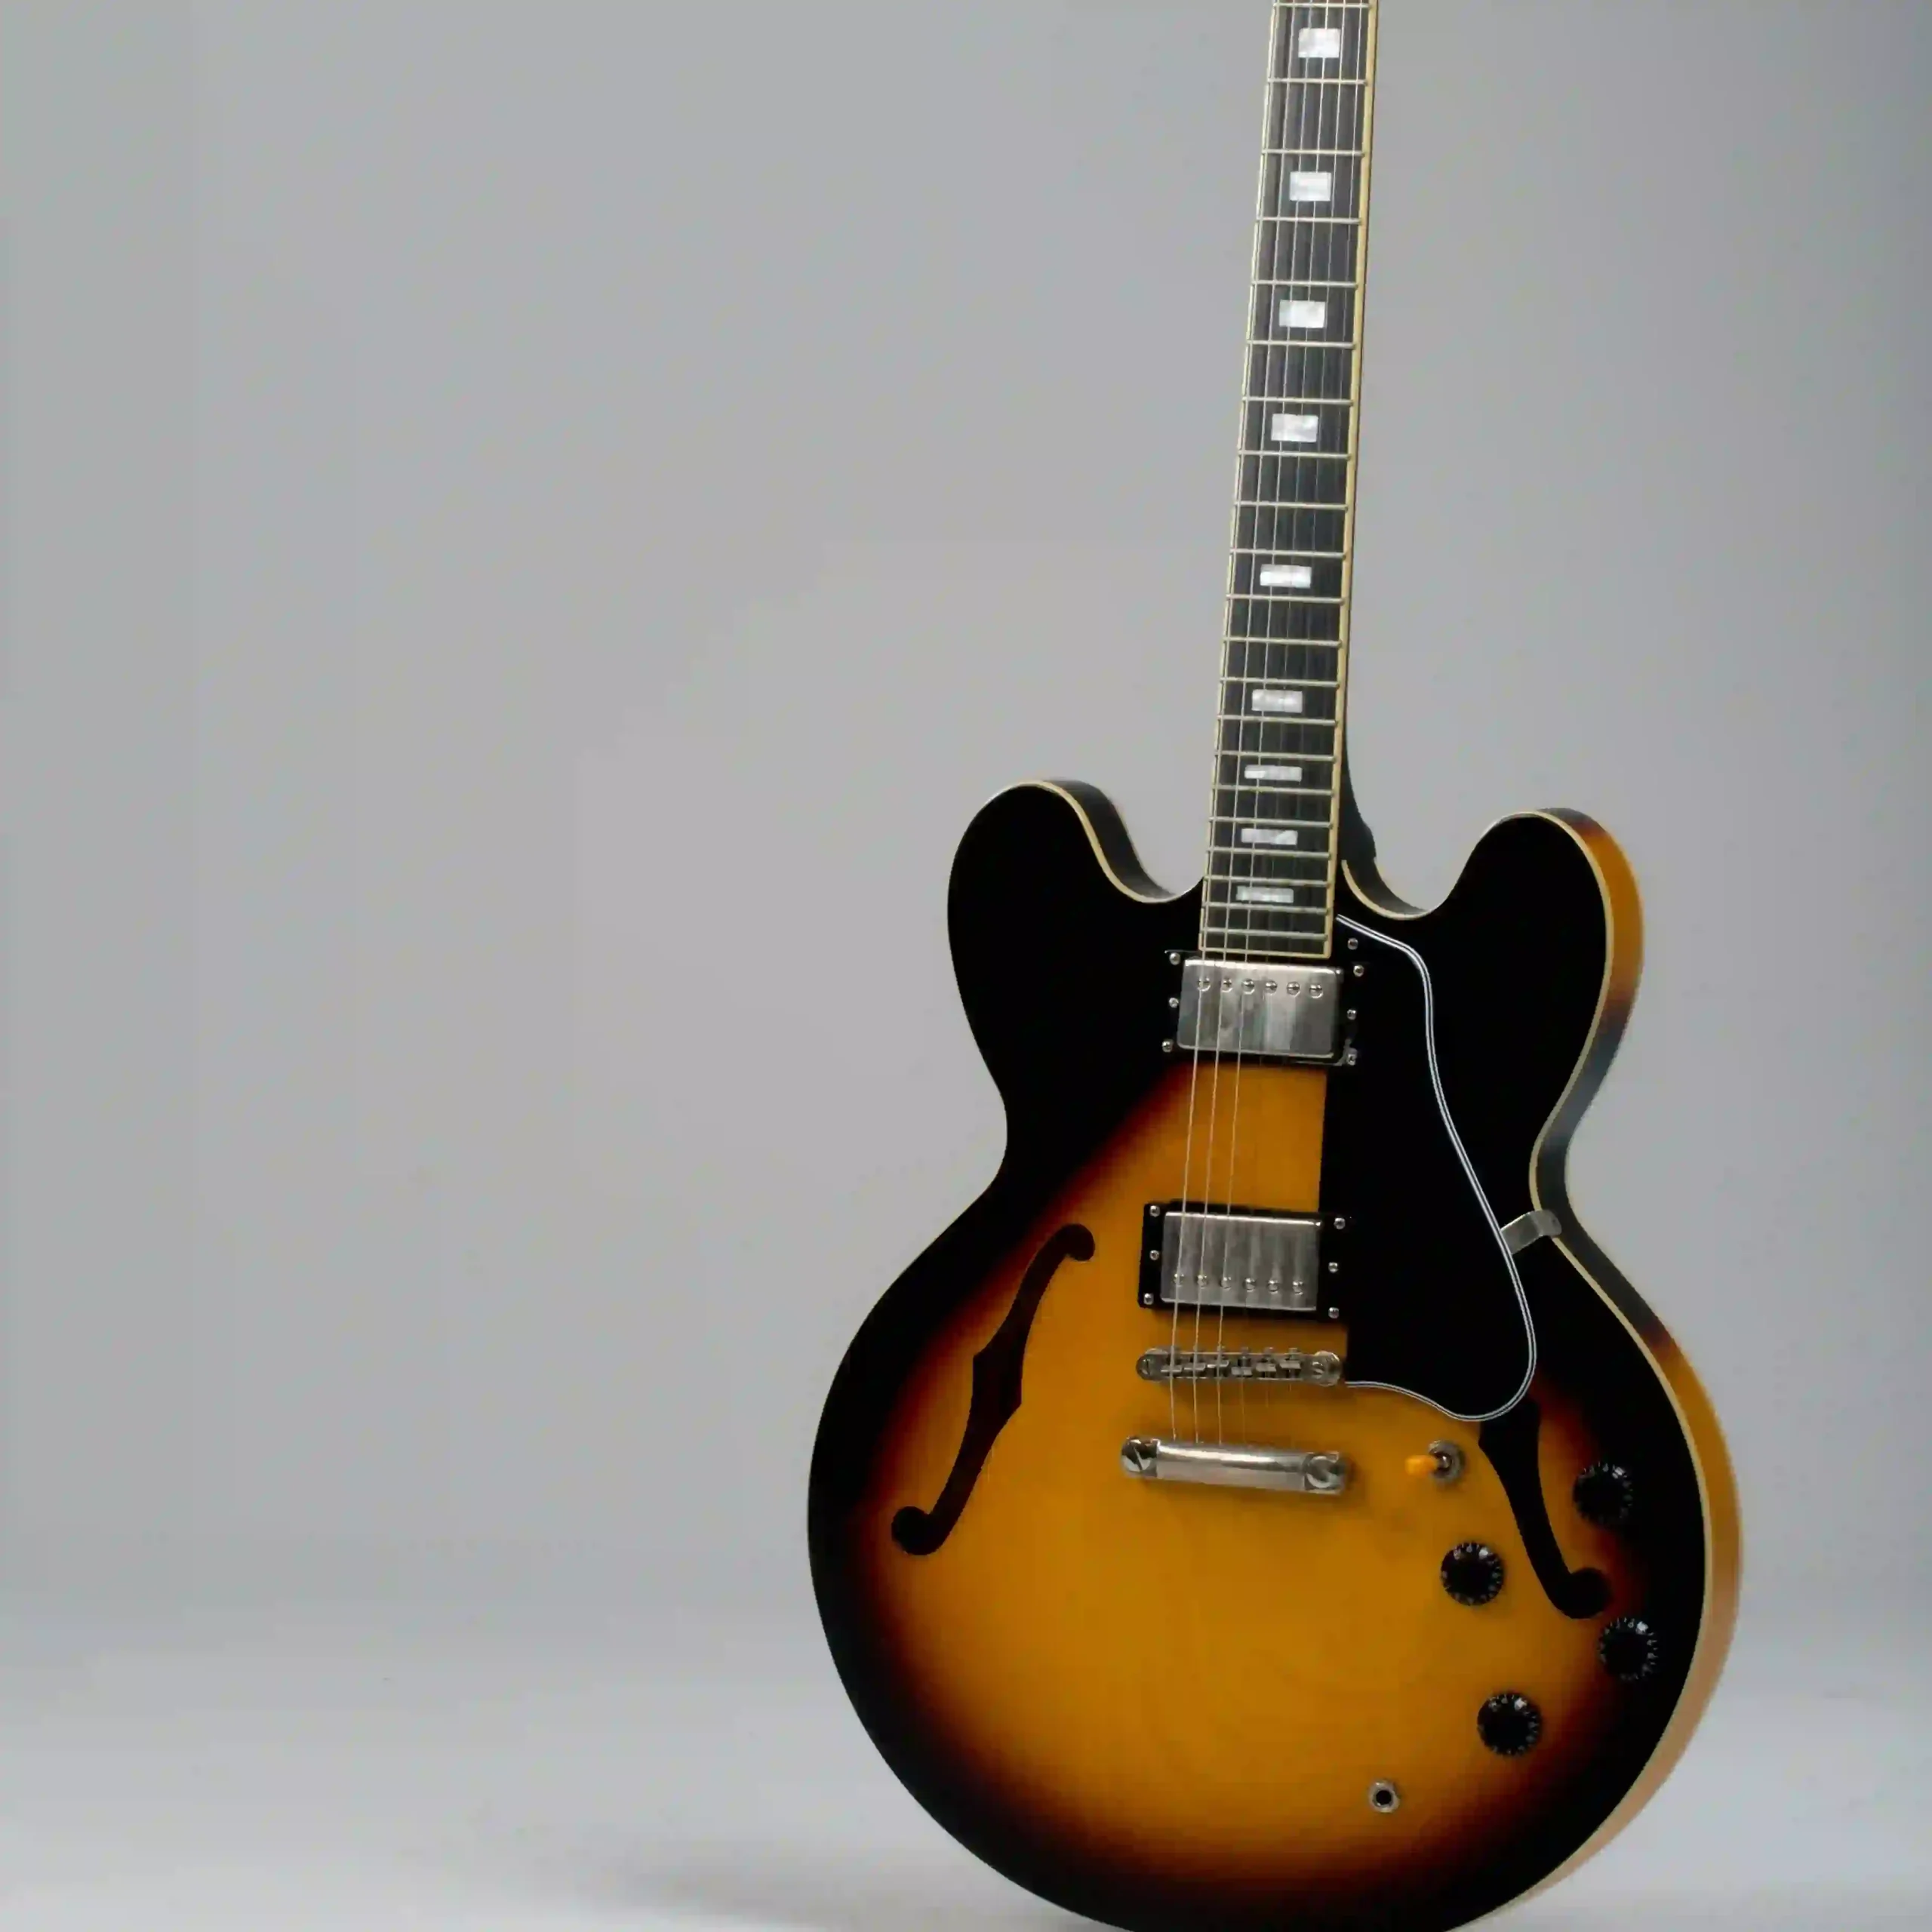
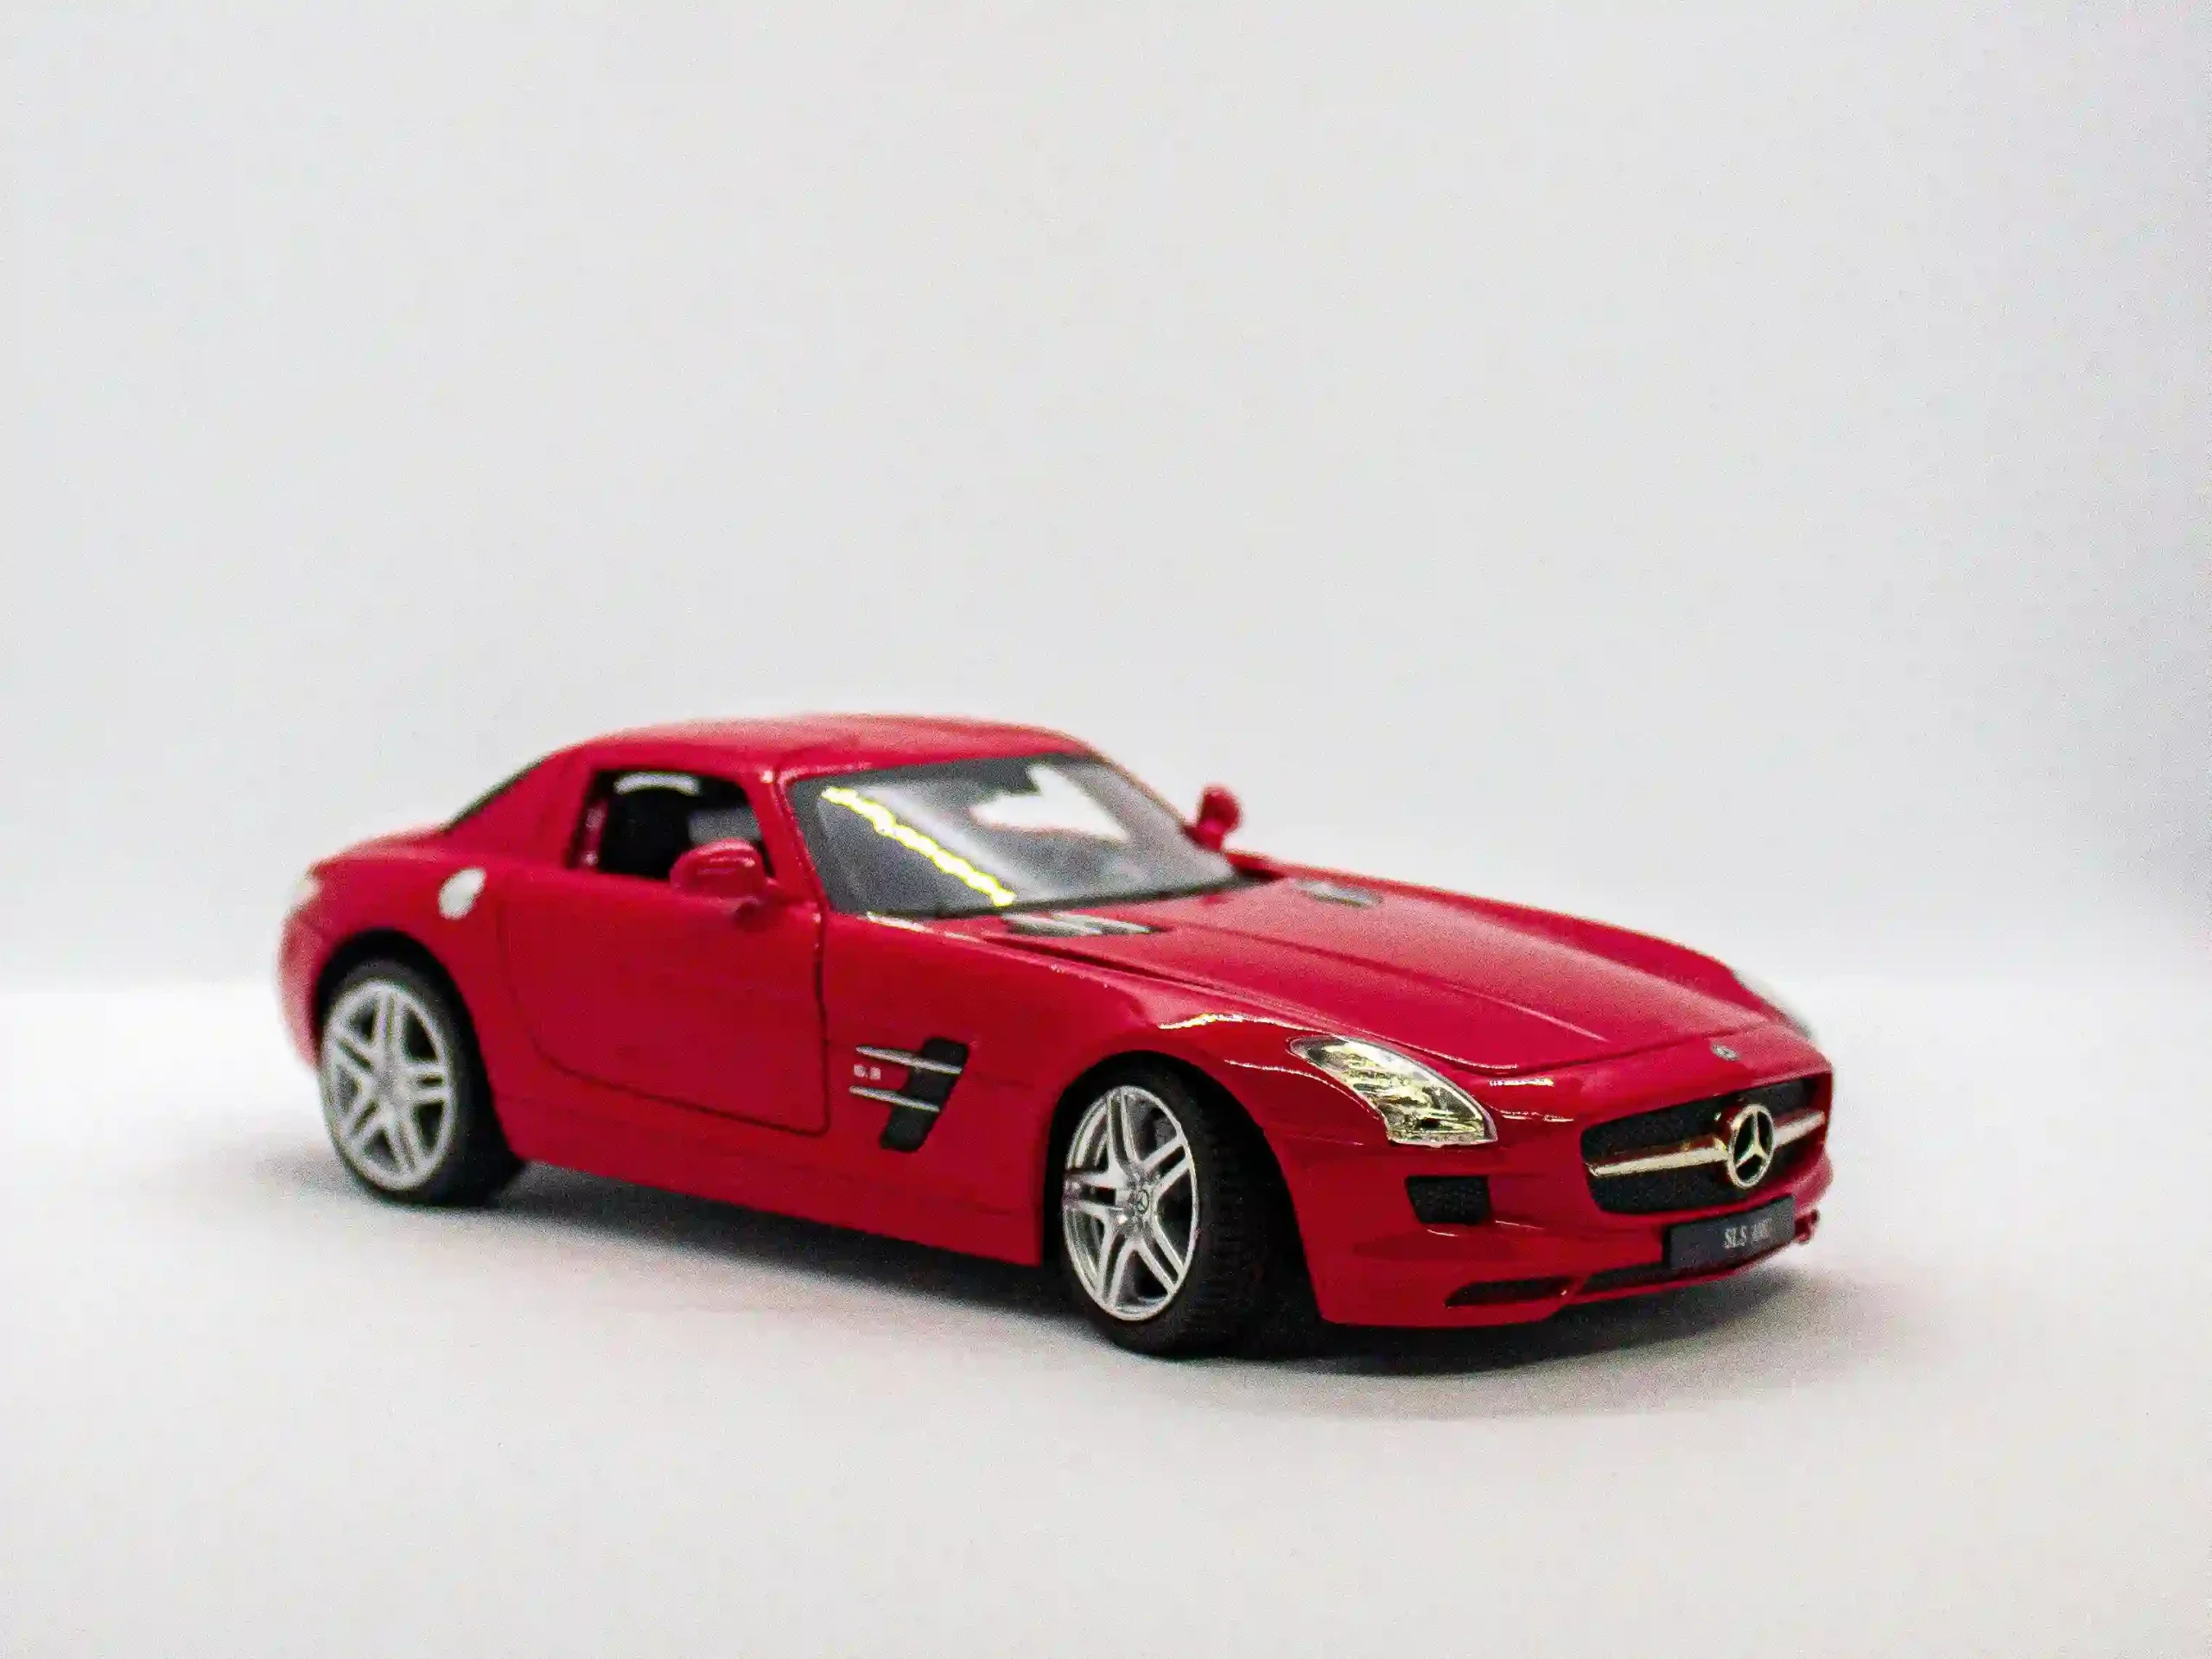
Good: The object is fully in frame — no cropped ears, no amputated handles. If you can trace the outline with your finger and instantly know what it is, you’re off to a great start. Bad — The Tiny Subject: The subject huddles in a corner of the frame while the background takes the starring role. There isn’t enough visual information left to identify the shape — so your model improvises. And it will improvise wrong.
2. Enough structural information
✅ Good
❌ Bad
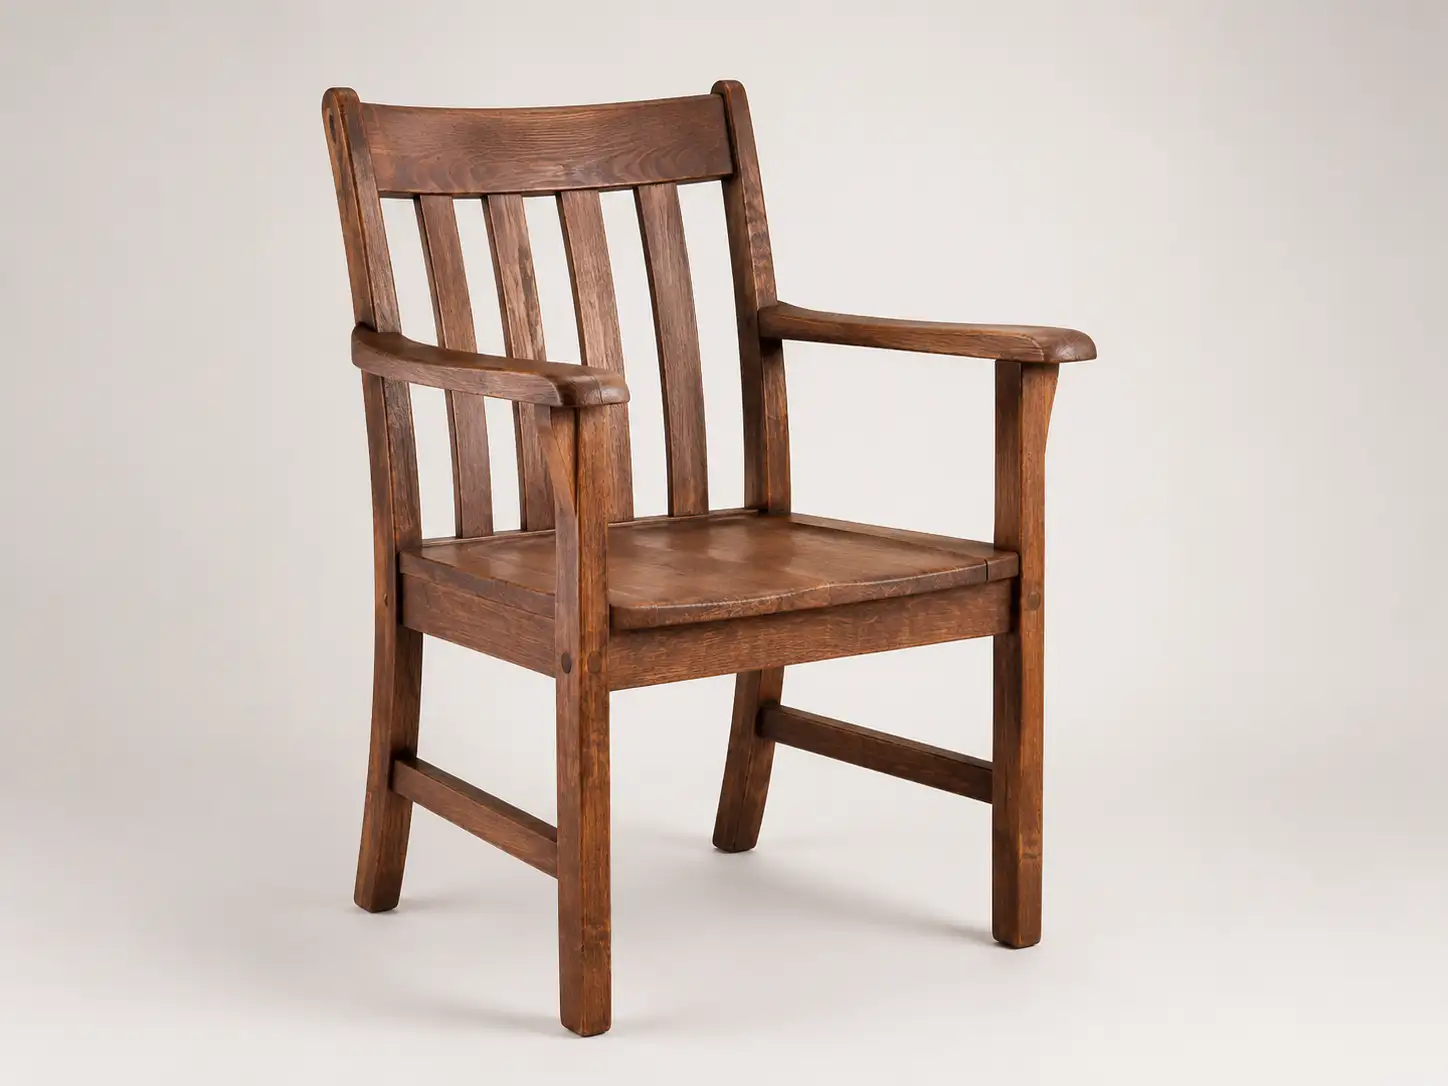
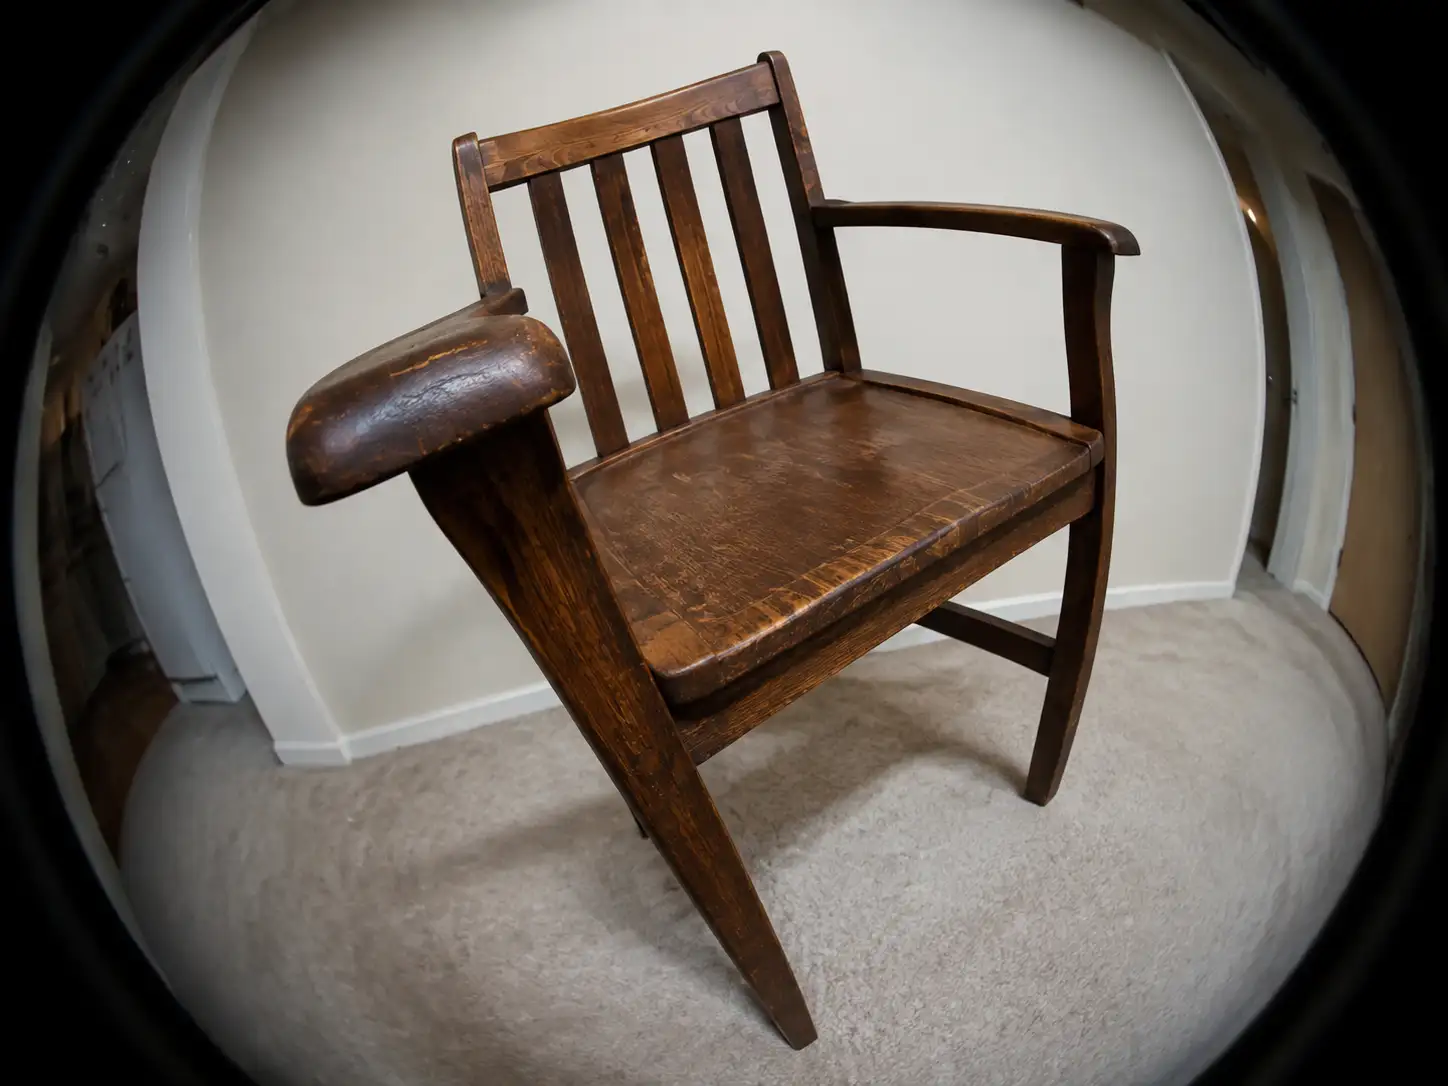
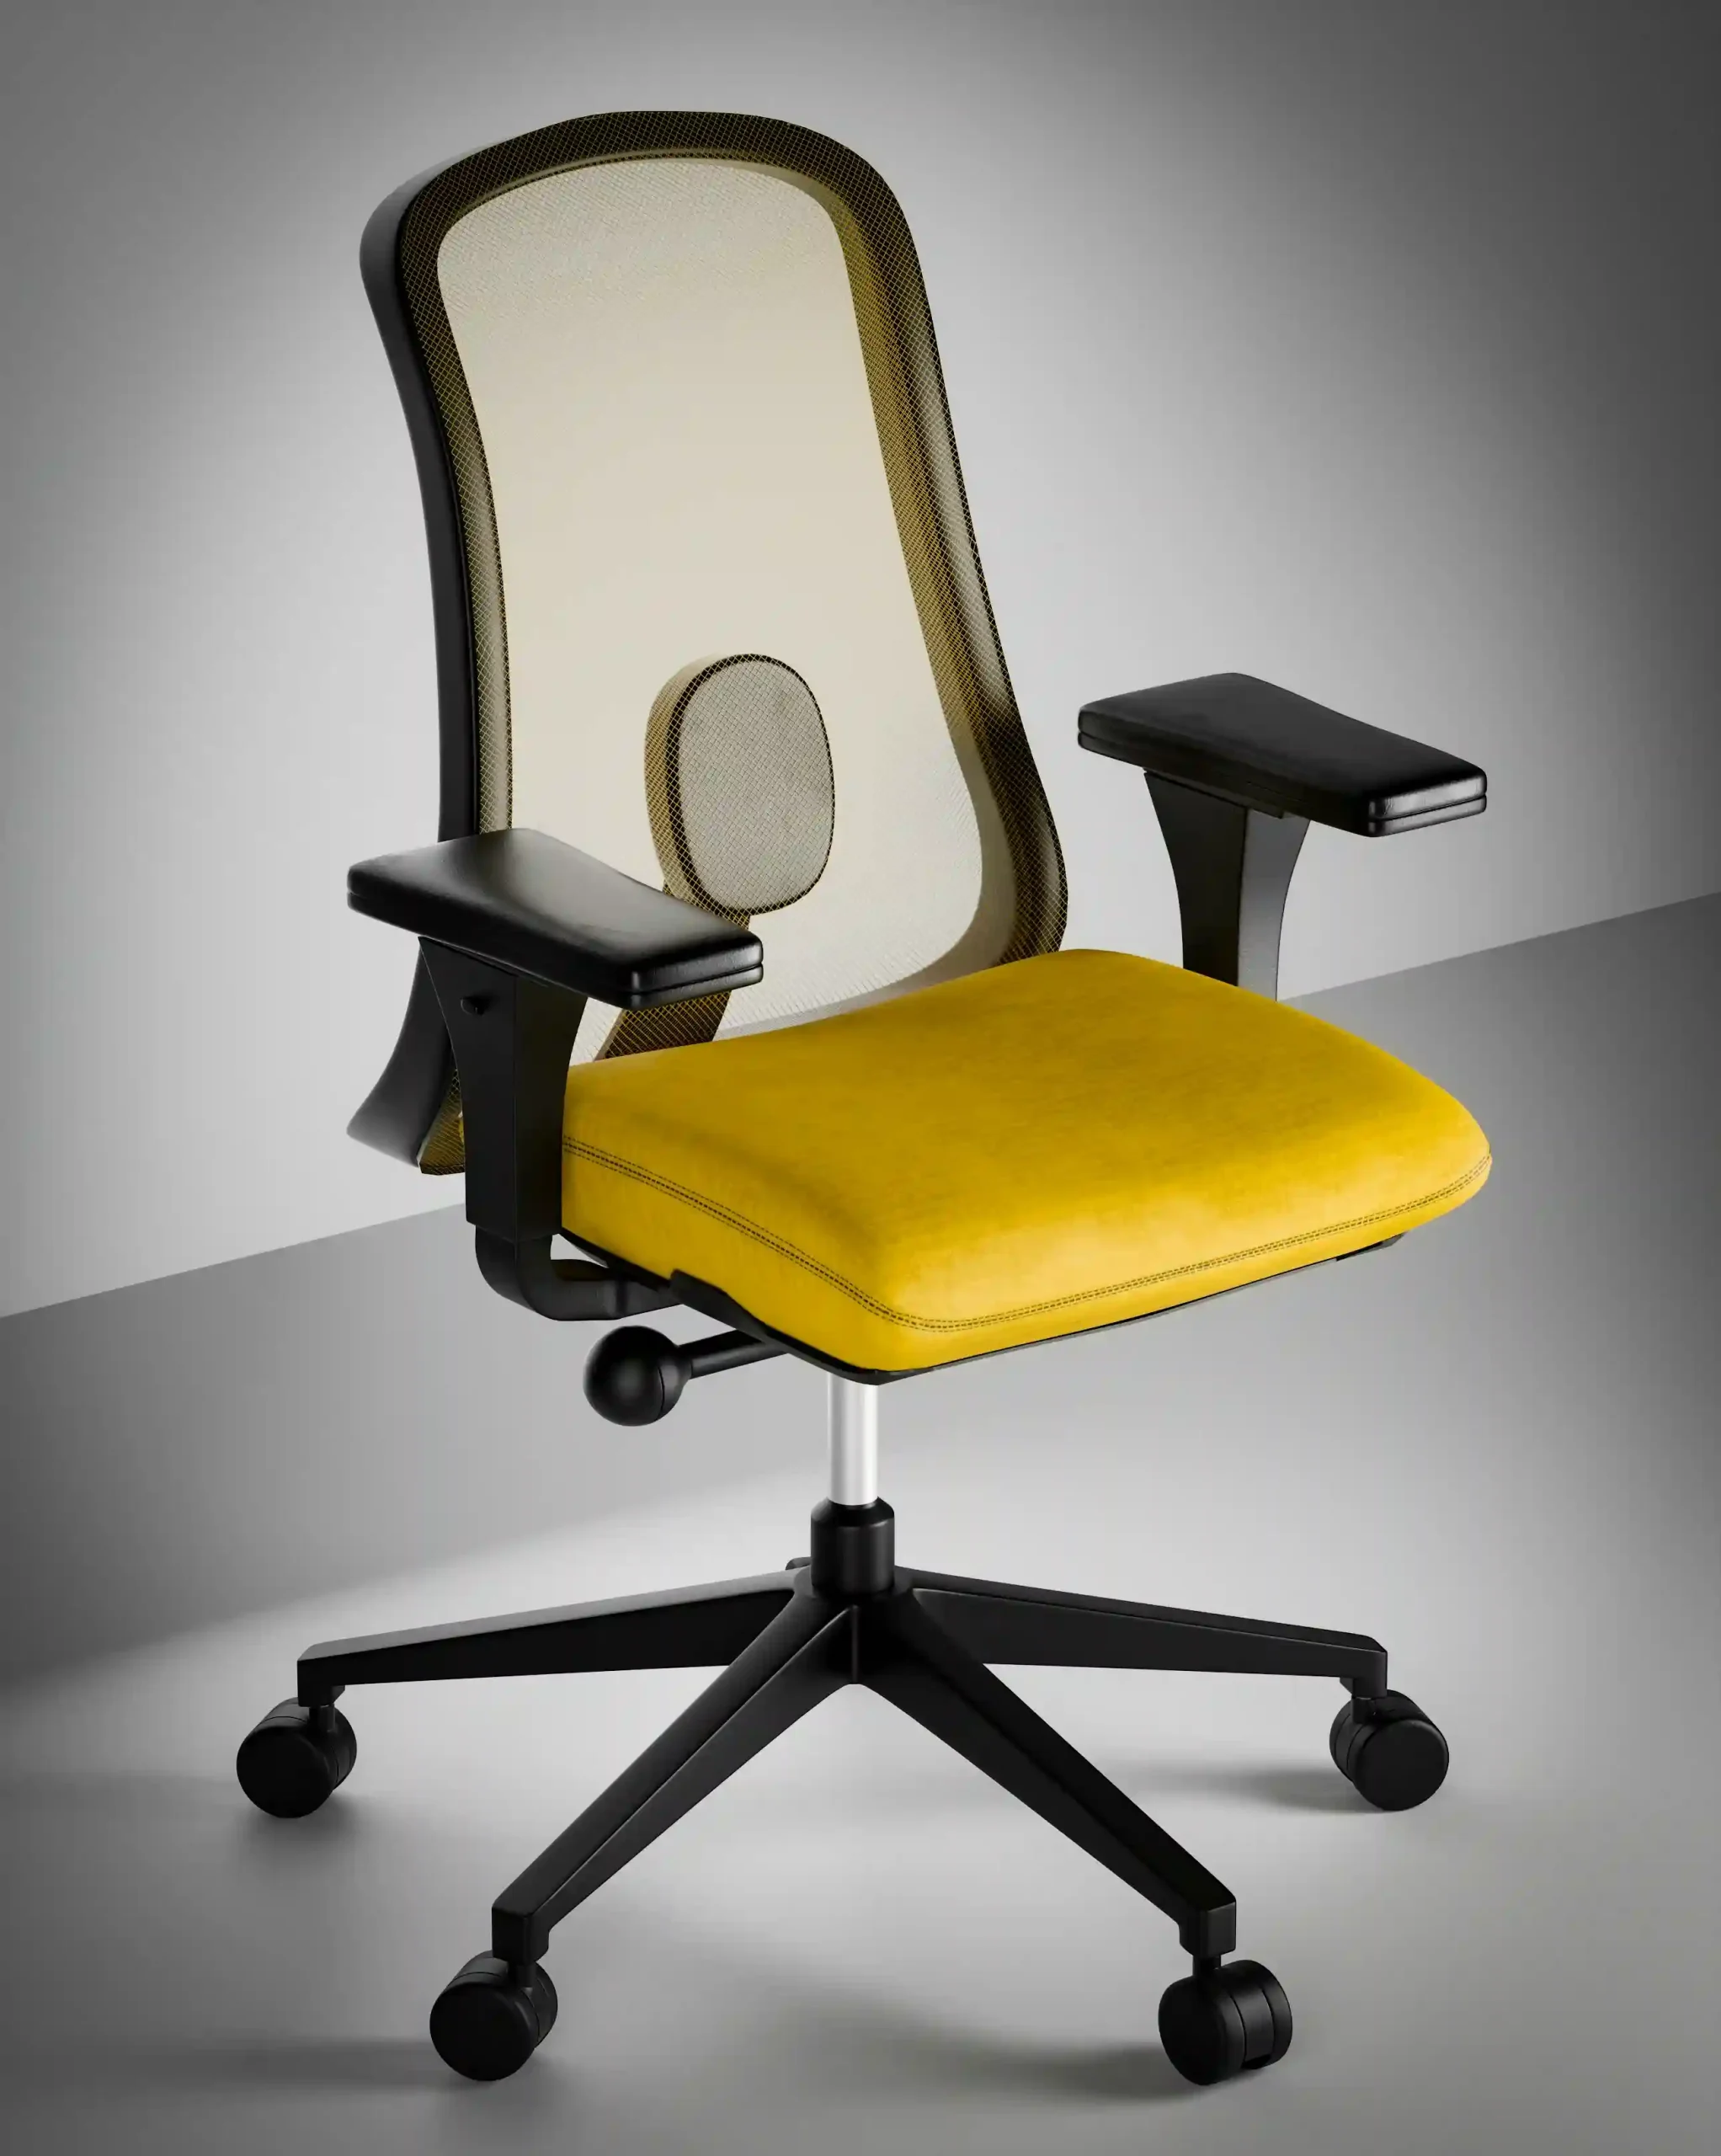
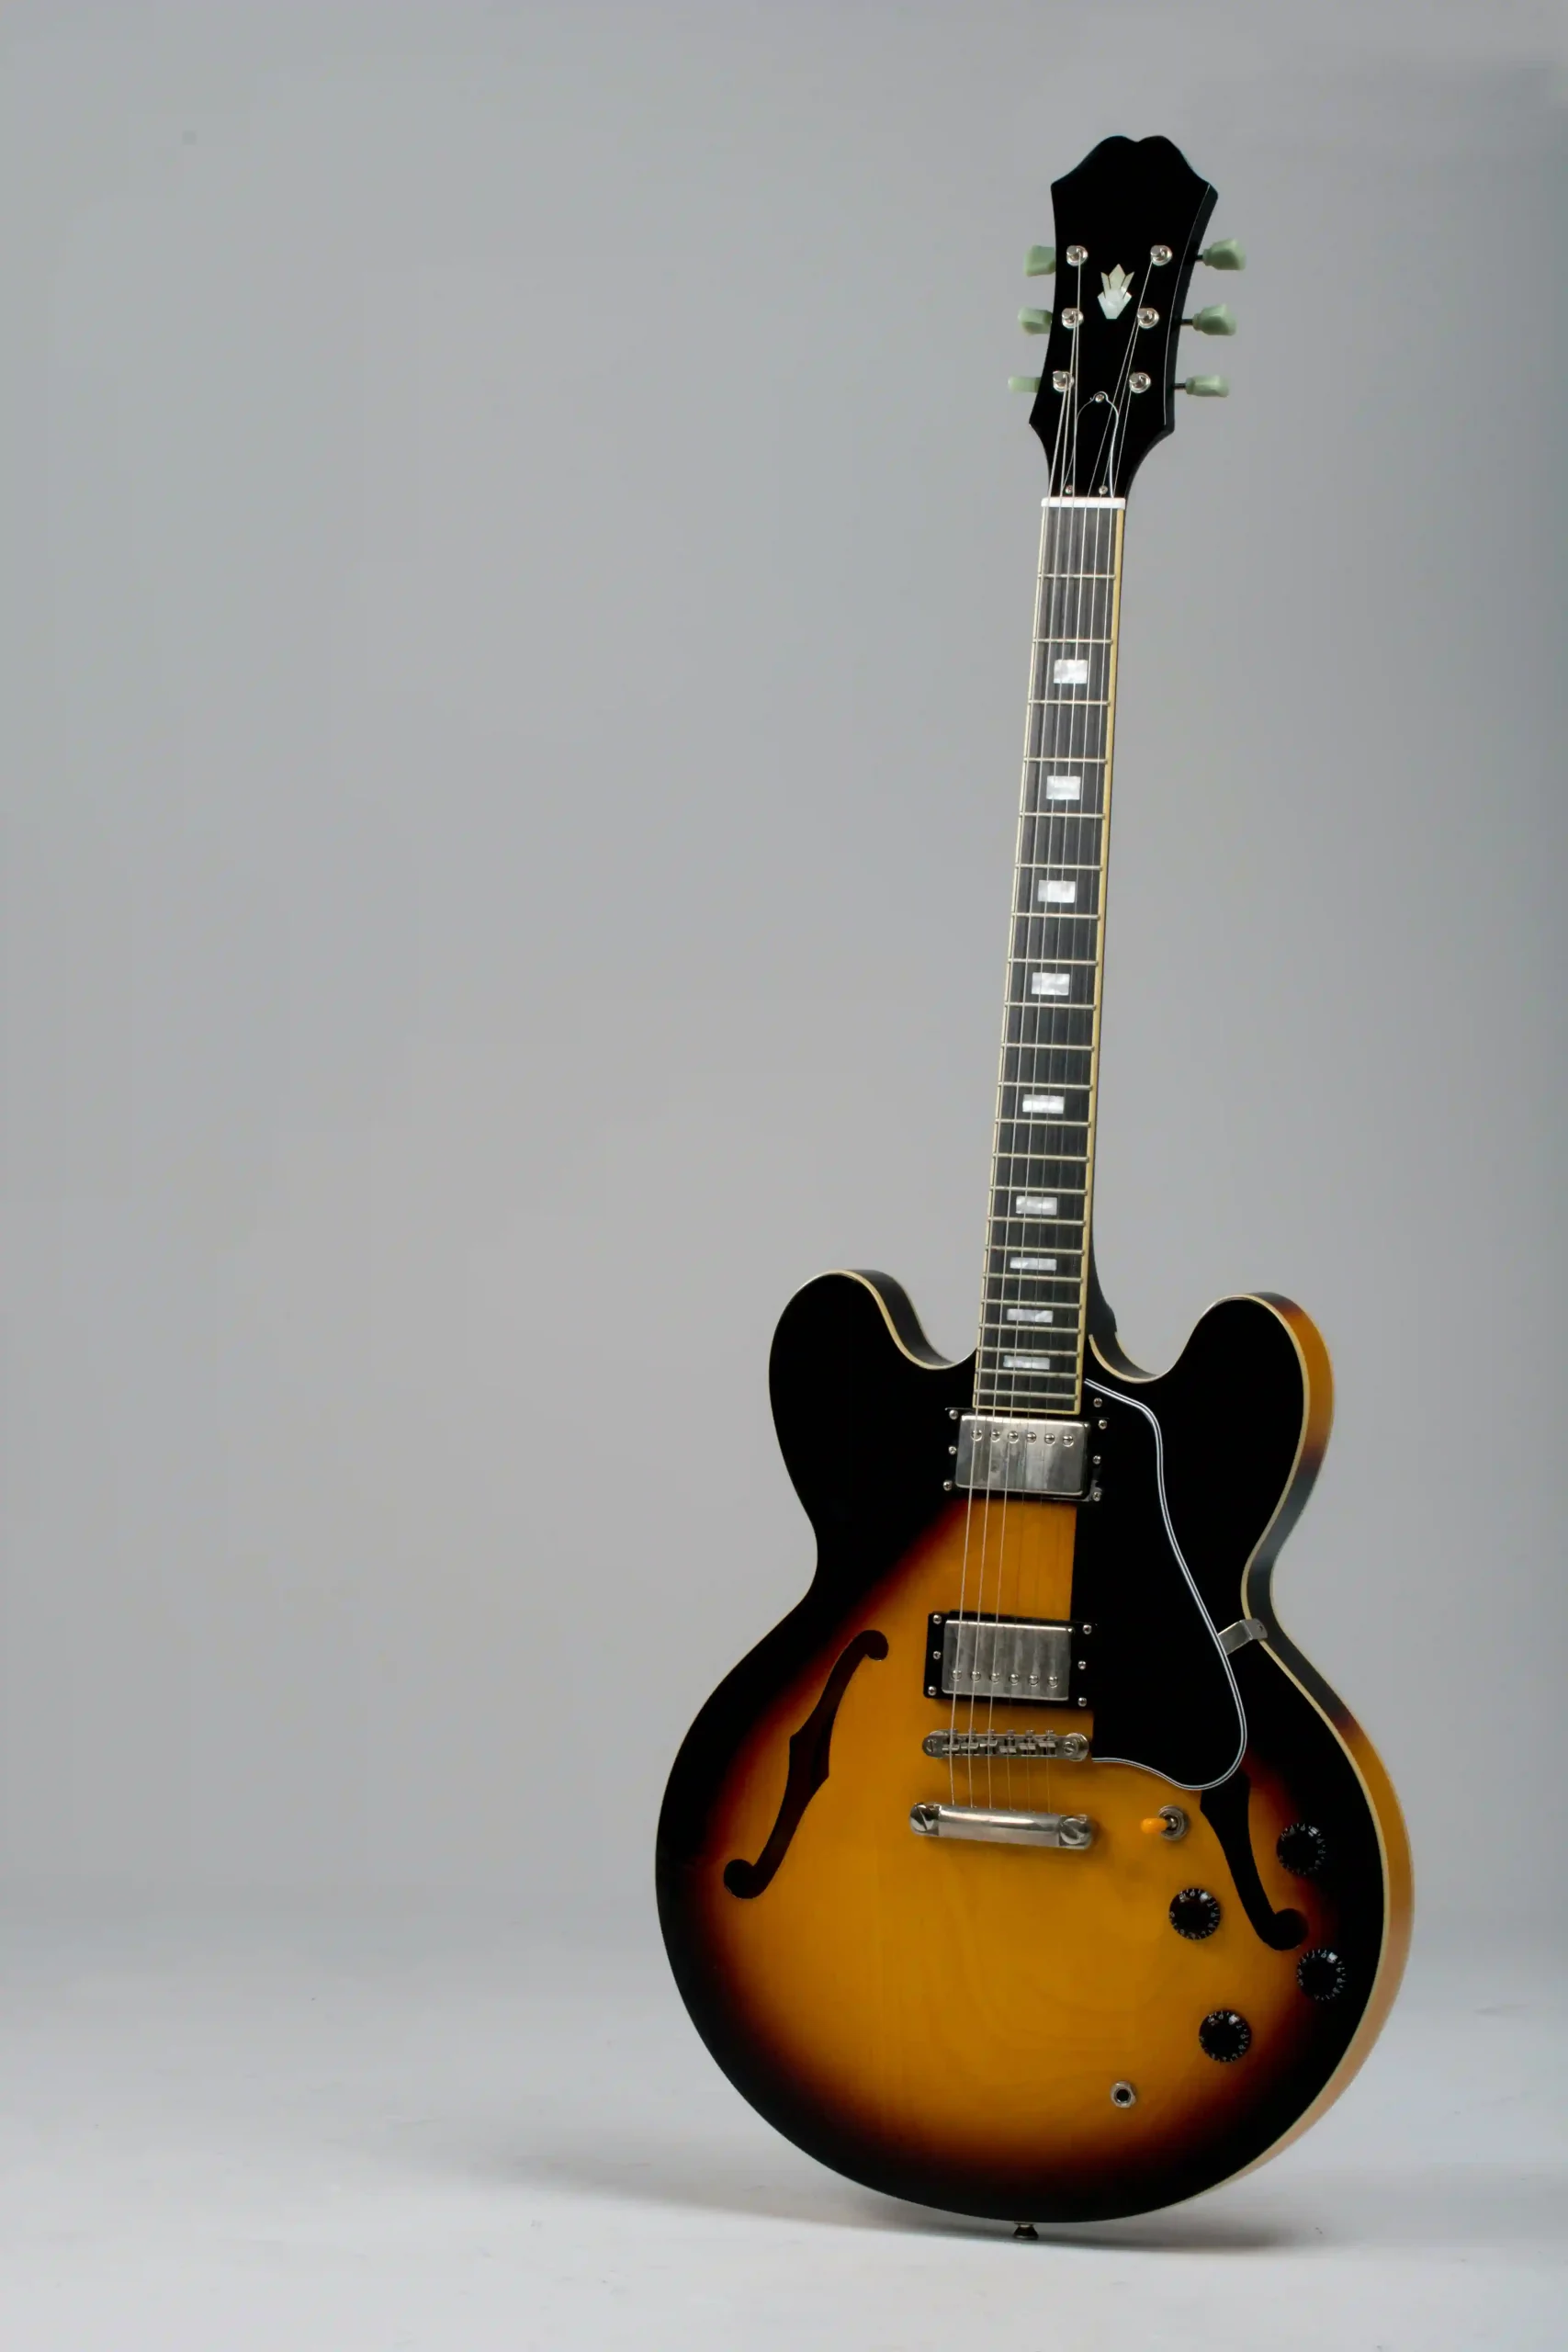
Good: Your reference needs to show the shape of things: how thick, how tall, how the parts connect. A front-facing flat shot tells you almost nothing about depth. Multiple angles are even better — this is exactly why a multi-view to 3D model workflow produces far more accurate results. Even one angled view beats a dead-on stare. Bad — The Picasso Angle: Extreme wide-angle lens distortion turns a straight box into a trapezoid. The structure is right there — and it’s lying to you. Your model will faithfully reproduce the lies.
3. Even, balanced lighting
✅ Good
❌ Bad
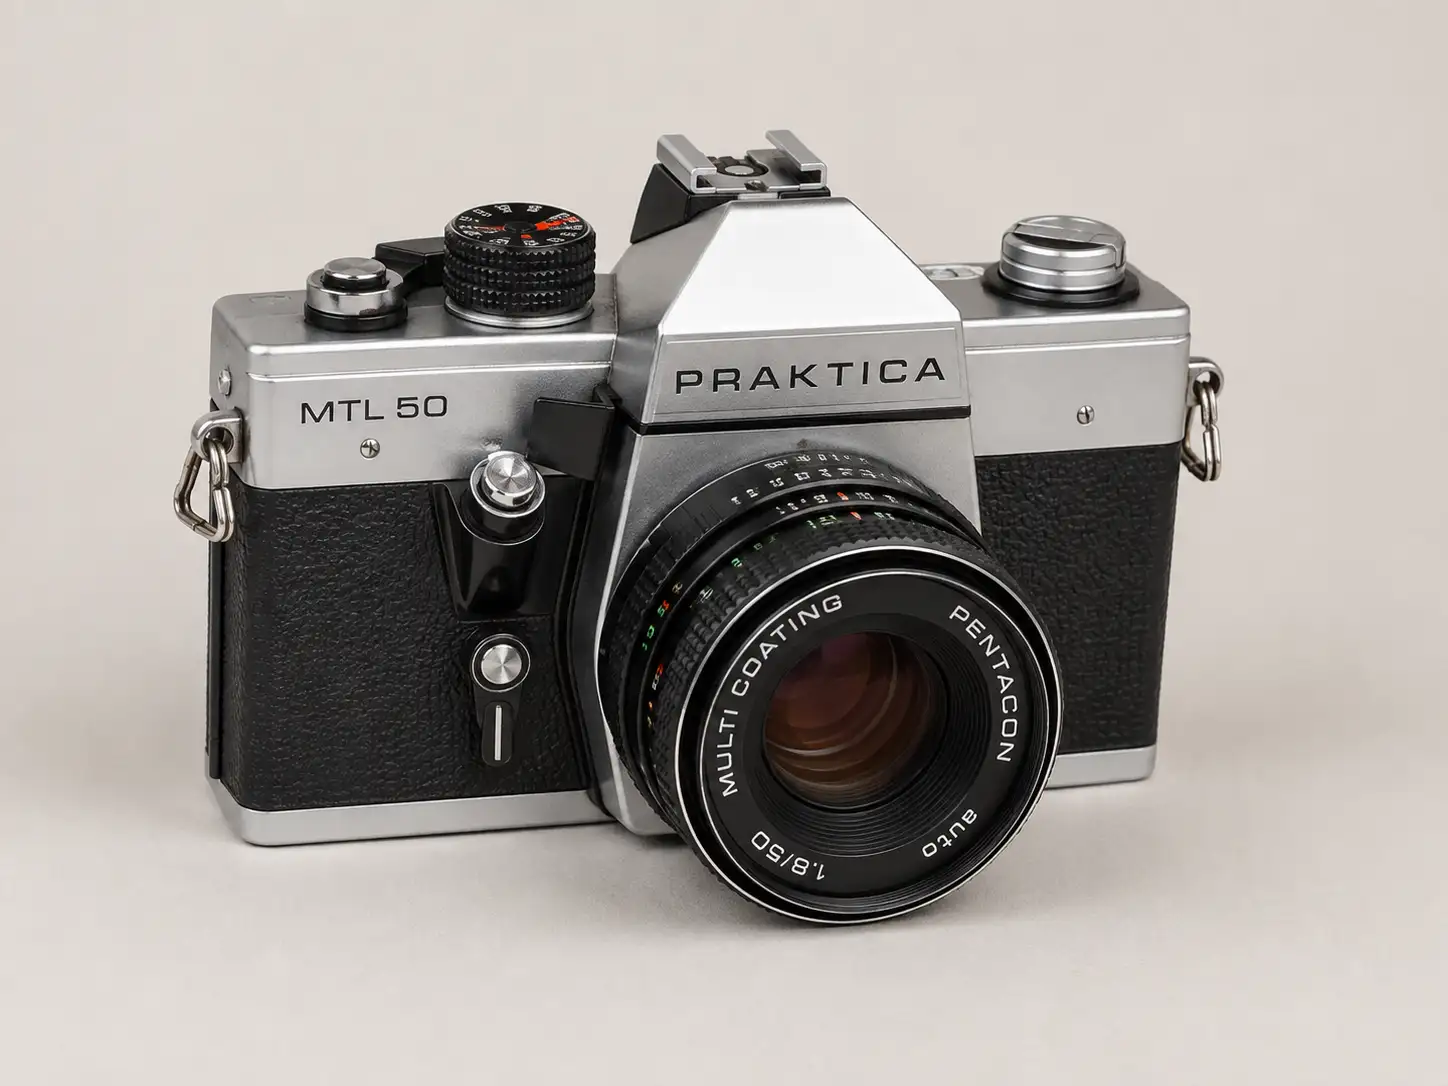
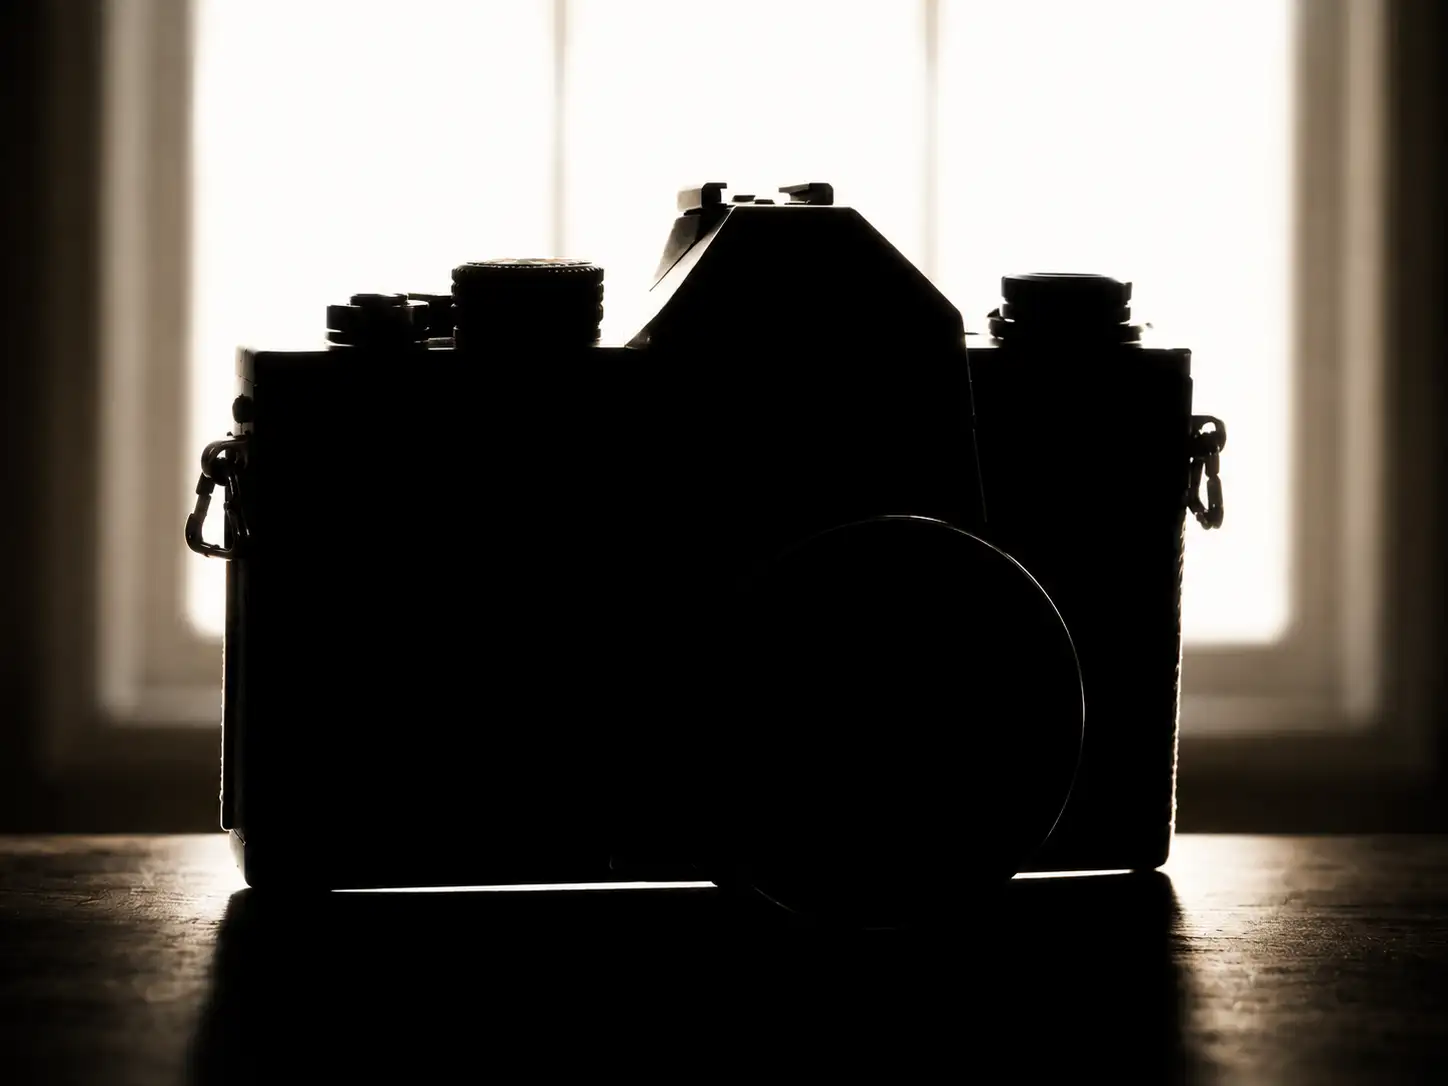
Good: You want to see the object, not squint at it. Hard shadows swallowing half the product aren’t “dramatic” — they’re black holes where details go to die. Soft, even light reveals surface, texture, and form. Bad — The Silhouette Special: Strong backlight, subject completely dark. Congratulations — you’ve photographed a shadow. All that beautiful surface detail you needed? Gone. Enjoy modeling blind.
4. Sufficient image resolution
✅ Good
❌ Bad
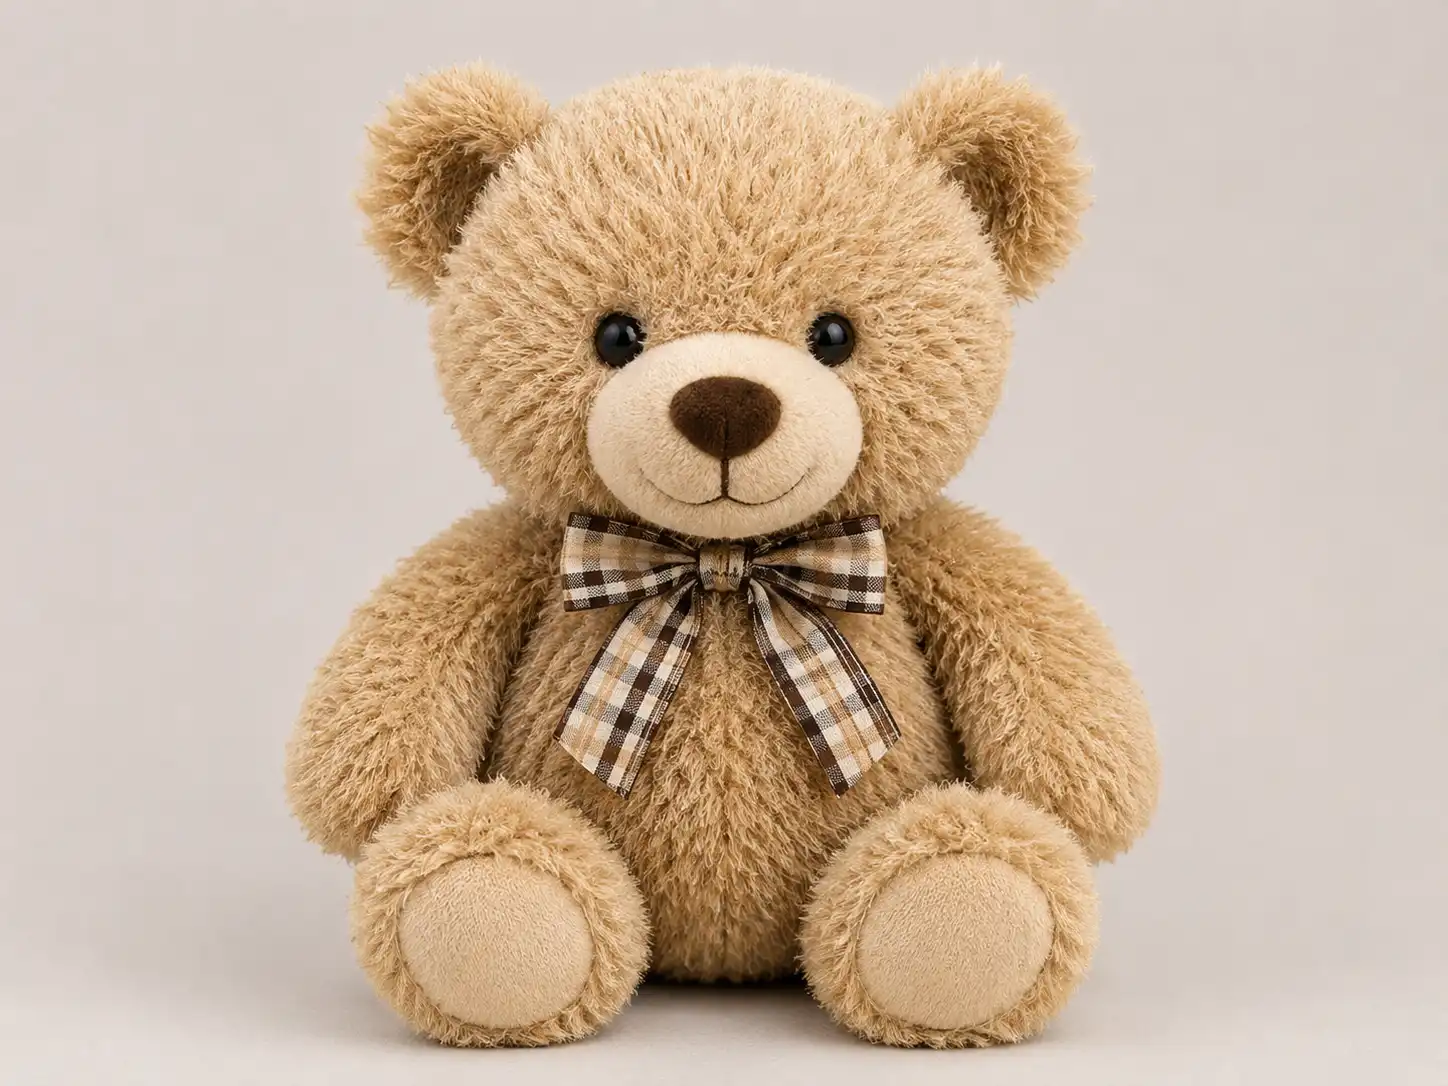
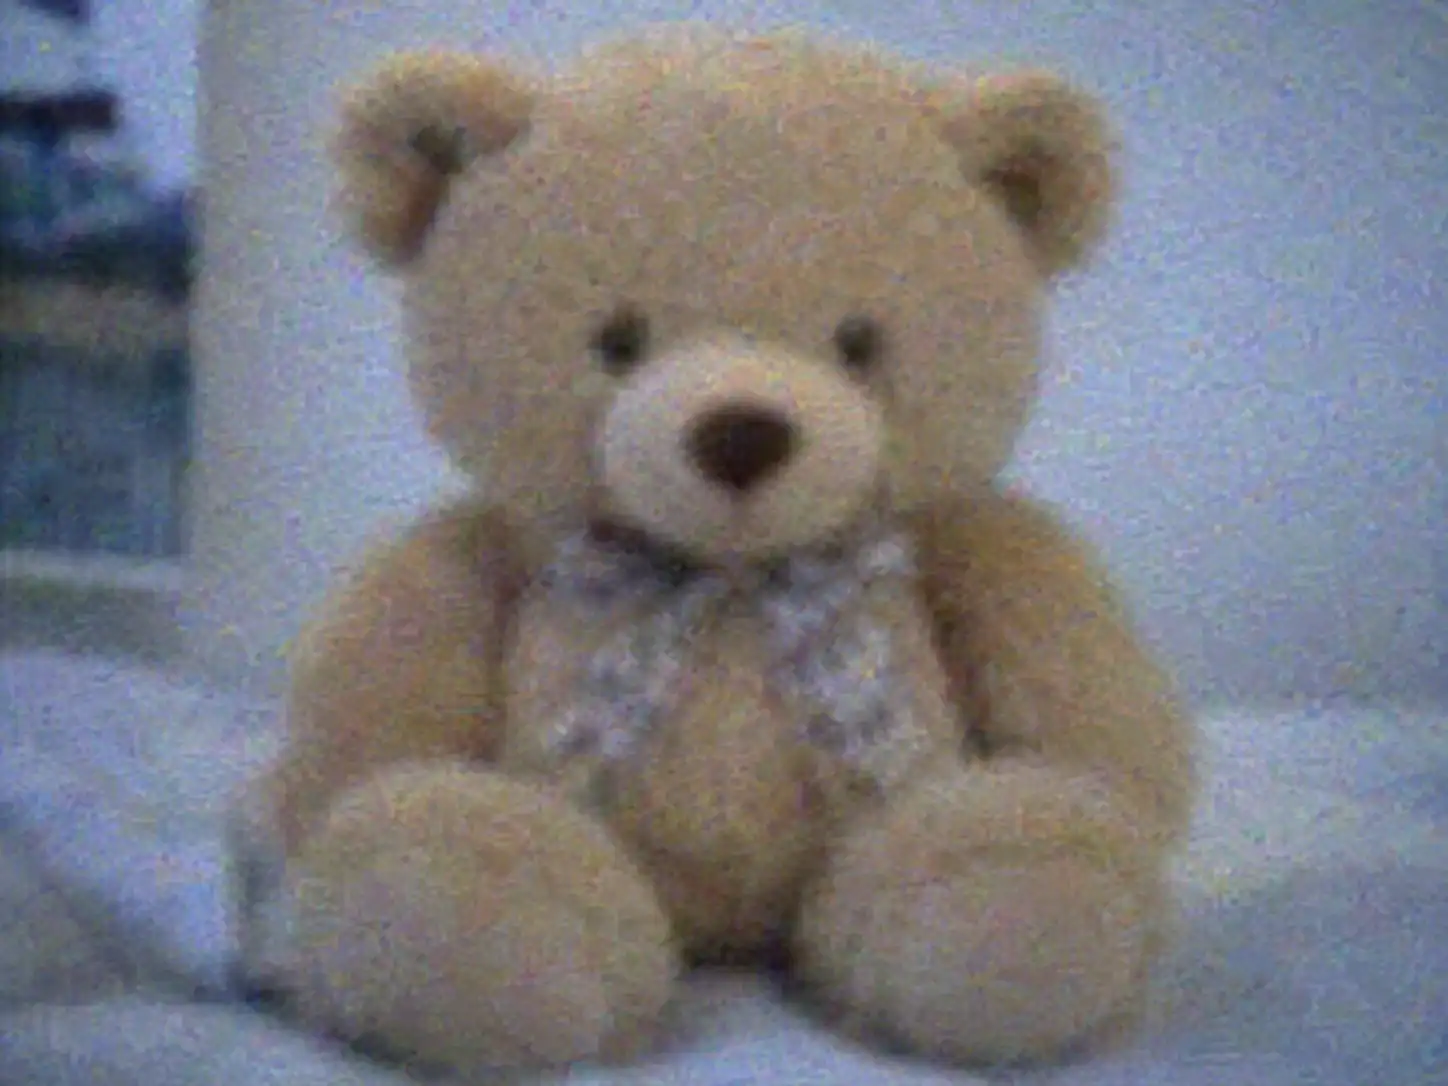
Good: Your model can only be as detailed as the image it’s built from. If you have to zoom in and count pixels, that’s not detail — that’s a pixel census. A reference that’s sharp enough to survive zooming saves you hours of guesswork. Bad — The 2009 Security Camera: Low resolution, heavy noise, more blur than signal. Whatever you’re modeling, you’ll be inventing 70% of the detail yourself — and your invention won’t match reality.
5. A clean, uncluttered background
✅ Good
❌ Bad
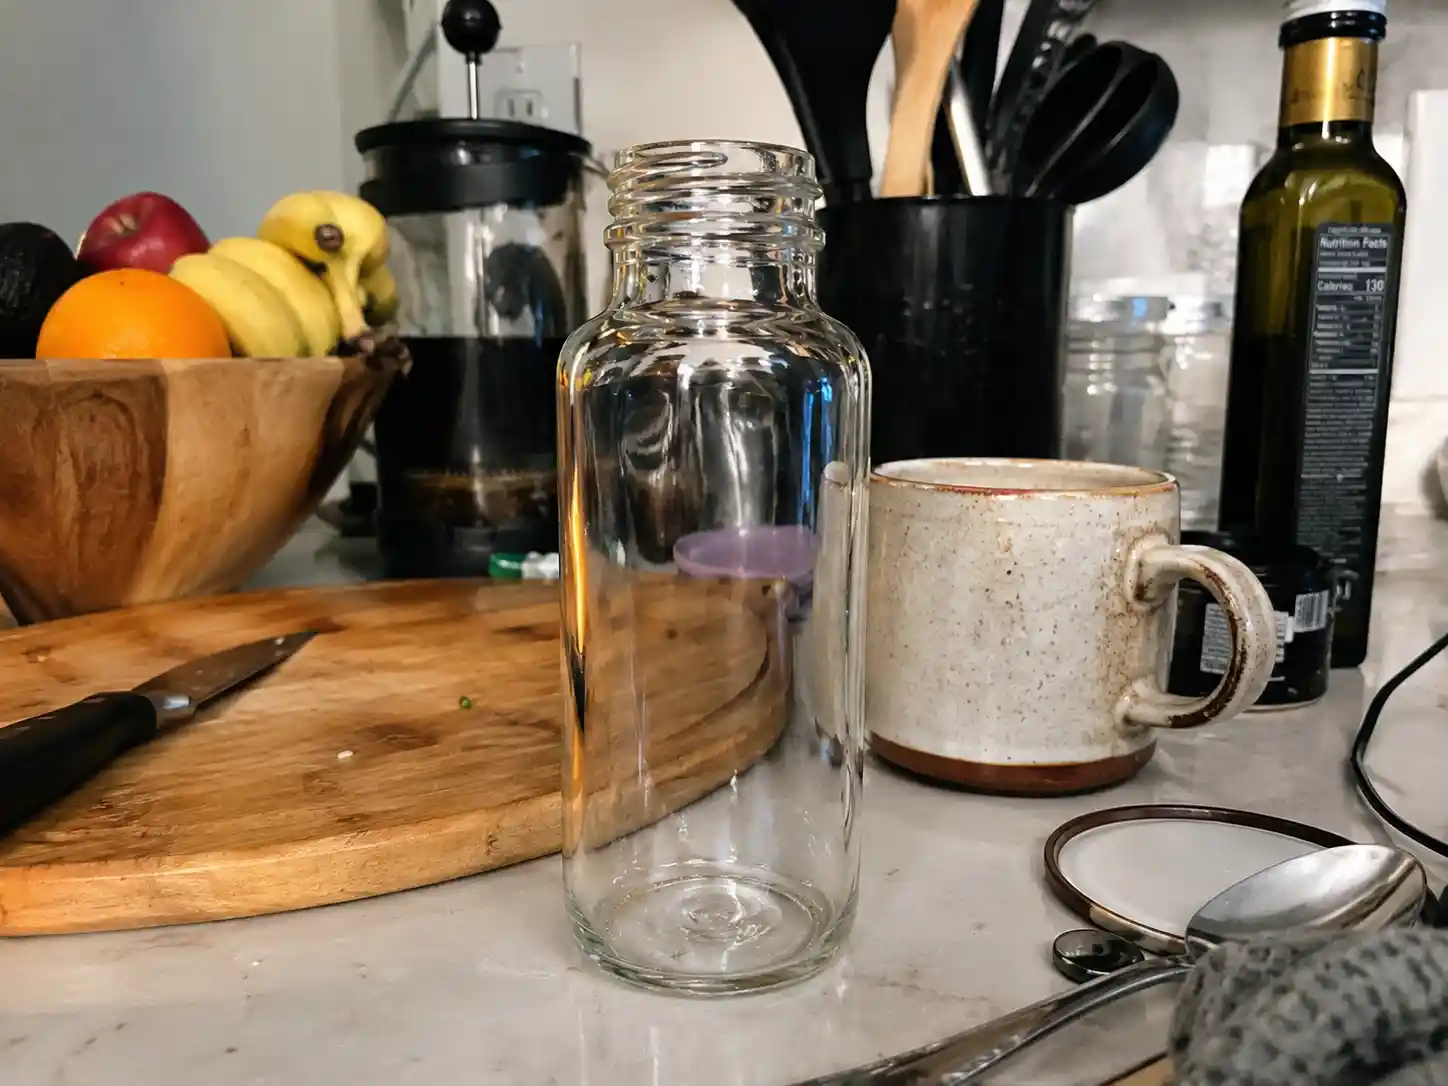
Good: A clean background keeps the focus on the subject — and it’s doubly important for image-to-3D generation, where a busy background can confuse the model into copying the noise. You want the object front and center, not competing with a yard sale. Bad — The Busy Background: Bookshelf. Lamp. Plant. Cat. The background is so busy it’s basically a second subject. For a human, it’s distracting; for an AI image-to-3D tool, it’s a buffet of misinformation.
The pro tip: The fastest way to judge any reference image? Ask yourself — could I explain this object to someone who’s never seen it, using only this image? If the answer is “kinda,” find a better image.
What Kind of Reference Images Actually Work?
The five rules above assume you already have a halfway-decent image. But let’s be honest about where most reference images actually come from: your camera roll. And your camera roll is a crime scene.
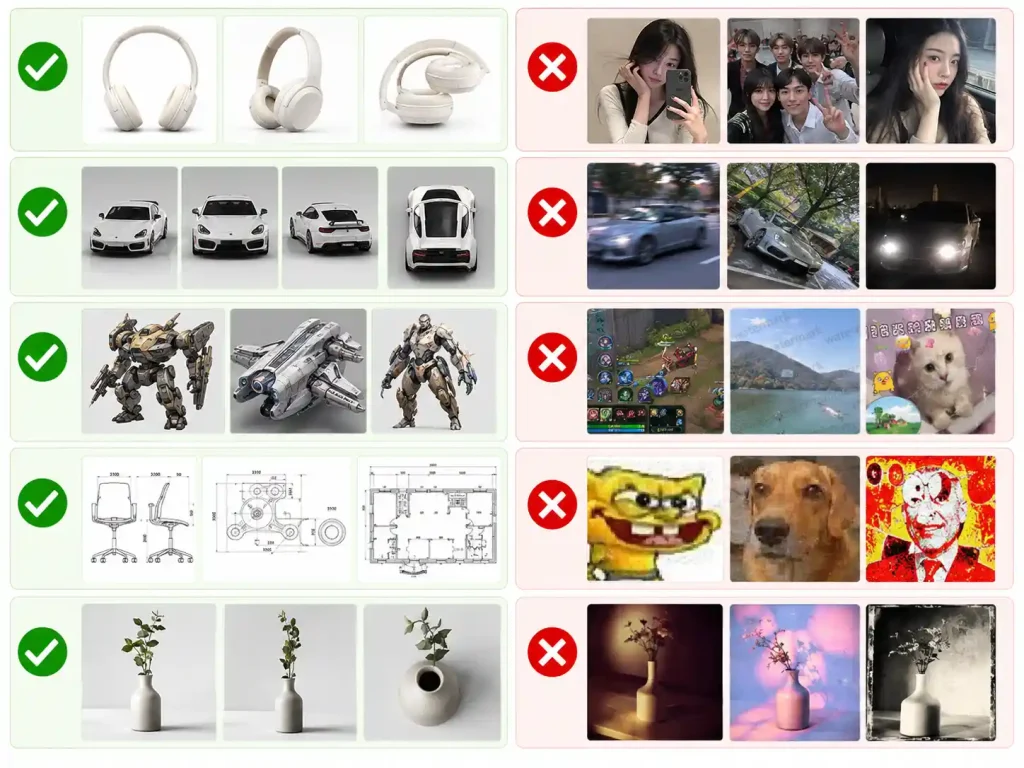
Here’s the fast filter — which types of images make good references, and which should never leave your phone.
✅ Actually useful
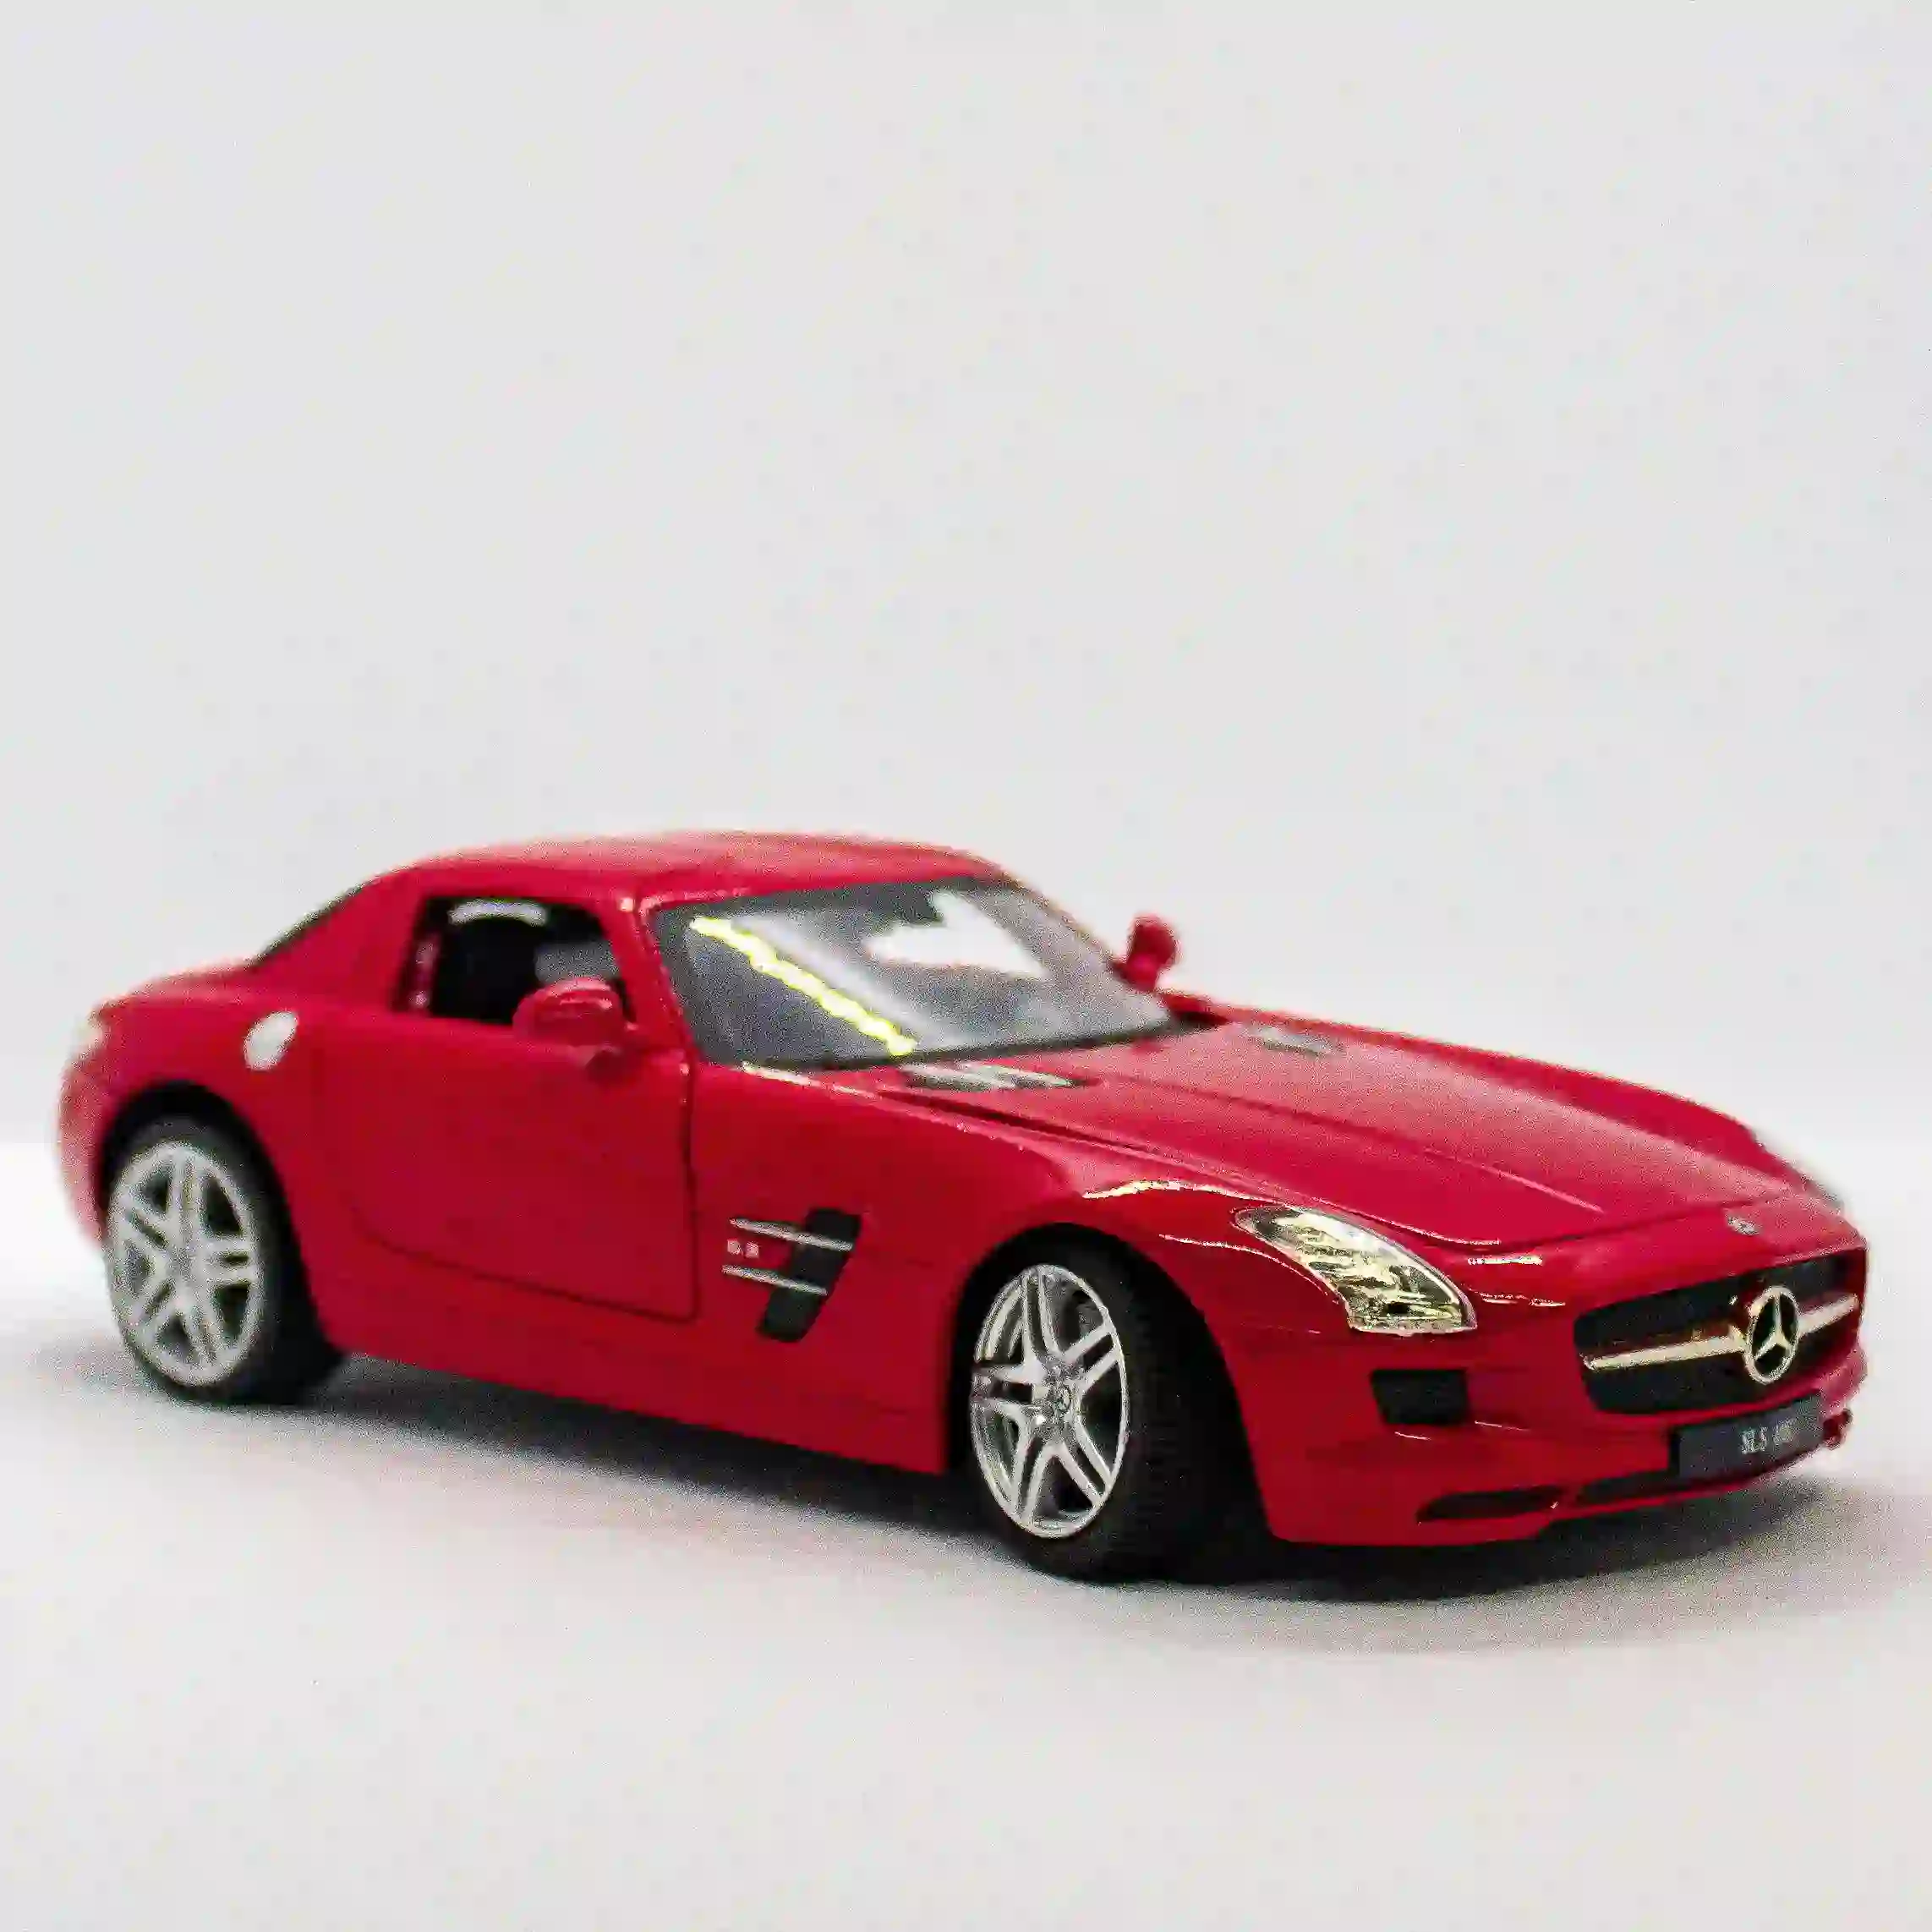
Product shots & e-commerce photos — clean, complete, evenly lit. The closest thing to a free studio shoot.
3D renders & turnaround sheets — multiple angles of the same object, structure information served on a plate.
Concept art & design sketches — clear silhouettes, intentional shapes.
Blueprints & orthographic views — for anything with exact proportions.
Deliberate reference shots — one object, plain background, taken on purpose.
❌ Shouldn't, but everyone tries
Selfies & group photos — the subject is a face, not an object. The background is 90% noise.
Candid snapshots — motion blur, random angle, lighting doing whatever it wants.
Screenshots with text, watermarks, or stickers — your model will happily reproduce the text.
Memes & heavily compressed images — low resolution by definition, artifact city.
Heavily filtered photos — that "artistic" filter is just distortion with a fancy name.
One rule to remember: if the type is wrong, no amount of cropping will fix it. Wrong type? Find a better image. Right type? Run the five rules above — that’s the whole process.
Need a Reference Image? Two Easy Options
So now you know what good looks like. But let’s be real — sometimes you just want to make something and the inspiration well is dry. We’ve got you, twice.
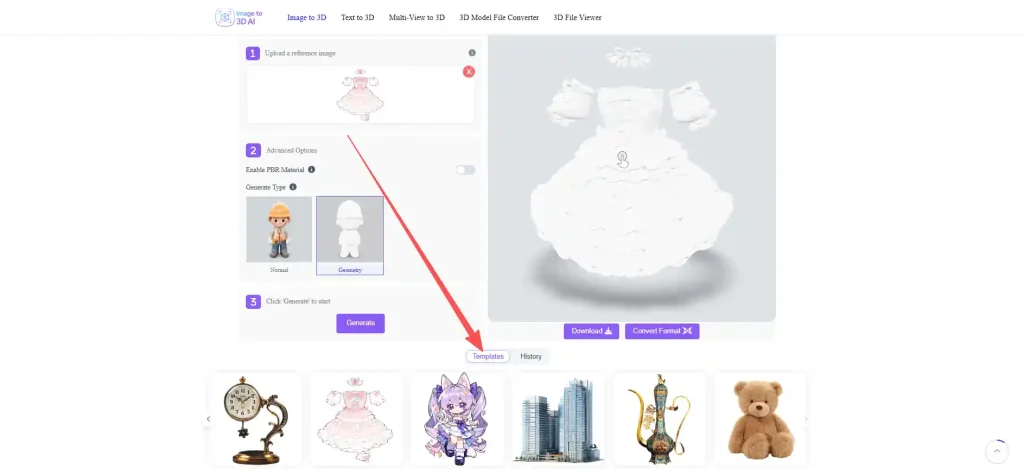
Option 1: Start With a Built-In Template
Skip the hunt entirely. Our built-in templates give you ready-to-use starting points — click, and you’re already generating. No reference hunting, no image prep, no excuses. Ideal for when you want to prototype fast or just play.
Option 2: Download Free Reference Images
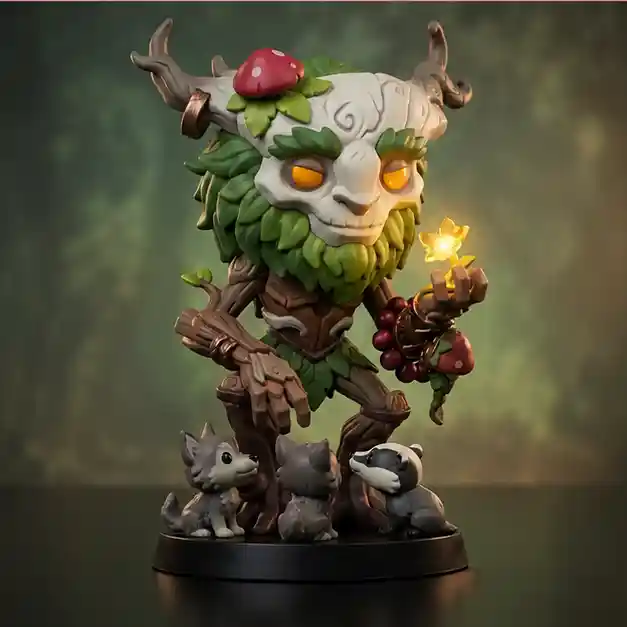
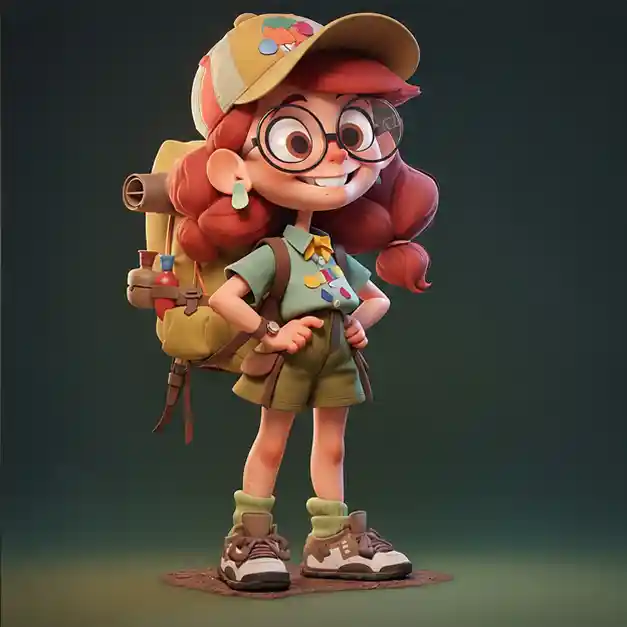
We curated a pack of clean, license-friendly sample reference images — different subjects, all pre-checked against the five rules above. Use them to practice, test your workflow, or even kick off commercial work. Free to download, ready to use, zero guilt.
Conclusion: Good References Are the Fastest Shortcut
Here’s the thing — choosing good reference images for 3D modeling isn’t extra work. It’s less work. The 30 seconds you spend picking a clean, well-lit, high-res image save you the hours you’d spend fighting a model that was doomed from the start. And if you’d rather skip the whole process? That’s what we’re here for. Upload a single image — any reference image — and our image to 3D tool turns it into a ready-to-use 3D model in minutes. No reference sheet required, no manual retopology, no sweat. See what a good input does to your output: try our image to 3D model tool now. Go feed your tool something worth modeling.