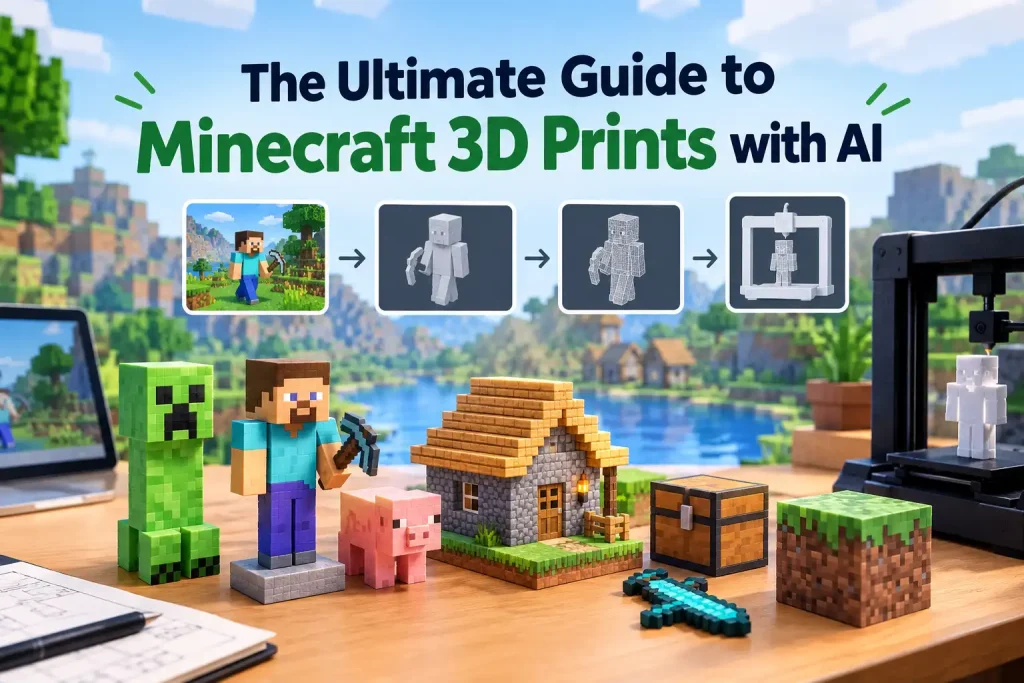
The Ultimate Guide to Minecraft 3D Prints with AI
In the past, turning a Minecraft creation into a physical model often meant extracting a build from a save file with tools such as Mineways, cleaning up the geometry, or rebuilding parts manually in 3D software. Today, AI can provide a faster starting point. With an image to 3D tool, you can use a Minecraft screenshot or reference image to create a 3D model, then prepare the geometry for printing.
The important part is that a model that looks correct inside Minecraft is not automatically ready for a 3D printer. This guide walks through the process from reference image to printable model.
What Makes a Minecraft 3D Model Printable?
Minecraft Models vs. 3D Printable Models
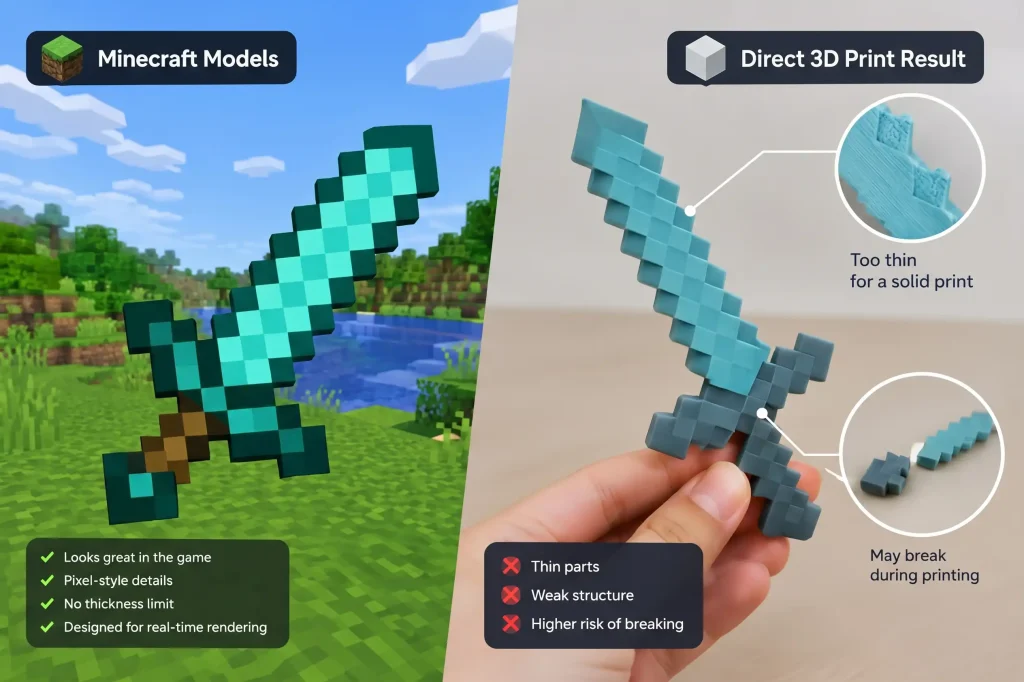
A Minecraft model only needs to look right from the player’s perspective. A 3D printed model needs to exist as a physical object with connected surfaces and enough structural strength.
For example, a character may look perfectly normal in Minecraft even if its arm is represented by a simple surface or its weapon contains extremely thin geometry. Once that model becomes a physical object, those details can become weak, disappear during printing, or fail completely.
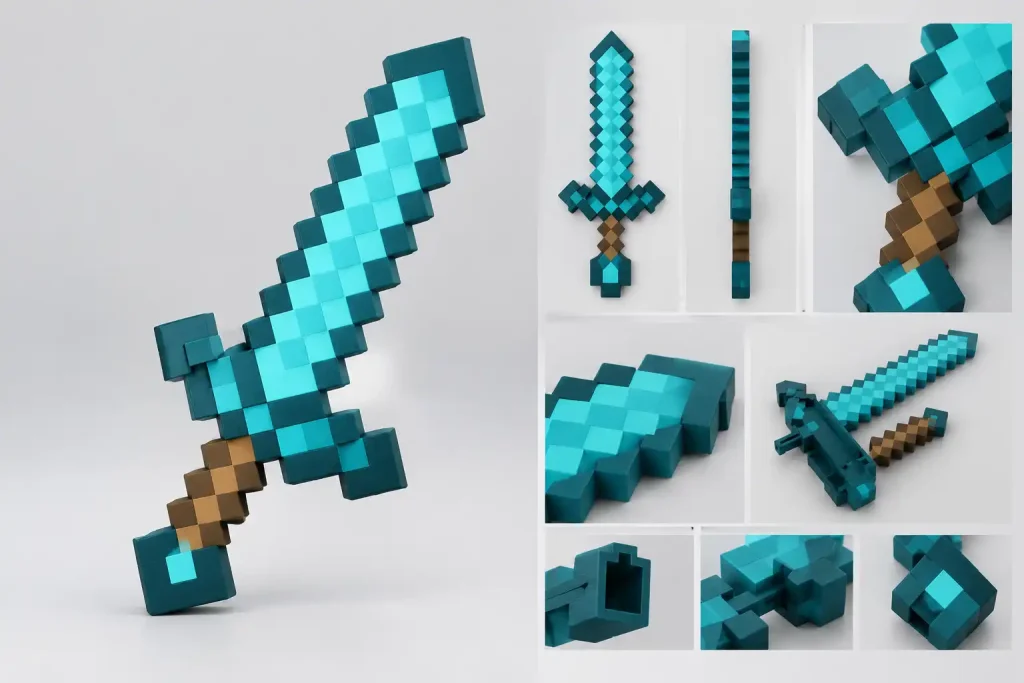
A printable Minecraft model should generally have:
- Closed, connected geometry
- Enough wall thickness
- Stable parts that can physically support themselves
- Details large enough for the chosen print size
- A suitable overall scale
- Manageable overhangs
What Makes a Minecraft 3D Model Printable?
How to Create Minecraft 3D Prints with AI
Find a Reference Image or Write a Prompt
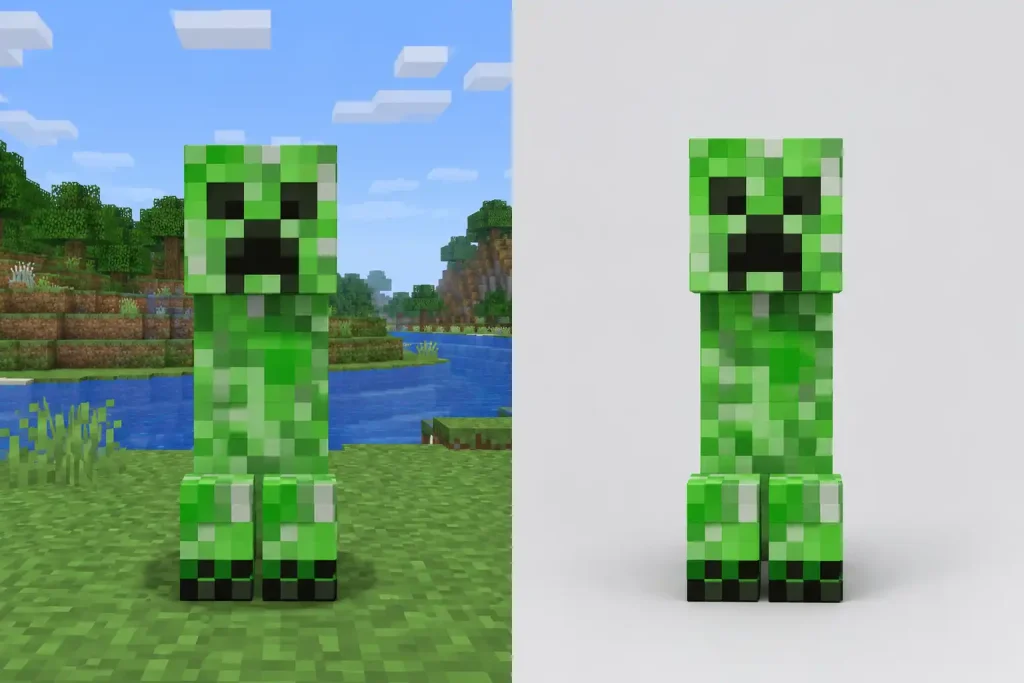
For an image to 3D model workflow, a Minecraft screenshot can be a useful starting point. Choose an image where the object is easy to identify, clearly visible, and not heavily blocked by other objects. A plain, uncluttered background is ideal because it helps the AI focus on the main subject rather than surrounding scenery.
For example, if you want to create a printable Minecraft character, a clear front-facing view against a simple background is usually a better reference than a screenshot crowded with other players, blocks, or buildings.
You can also start with a text prompt instead of an image. Describe the main object, its shape, and the blocky Minecraft-inspired appearance you want.
For example:
A blocky Minecraft-style character holding a pickaxe, standing upright, simple geometry, solid structure, suitable for a small collectible model.
The goal is not to describe every tiny detail. Give the model enough information to understand the overall shape and structure.
Choose Geometry-Only Generation
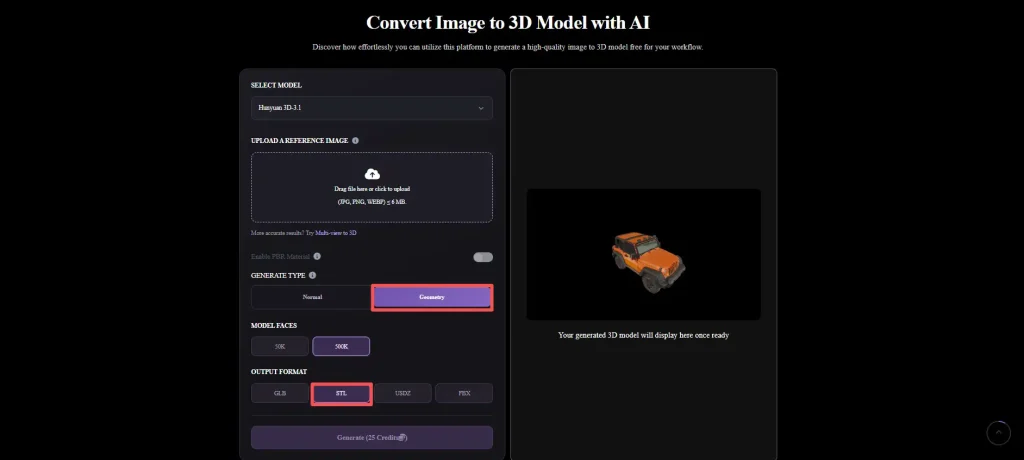
With Image to 3D AI, you can upload a Minecraft reference image and generate a 3D model from it. For a printing workflow, choose Geometry-Only generation so you can focus on the shape and structure of the model instead of spending extra processing on surface textures.
Once the model is generated, you can prepare it for printing and export it as STL, a common format for 3D printing.
You can also use a text prompt when you want to describe a Minecraft-inspired object without starting from a reference image.
Scale the Model for Your 3D Printer
Before printing your Minecraft model, decide how large you want the finished object to be. The right scale depends on what you are making, how much detail you want to preserve, and the build volume of your 3D printer.
Start with the intended print size. For a small desk collectible, you might aim for a Creeper around 50–80 mm tall. If you want a larger display piece, you could scale it up to 100–150 mm or more. These are starting points rather than fixed rules; the best size also depends on your printer’s capabilities and the model’s smallest features.
Check the printer’s build volume. A printer with a 220 × 220 × 250 mm build volume, for example, can accommodate a model only if its final dimensions fit within that space, with some room for the slicer’s layout and any required supports. Check the model’s width, depth, and height after scaling, not just its height.
Split oversized builds into printable parts. A Minecraft castle or village may be too large to print as one piece. You can divide it into sections, such as the base, walls, towers, and roof, then print and assemble them separately. Plan the cut locations around natural boundaries in the block-based design, and leave enough room for alignment and joining the pieces.
Finally, preview the scaled model in your slicer before printing. This helps you confirm that it fits the build area and gives you an early look at whether small details or narrow parts may be difficult to reproduce.
What Minecraft 3D Prints Can You Create?
Minecraft Characters and Mobs
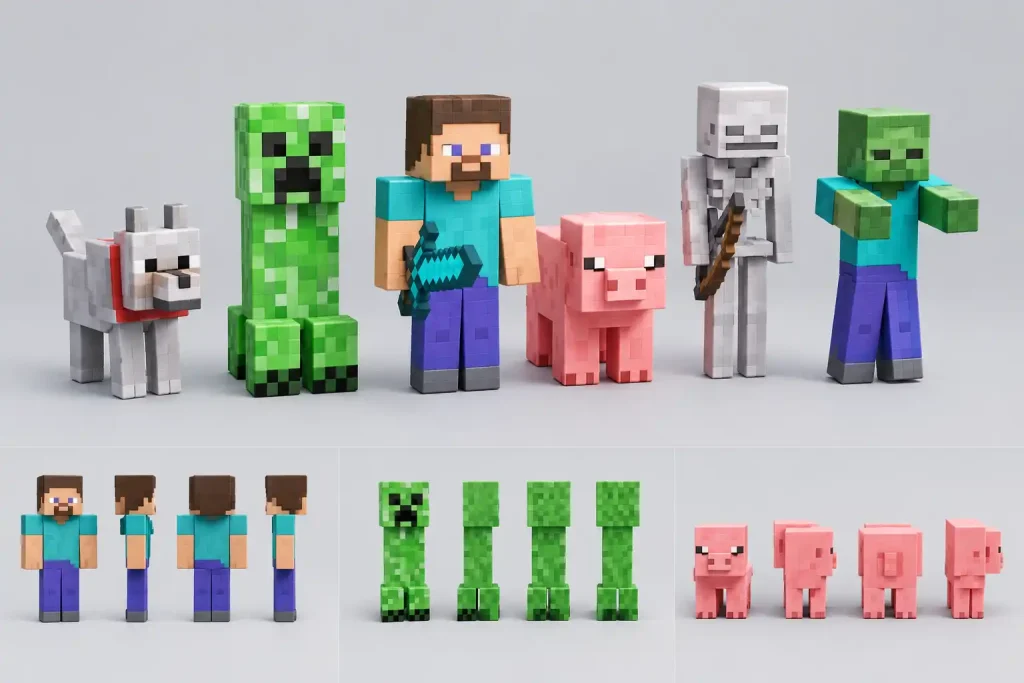
You can create:
- Player characters
- Creepers
- Skeletons
- Animals
- Custom characters
- Other Minecraft-inspired creatures
A simple standing character is also a good first project because the geometry is relatively easy to inspect.
Minecraft Tools and Items
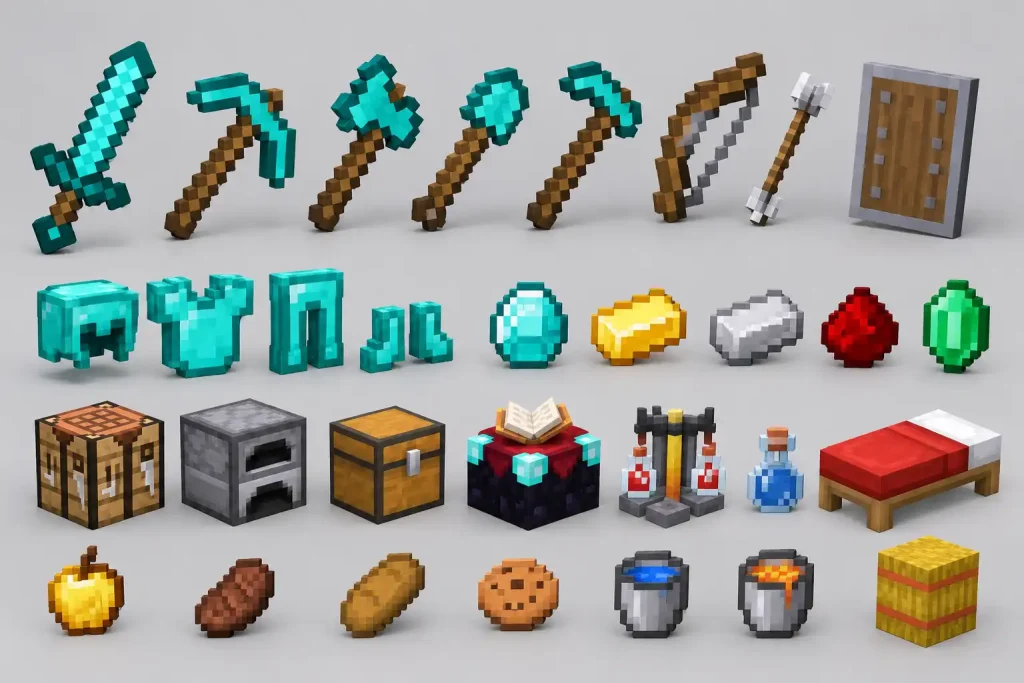
Think about:
- Pickaxes
- Swords
- Axes
- Shovels
- Armor pieces
- Chests
- Other iconic items
For smaller objects, remember that the original in-game proportions may need to be adjusted for physical printing. A handle that is perfectly acceptable at Minecraft’s visual scale might be too thin to print reliably.
Minecraft Blocks and Decorations
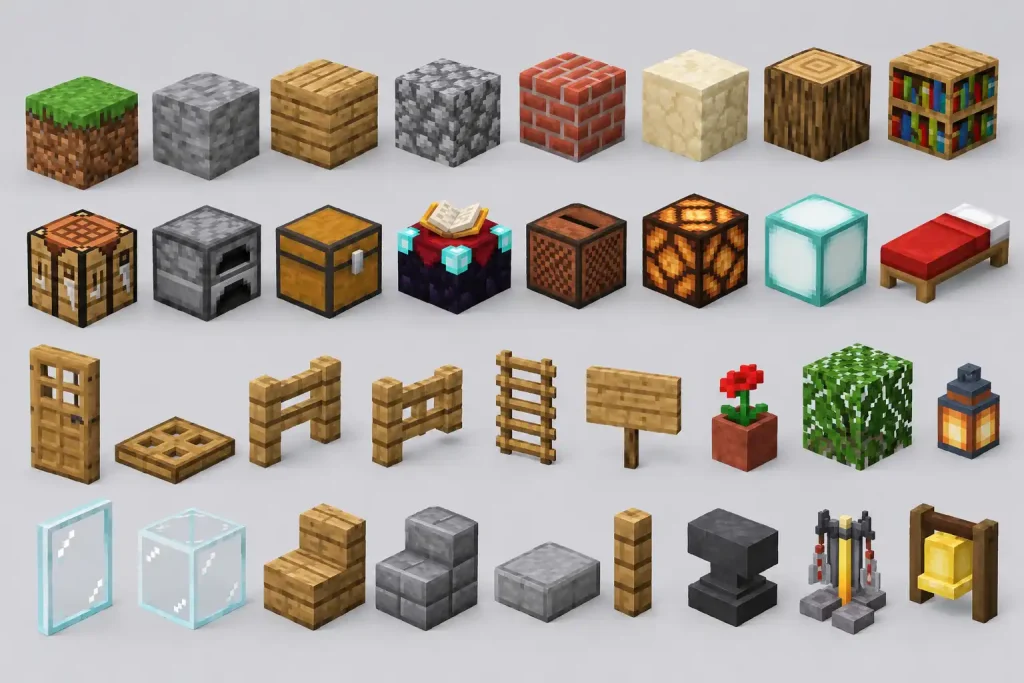
You could create printed versions of:
- Grass blocks
- Stone blocks
- Furnaces
- Chests
- Decorative blocks
- Custom block designs
Their relatively simple geometry makes them easier to scale and print.
Minecraft Buildings and Miniatures
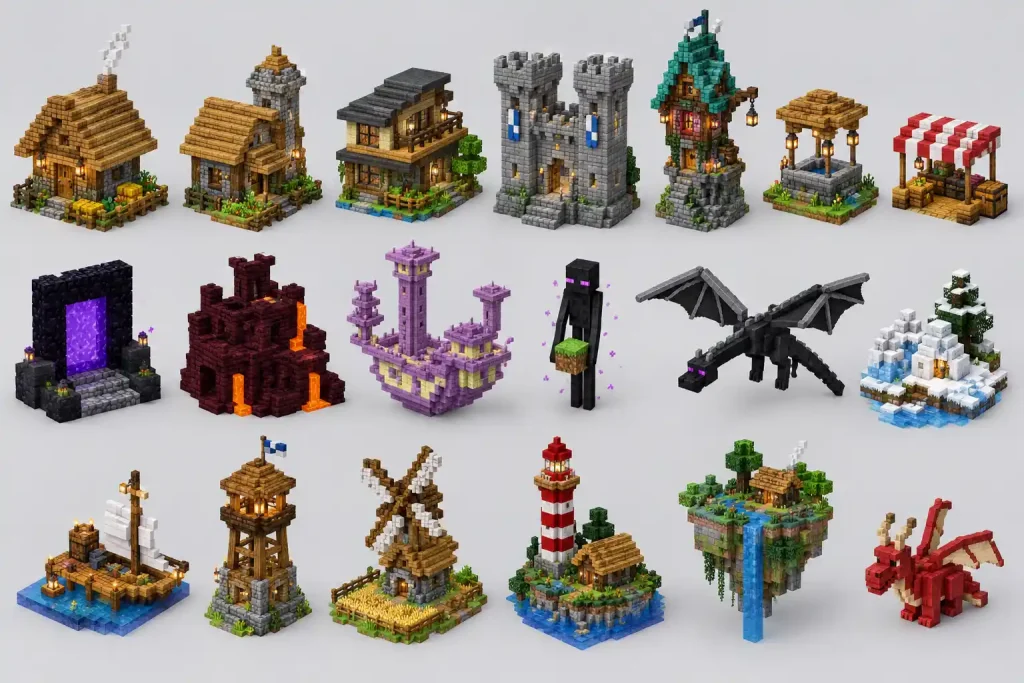
If you want something more ambitious, try turning a small Minecraft build into a physical miniature.
A house, tower, shop, or other structure can become a desktop decoration or part of a larger Minecraft-themed display.
Large builds may need to be divided into multiple pieces. This is also where checking overhangs, wall thickness, and support requirements becomes especially important.
Conclusion
Creating a Minecraft 3D print does not have to start with complicated 3D modeling.
A practical workflow is:
Minecraft reference → image to 3D model → geometry check → scale → STL → slicer → 3D print
AI can make the initial image to 3D stage much faster, especially if you are starting with a screenshot or reference image rather than an existing 3D file.
At the same time, an AI-generated model should not automatically be treated as print-ready. Blocky Minecraft designs are naturally well suited to physical models, but floating arms, thin weapons, small accessories, roofs, and other overhanging parts may require supports, splitting, or manual editing in Blender.
With a simple model, a little geometry checking, and the right scale, you can take a Minecraft creation from the screen to an actual 3D printed Minecraft model you can put on your desk—or give to someone else.