
The Ultimate Guide to AI Texture Generator for 3D Models
A grey model is a mannequin. Technically complete. Emotionally blank. Nobody has ever looked at an untextured asset and thought yes, that’s the one.
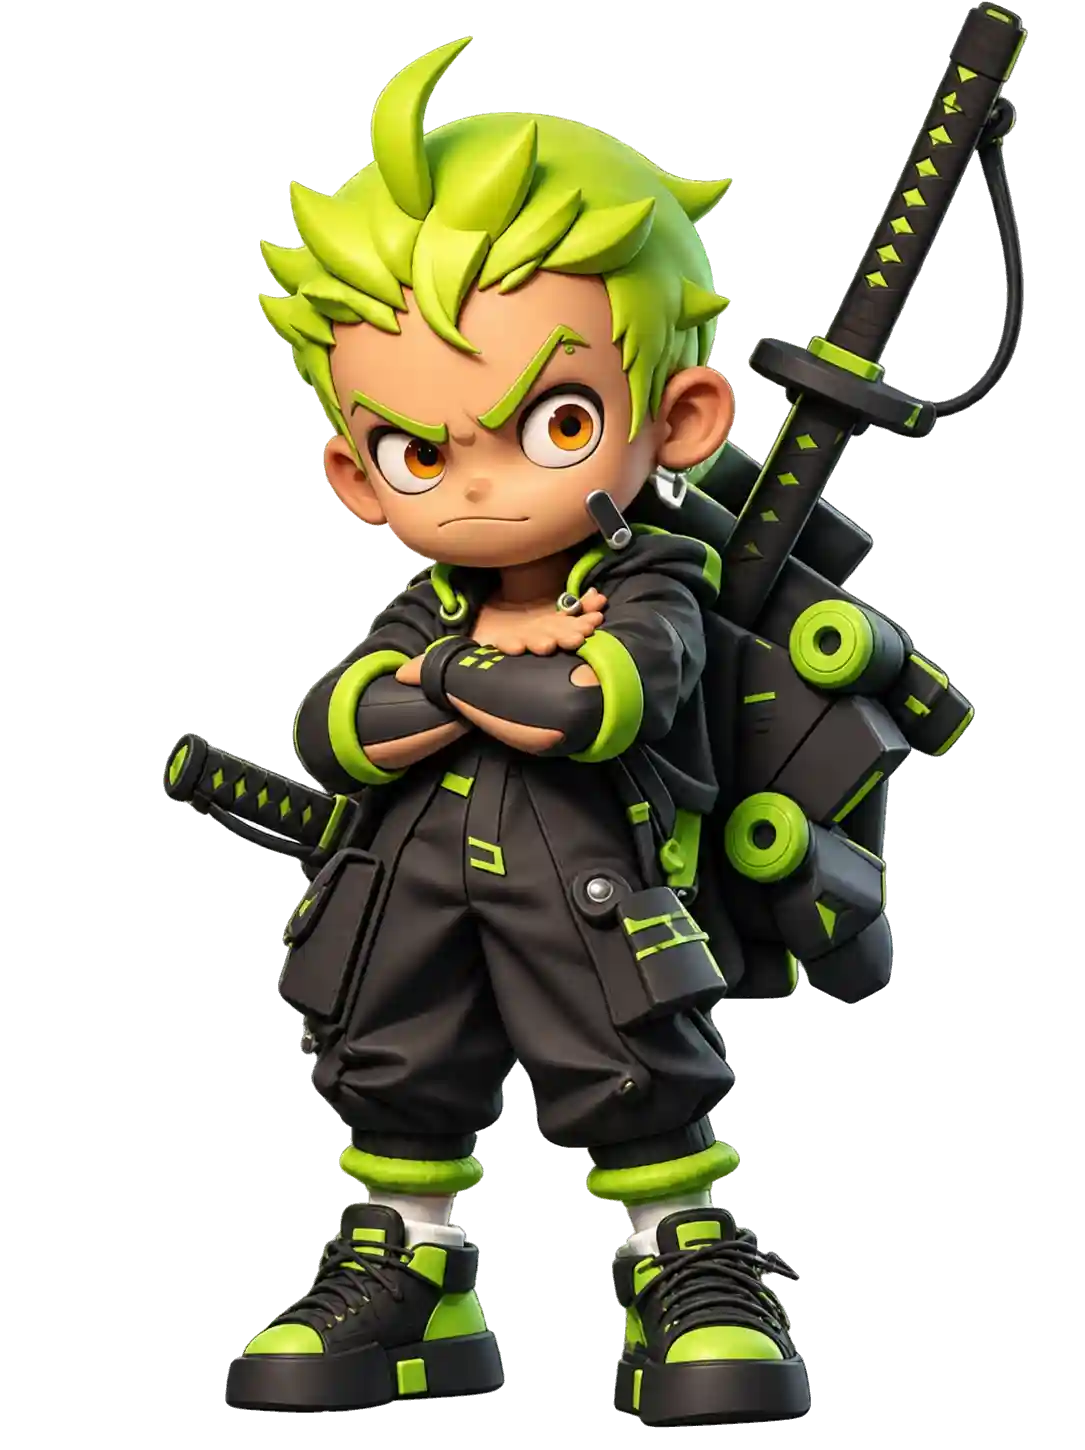
That gap is what an AI texture generator closes. Instead of losing an afternoon to material nodes, you upload your model, describe the surface you want, and get a full set of PBR maps back in about a minute.
This guide covers the whole thing: what AI texturing actually does, what to prepare before you start, how to pick a reference image that genuinely matches your model, how to write prompts that produce something other than mud, and how to fix the problems that surface before your asset reaches Blender, Unity, or Unreal.
If you don’t have a model yet, you can make one in a couple of minutes and come back.
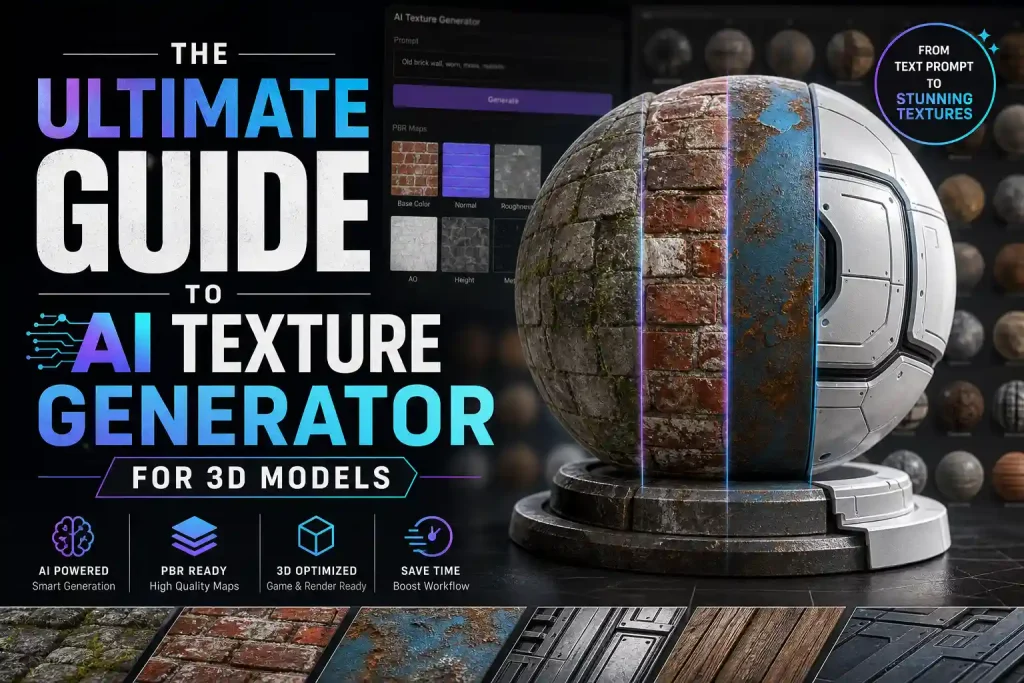
What Is an AI Texture Generator?
An AI texture generator takes a 3D model plus a description of a surface — written as text or supplied as a reference image — and produces the textures that model was missing. Not just a flat color image: a modern one returns a full PBR set at up to 4K, packed into the model file you export.
Think of it as a division of labour. Geometry decides what shape a thing is. Textures decide what it is. The same mesh reads as polished chrome, wet clay, or sun-bleached plastic depending entirely on the maps layered on top. A 3D AI texture generator makes that call fast, and repeatable.
That definition sounds broad because it is. Your game is basically a folder of assets plus some rules about how they behave.
What You Need Before You Start
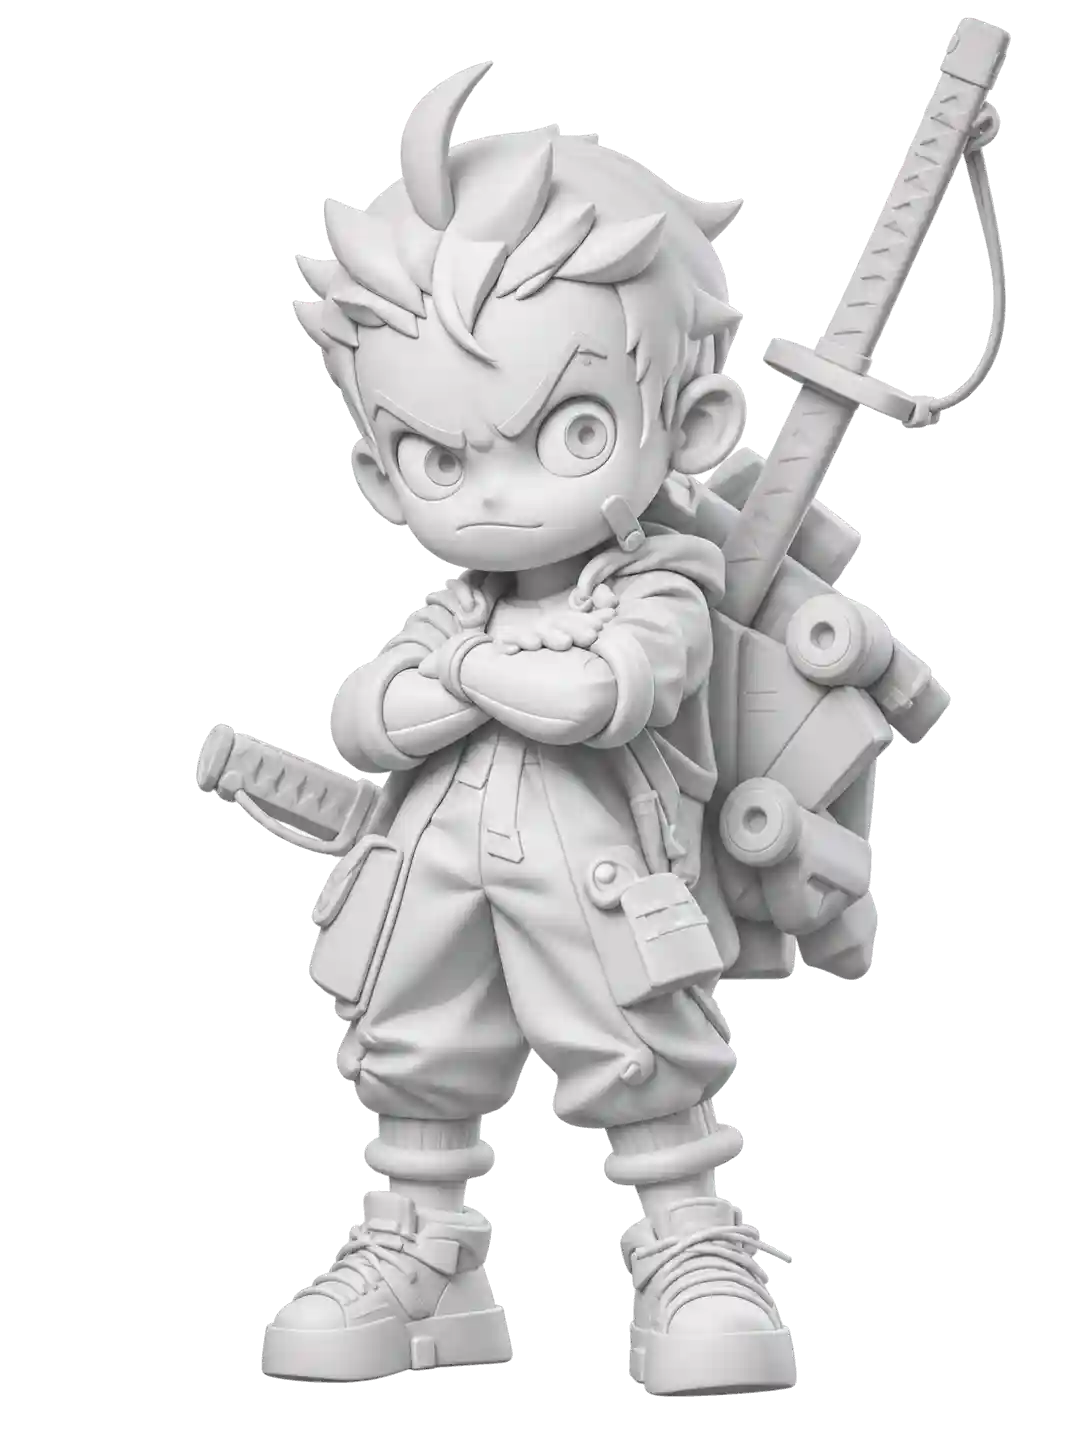
A grey model in GLB, OBJ, or FBX, with clean geometry. AI texturing changes the surface, not the shape: flipped normals and non-manifold edges stay in the result, and you’ll blame the texture for them. (The complete guide to 3D file formats covers which container to export.)
One requirement: a UV layout worth keeping. There’s no re-unwrap option, so whatever’s wrong with your UVs stays wrong — fix that in your modeling tool before you arrive. The only other setting you’ll choose is PBR, and it gets its own step below
Pick a Reference Image That Matches Your Model
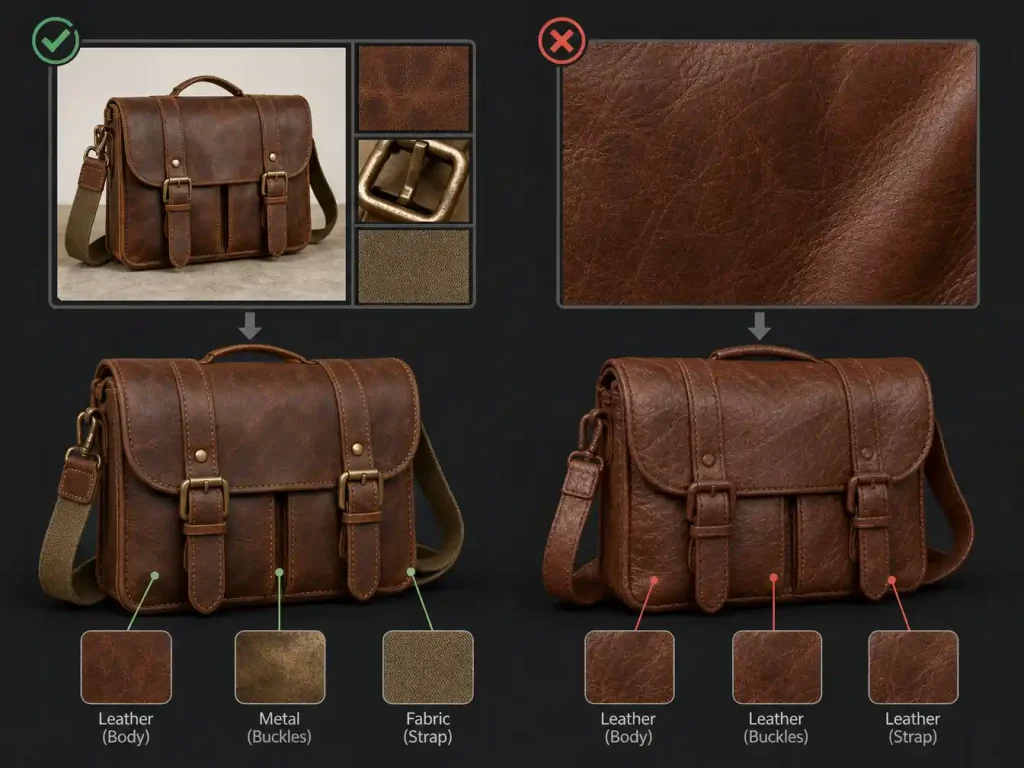
Match beats quality. Your reference has to describe the same object as your model — leather where the leather is, metal where the fittings are, not leather in general. The tool projects that material across your mesh, so when the two describe the same object, every detail lands where a viewer expects it. A perfect photo of the wrong object is still the wrong object.
Same model, two references. Take a leather satchel: leather body, metal buckles, canvas strap. Upload its own design sheet and all three materials land in the right places on the first try. Upload a photograph of an unbroken sheet of leather instead and the buckles get leather, the canvas strap gets leather, and grain sized for the body stretches across surfaces it was never meant for. That reference wasn’t low quality — it just wasn’t the same object. You asked for a satchel and got a leather balloon with a wallet fused to the side.
No concept art? Find an image whose material composition matches: leather plus metal plus fabric, in roughly the same arrangement. A single-material image standing in for a multi-material object gives you the leather balloon again.
Then worry about quality:
- Even, flat lighting — directional shadows get read as surface and baked in permanently.
- One object, sharp, 1024px or more — three materials in one frame average into none of them.
- Nothing occluding the surface — no fingers, watermarks, or lens flare. Every object in frame is an instruction.
Writing Prompts That Work
Text prompts have a big impact on how the texture looks on your 3D model. Instead of simply naming a material, describe its material, condition, finish, and surface details so the AI knows what to put on the model.
The formula:
[material] + [condition or wear] + [finish] + [scale or detail]- Material — oak, brushed steel, worn leather, glazed ceramic
- Condition — aged, cracked, scuffed, sun-faded, brand new
- Finish — matte, satin, semi-gloss, polished, oily
- Scale / detail — fine grain, coarse weave, irregular pitting, tight scratches
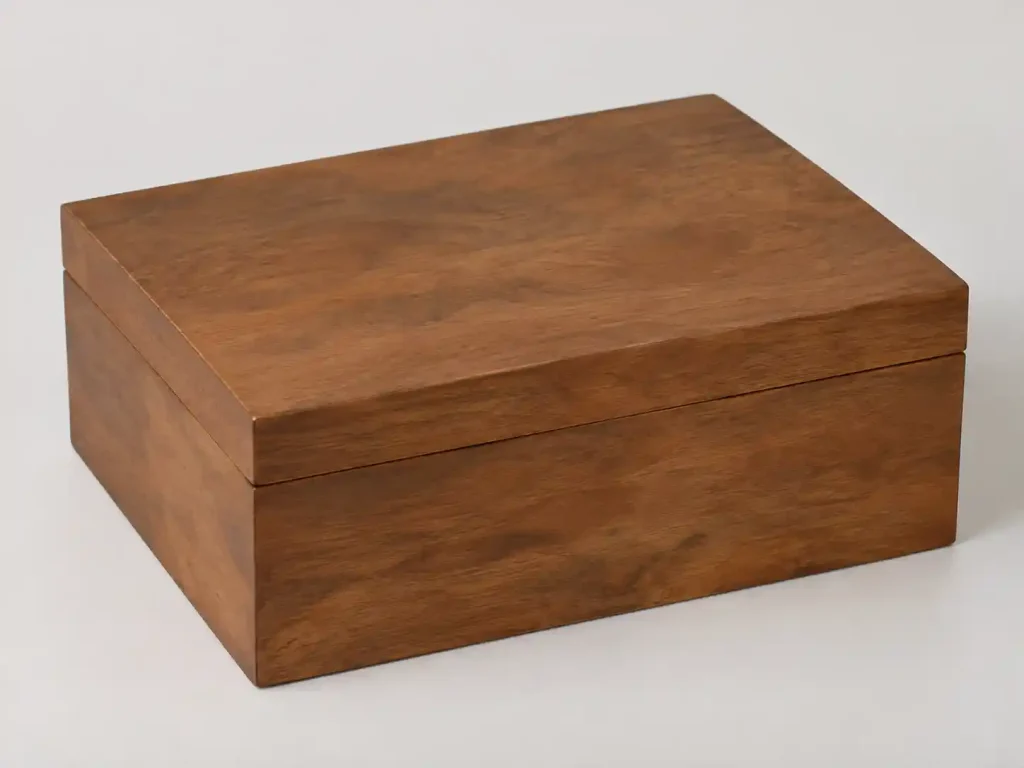
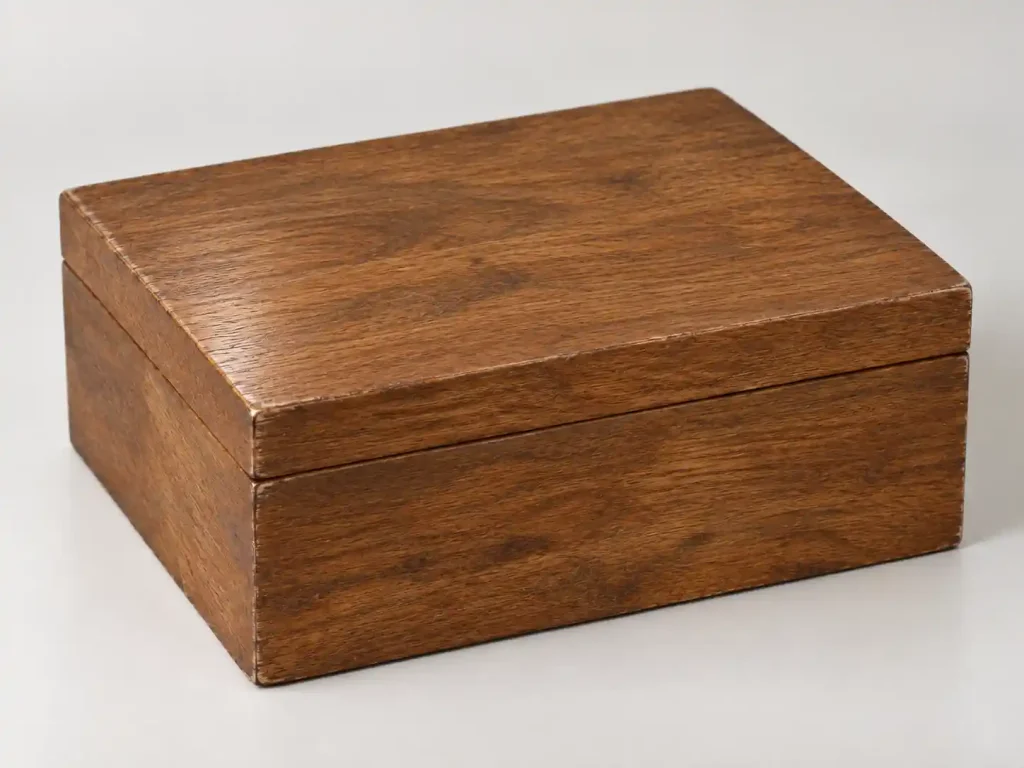
The first gives your 3D model a generic wood texture — somewhere between a log and a coffee table, with little control over the grain or finish. The second gives the model a much more defined surface: aged oak, fine grain, satin varnish, and subtle wear around the edges.
One rule that prevents most failures: never put lighting words in a texture prompt. No “dramatic lighting,” no “sunlit,” no “glossy highlights.” A prompt describes a surface, not a scene. Ask for dramatic shadows and the generator dutifully paints them into the base color map — permanently. Your object now has a shadow welded to one side that rotates with the model and looks absurd from every other angle.
Copy-ready style prompts. Paste these in, then adjust a word or two.
Wood
weathered teak decking, straight grain, oiled matte finish, greyed along the plank edges
Polished metal
brushed stainless steel, fine parallel scratches, matte finish, uniform surface
Weathered metal
rusted iron, flaking scale over pitted steel, tarnished finish, coarse corrosion detail
Leather
worn brown leather, cracked patina, soft sheen in the creases, fine pebbled grain
Stone and masonry
cracked limestone block, chisel marks, matte weathered surface, moss in the crevices
Fabric
coarse linen weave, natural fibers, faint dye variation, matte finish
Painted surfaces
chipped paint over grey primer, bare metal at the edges, matte finish, exposed fasteners
Plastic and product shells
matte injection-molded plastic, subtle mold seams, fine orange-peel texture, even color
Bone, shell, and other organics
weathered bone, hairline cracks, porous matte surface, polished wear on the high points
Sci-fi and industrial
scuffed gunmetal plating, yellow hazard stripes, oil streaks, matte finish
Stylized and hand-painted
hand-painted stylized stone, bold color blocking, soft edge wear, clean shapes
How to Texture a 3D Model with an AI Texture Generator
Before generating anything, make sure your model is ready for texturing. A quick check now can save you from fixing oddly scaled details or a model facing the wrong direction later.
Once your model is ready, choose an AI texture generator that supports your workflow and gives you enough control over the material and surface details. You can use Image to 3D AI’s free AI texture generator to create textures from text or image references, then follow the steps below to texture your model.
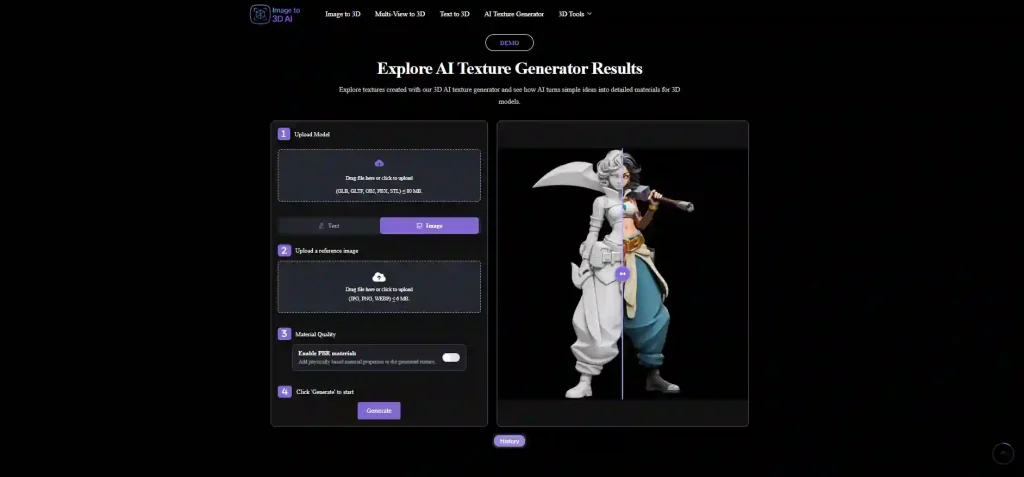
Upload Your 3D Model
Drop in your model and wait for the preview. Then look at it properly, rather than glancing. Rotate it. Two things to confirm before you spend a generation:
- Scale. A model exported in millimeters textures as well as one in meters, but the surface detail will read as the wrong size until you correct for it.
- Orientation. If the model was mirrored or rotated during export, the generator won’t care — but you will, when you bring it back into your engine.
Choose Your Input: Text or Image
An AI 3D model texture generator accepts a written description or a reference image. Pick one — they’re separate modes, not layers you stack.
- Text is fastest and most flexible. Generate five takes on “weathered bronze” and pick the one that lands.
- Image reference pins the result to a specific look, and you skip the prompt entirely. Use it when your model came from a design sheet you can feed in.
Choose Your PBR Settings
PBR stands for physically based rendering. Instead of one flat color image, your material comes back as a set of maps, each controlling a single physical property:
- Base color — the raw color, with no lighting baked in. The paint, before anyone switches on a lamp.
- Roughness — how rough the surface is. This one map is the whole difference between chrome and chalk: same color, different material.
- Metalness — whether the surface behaves like metal or not.
- Normal — every bump, groove, and pore your geometry is too light to model. This is how a 38,000-triangle prop reads like it has a million.
All four arrive packed into the exported GLB.
The one thing worth getting right: color space. Base color belongs in sRGB. Roughness, metalness, and normal maps are data rather than color, so they belong in linear (often labeled Non-Color). Get it wrong and nothing visibly breaks — the material just looks subtly, unaccountably off, forever.
Review and Export
Resist judging the result from the default camera angle. Spin the model. Move a light around it. Two failure modes to hunt:
- Seams where UV islands meet — a visible line where the pattern breaks or the color shifts
- Baked lighting — shadows fused into the base color, fine in the preview and obviously wrong the instant the object rotates
If the texture reads as a flat sticker rather than a surface, that’s a PBR settings problem, not a prompt problem.
Then iterate. Changing a prompt costs forty seconds, so there’s no reason to settle. Push the wear heavier. Kill the moss. Make the metal duller. This is the part that used to cost an afternoon per attempt.
Export gives you a GLB with the PBR maps embedded, ready for Blender, Unity, Unreal, or anything else that reads glTF materials. In Blender the maps plug into a Principled BSDF; in Unity, confirm the normal map imports as a Normal Map rather than Default; in Unreal, verify roughness and metalness are reading the correct channels.
Common Mistakes and How to Fix Them
A few common mistakes can make an otherwise solid texture look wrong, so it’s worth checking these before you settle on the final result.
| # | Mistake | The fix |
|---|---|---|
| 01 | A reference image that doesn't match the model | Choose a reference that shows the same type of object and has a similar material arrangement. The AI uses the reference to determine the surface appearance, so an unrelated object can produce a texture that doesn't fit your model. |
| 02 | A text prompt that's too vague | Describe the material, condition, finish, and surface details instead of naming the material alone. wood gives the AI very little to work with; aged oak, fine grain, satin finish, subtle edge wear gives it a much clearer target. |
| 03 | Judging from the default camera angle | Rotate the model and move a light around it before you approve; the preview shows one view, the asset gets seen from all of them. |
| 04 | Texturing once and shipping it | Generate three or four takes — the cost is seconds, and take one is usually "fine" where take three is "finished". |
Conclusion
Texturing used to be the slowest, least creative stretch of the 3D pipeline — the part where the idea already existed and the tools just needed to catch up. An AI texture generator collapses that stretch, and the quality ceiling is higher than most people expect once the inputs are right.
The whole skill comes down to two moments: preparing well — a reference image that matches your model, a prompt with material, condition, finish, and scale, and no lighting words — and checking properly before you export.
Everything else is iteration, and iteration is cheap now.
Start texturing your 3D models with the AI texture generator →
Upload a model, describe the surface, and watch the grey disappear.